Acro System Laser Upgrade - Mounting Setup
5. Mounting Setup
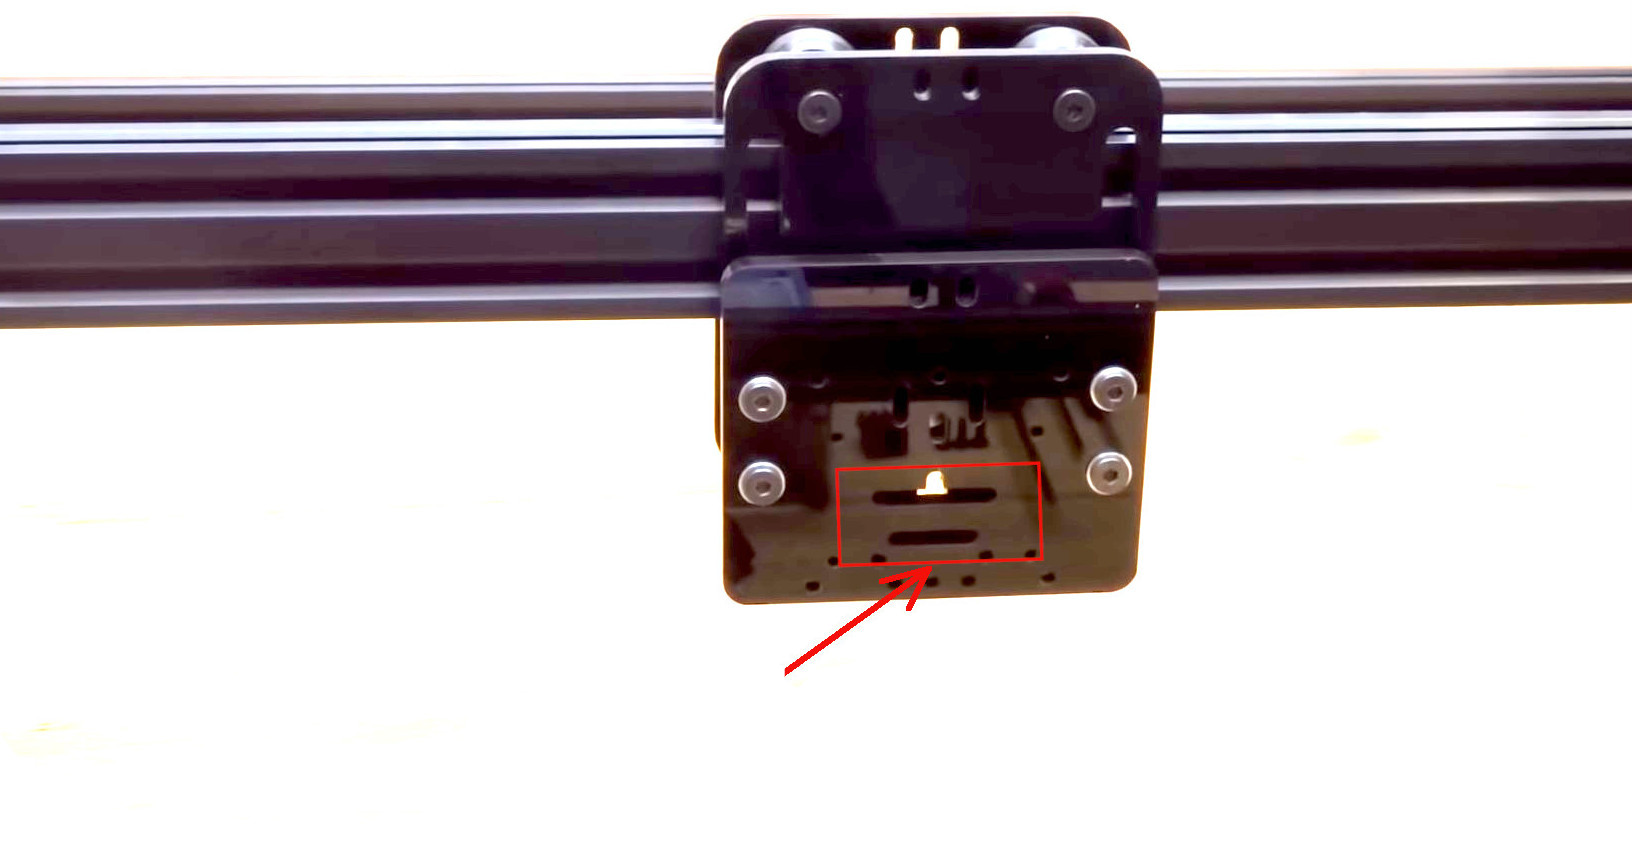
5.1 The laser head should be screwed to the front attachment plate first, then to the dedicated slotted holes on the x-axis carriage of the system.
5.2 Mounting the PLH3D-2W Laser Head
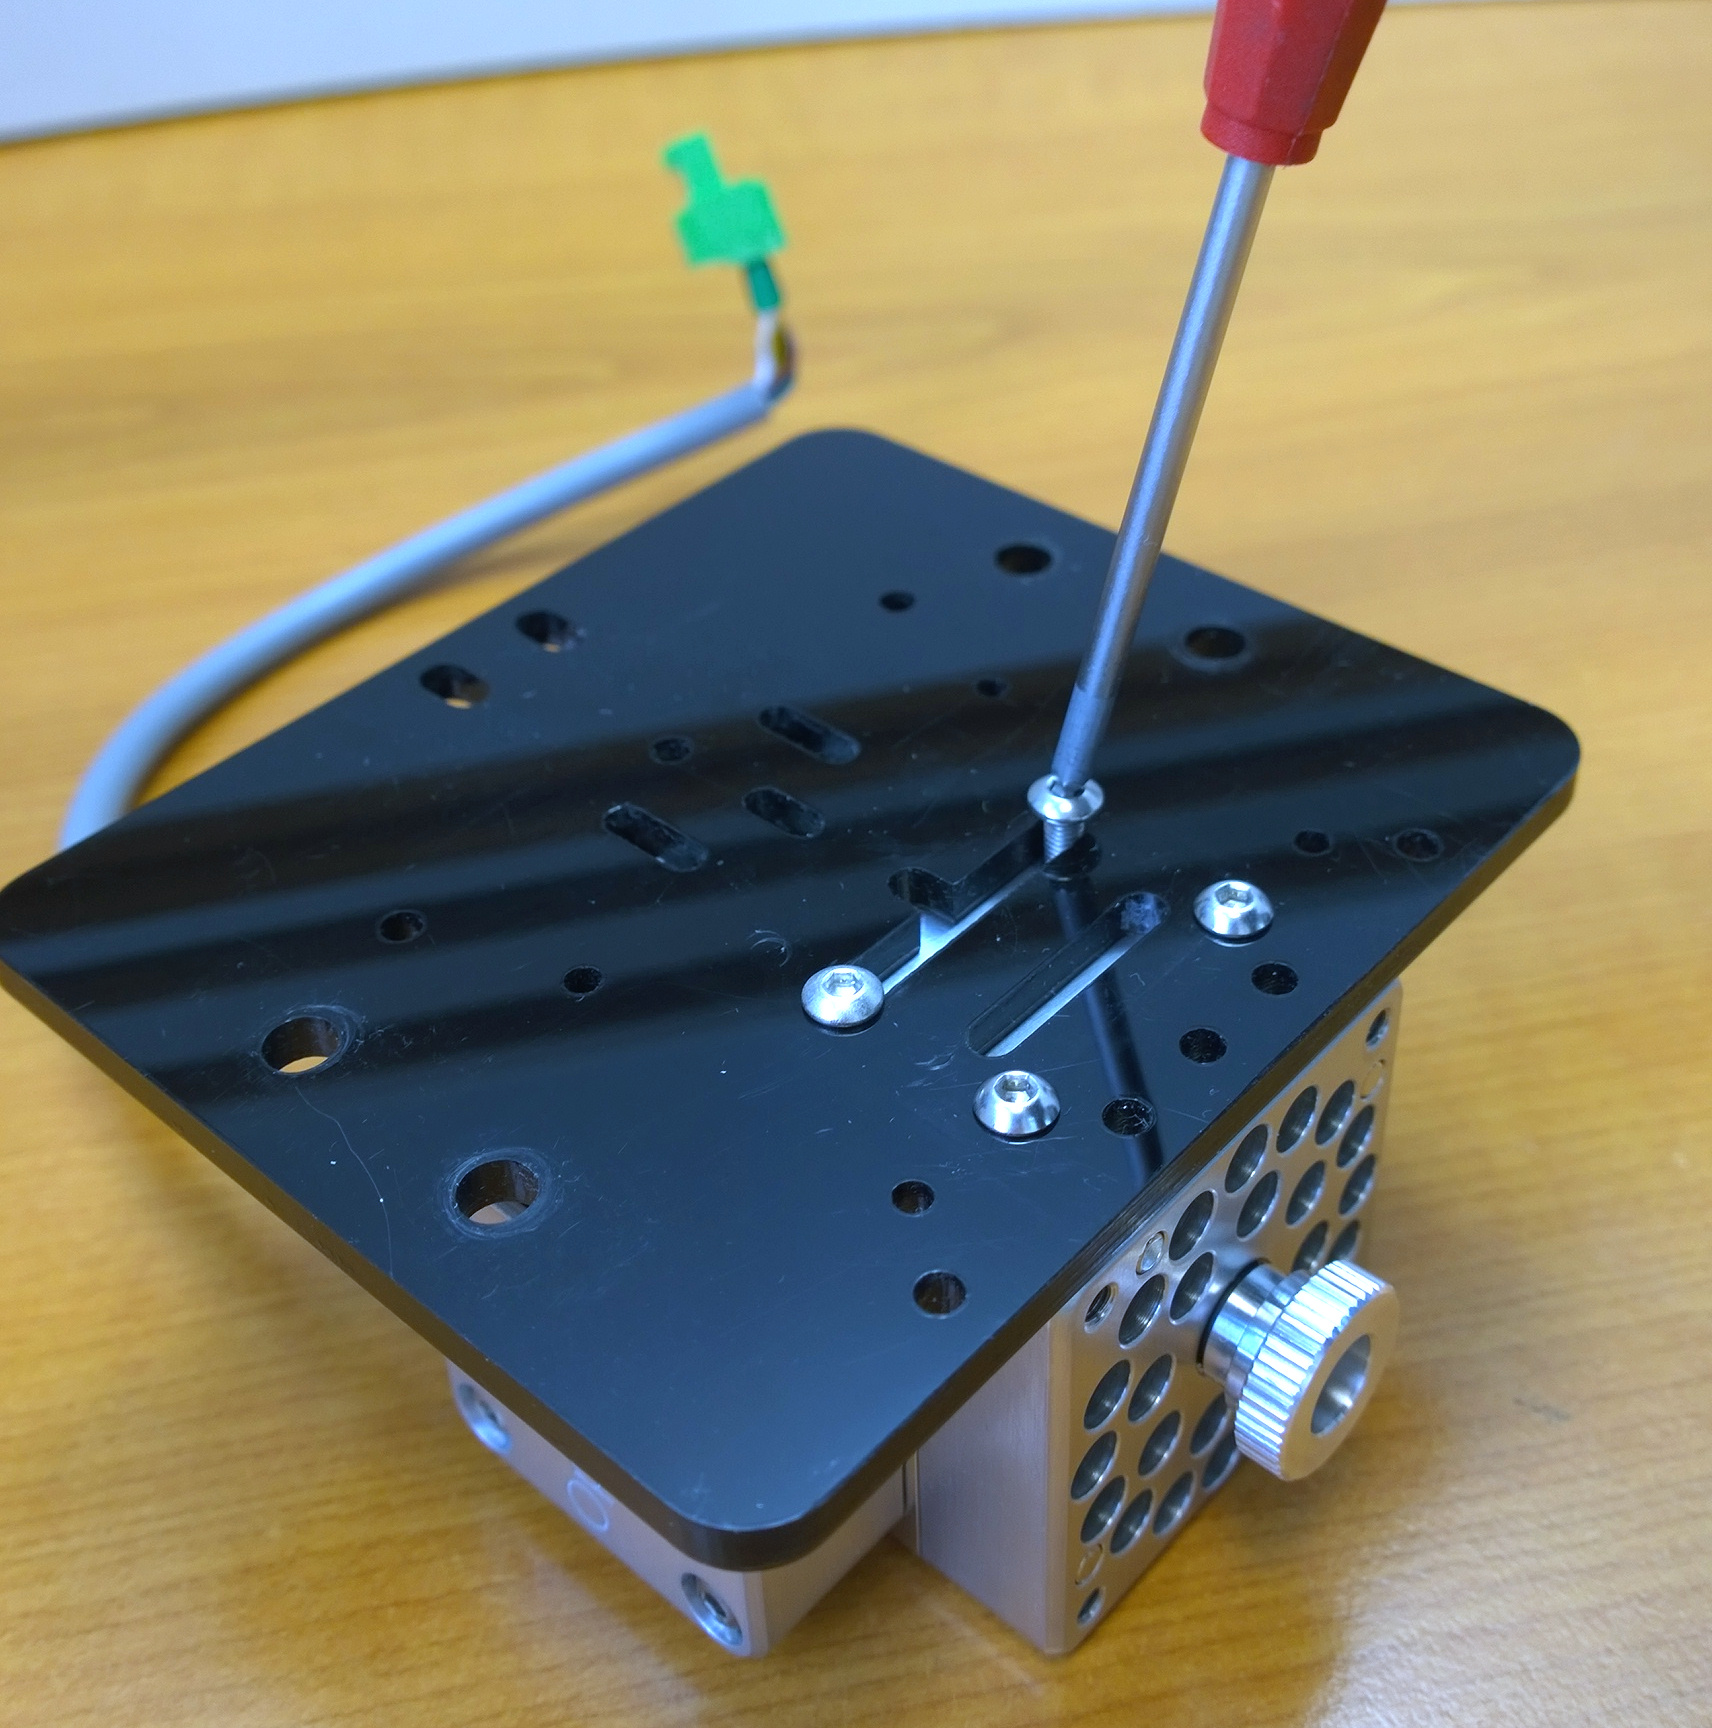
5.2.1 The PLH3D-2W laser head ought to be screwed to the front attachment plate with two M3x8 cylindrical screws.
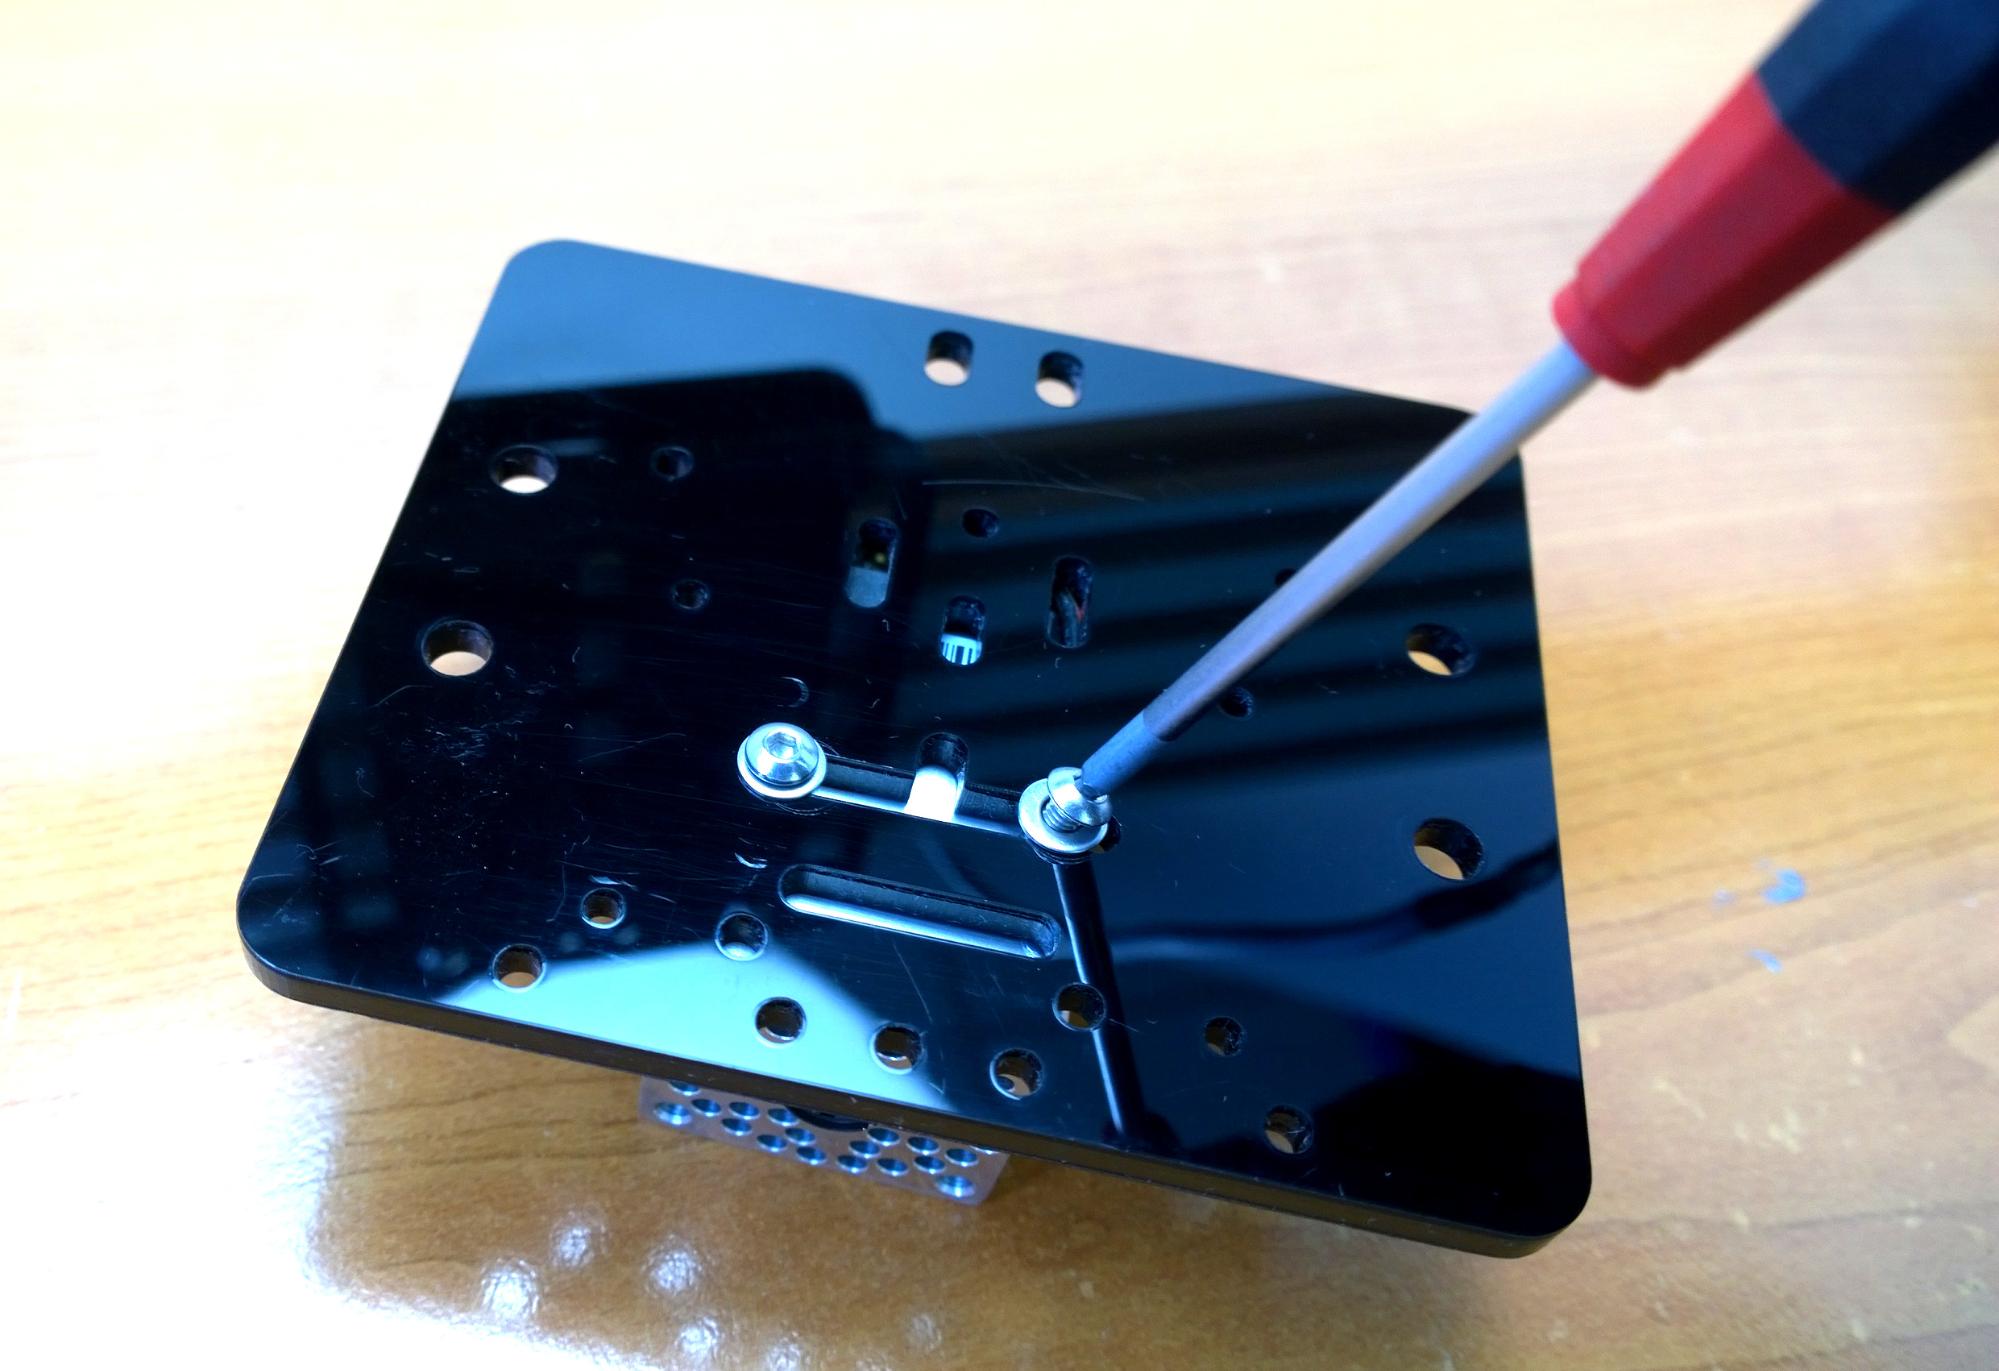
5.2.2. After that, please fasten the front plate to the x-axis carriage, while remembering to put spacers between the two plates.
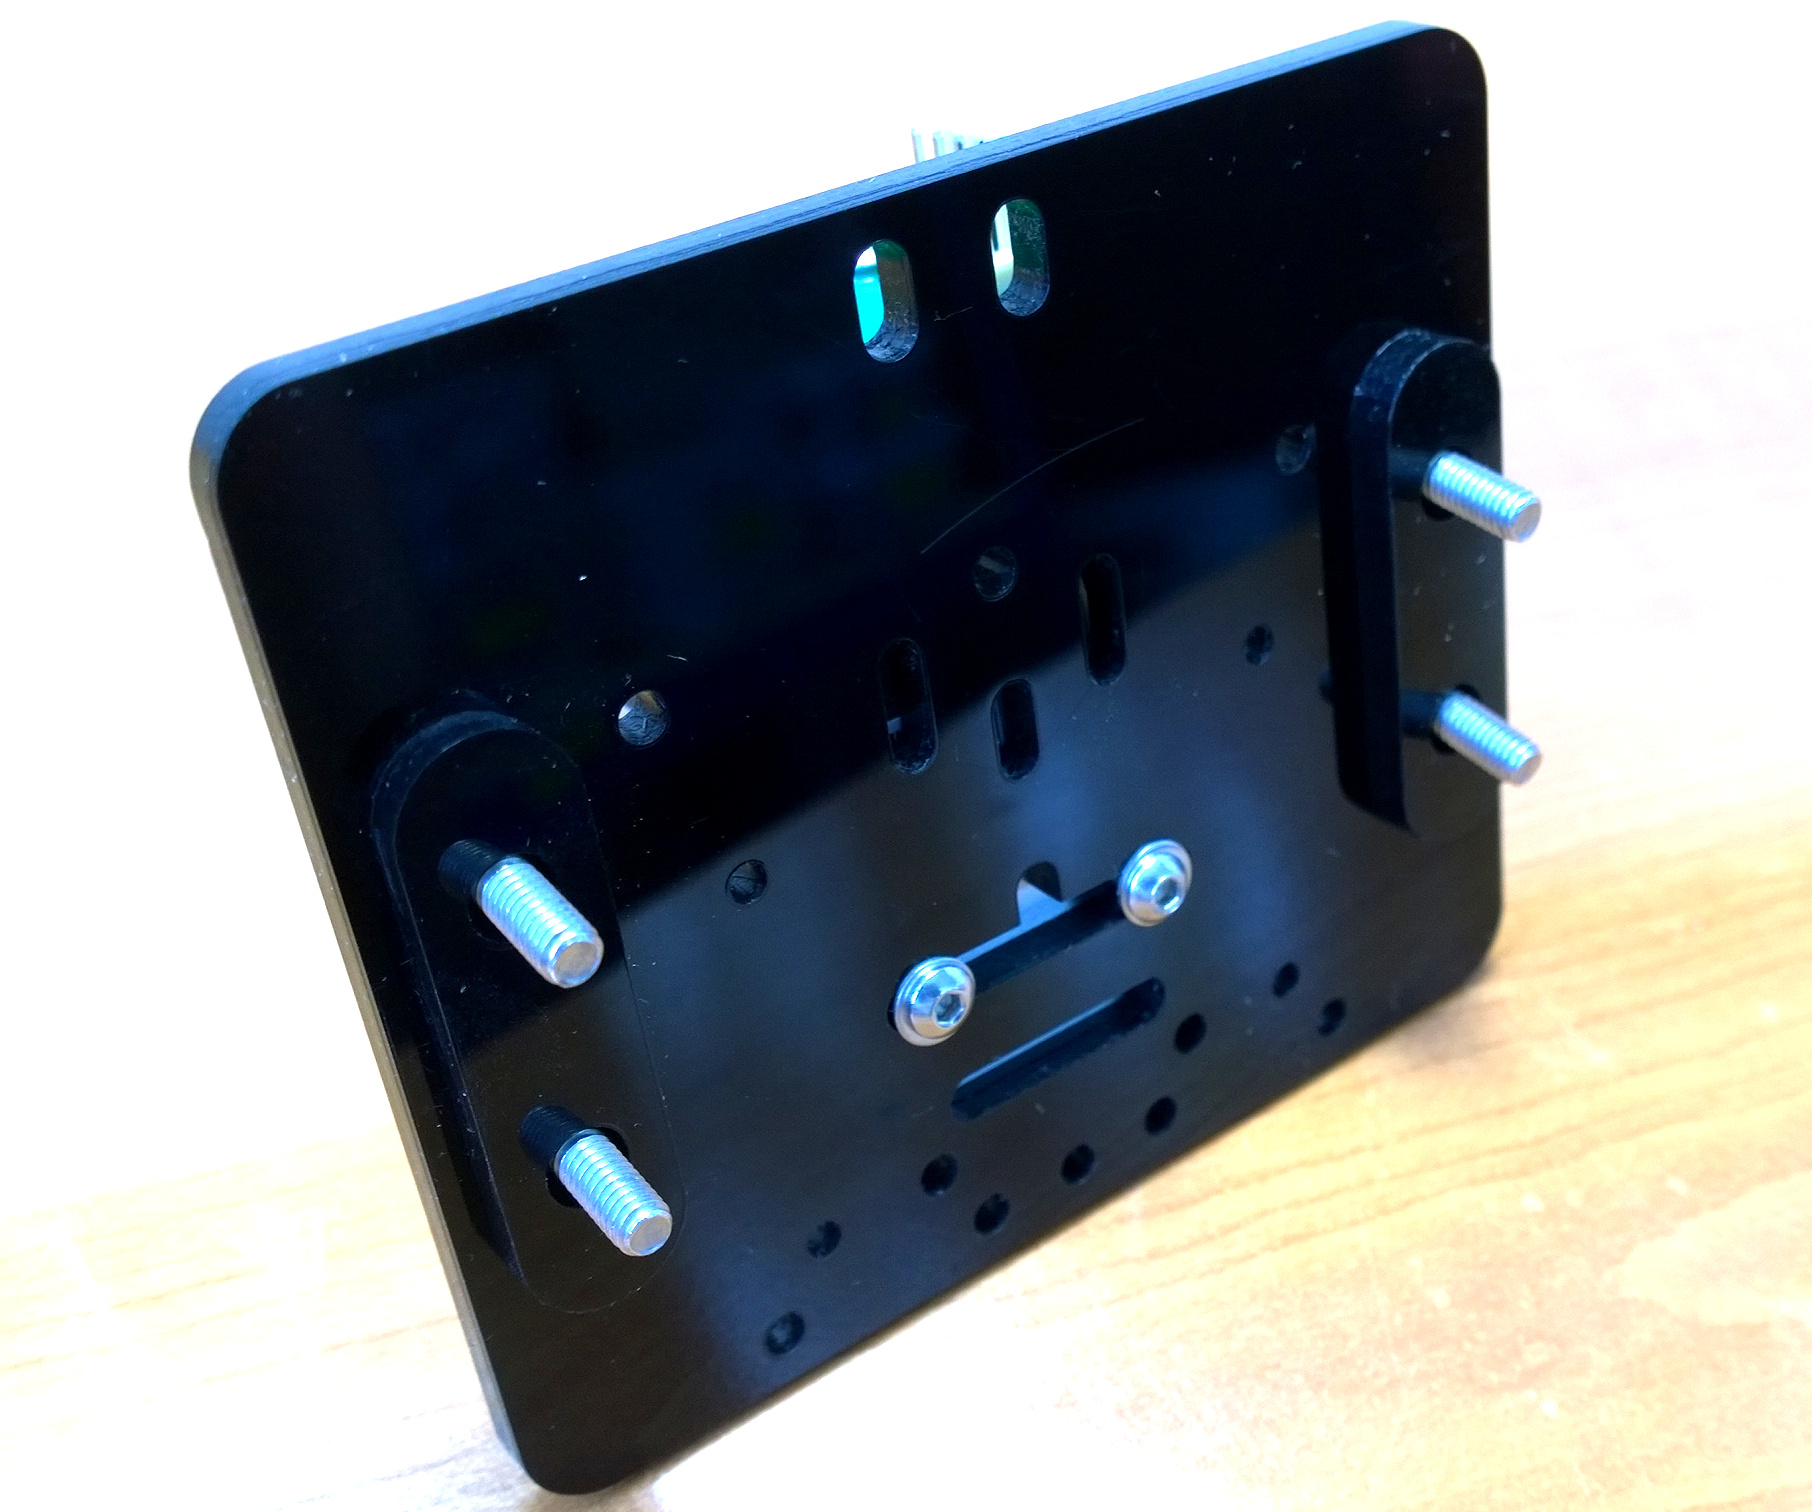
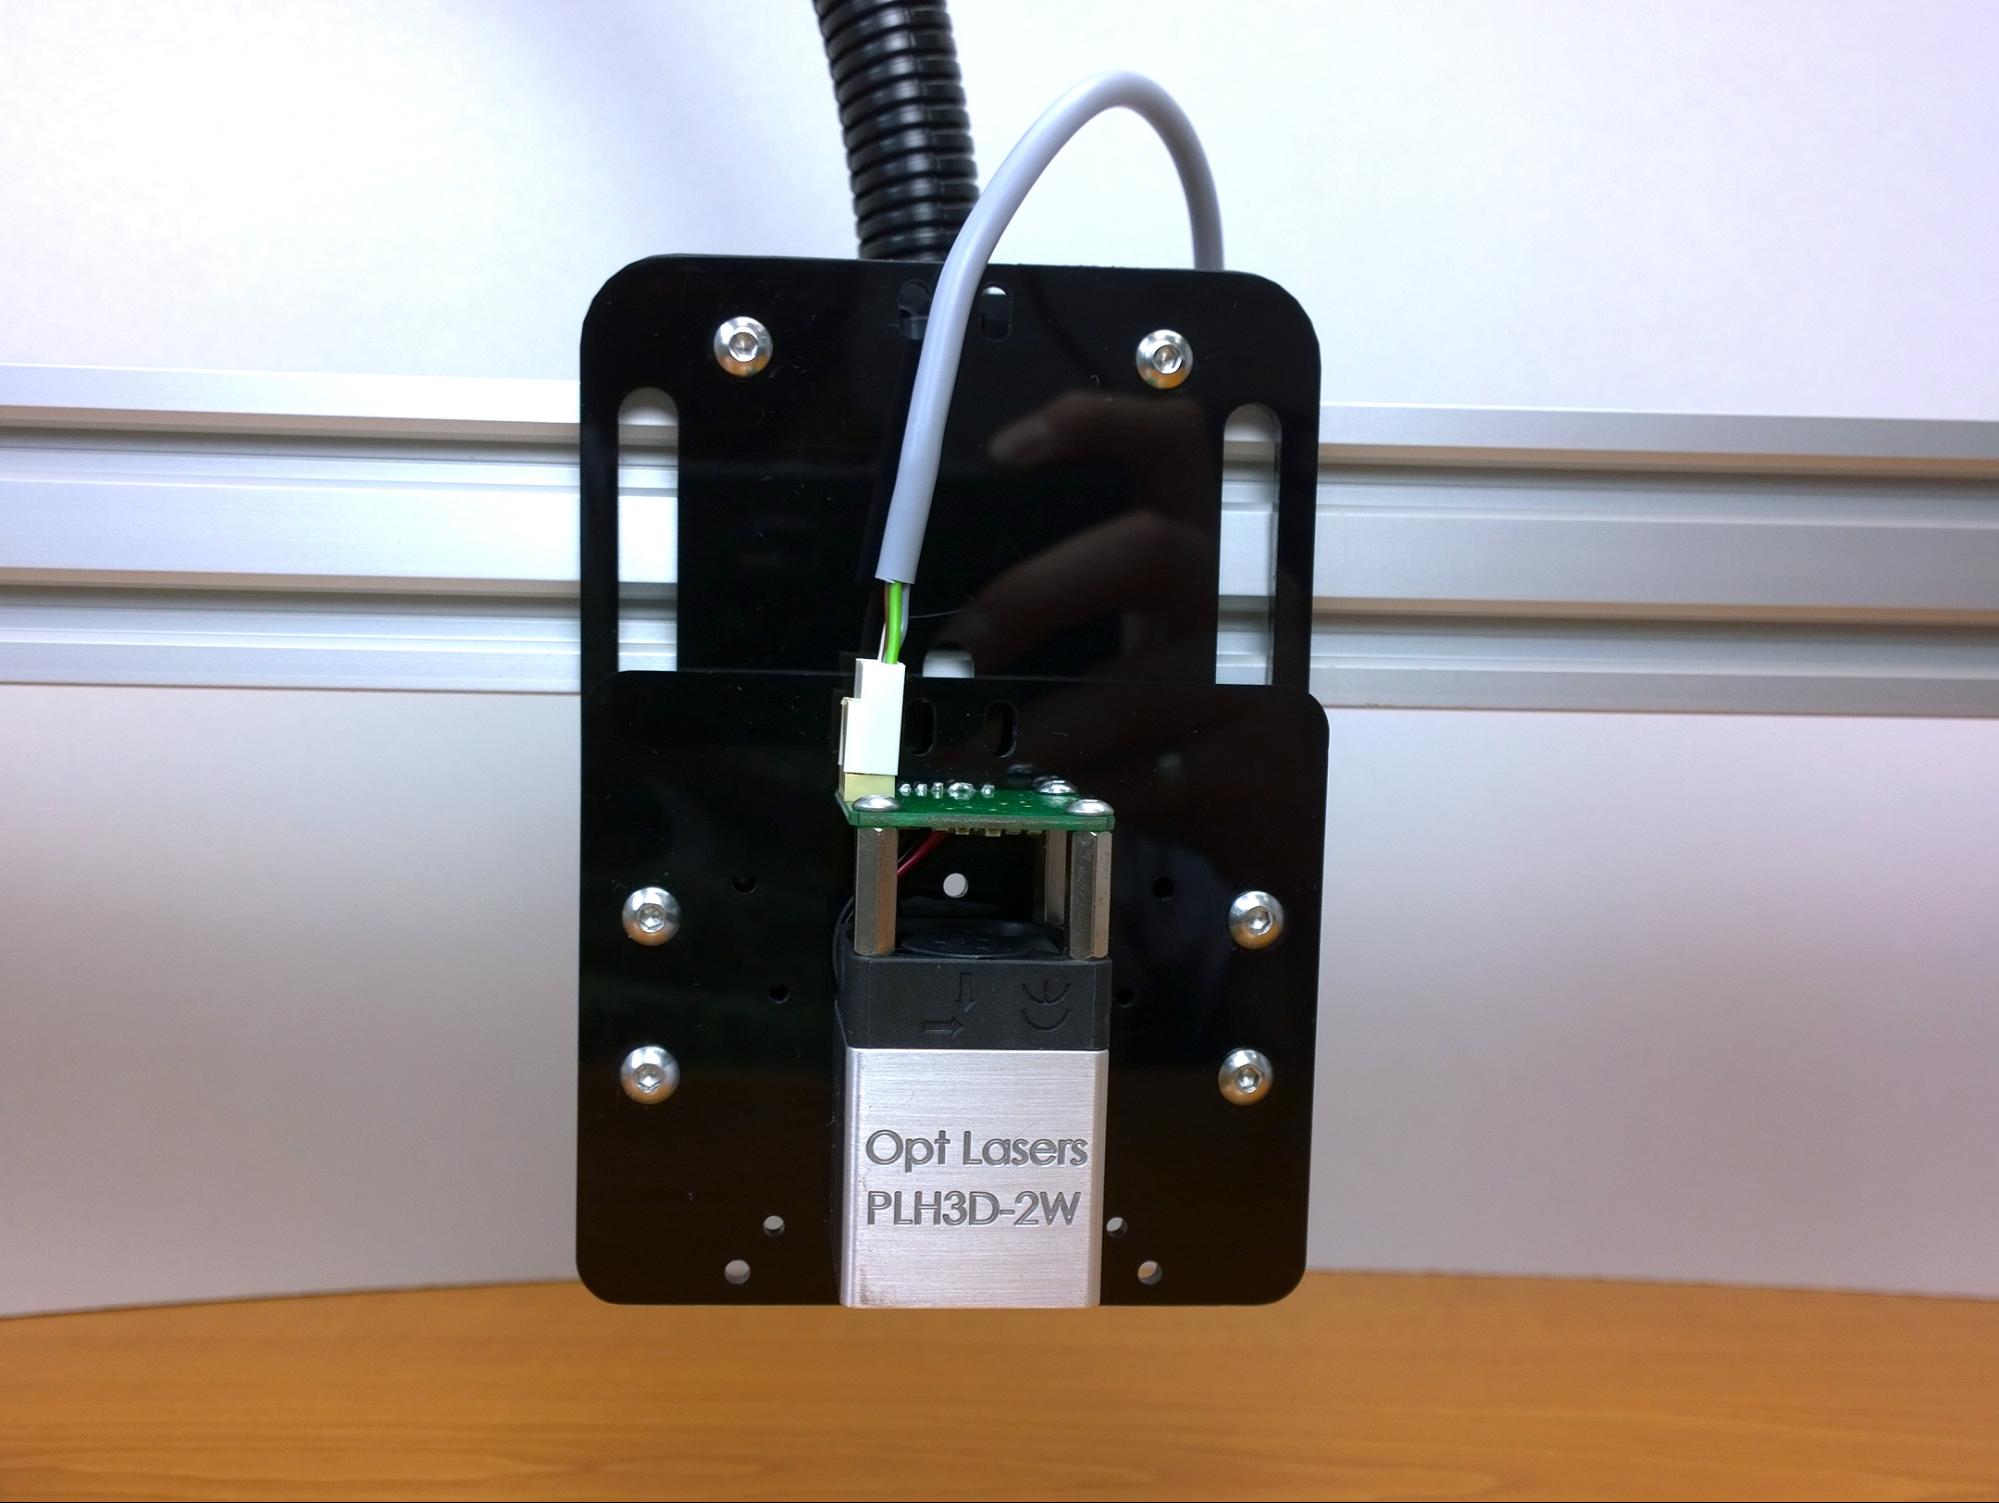
5.2.3. The terminal block should be plugged into the corresponding socket of the PLH3D-2W laser head:

5.2.4. Once the connector has been plugged in, it is important to check whether the cable protrudes well and doesn’t obstruct the carriage.
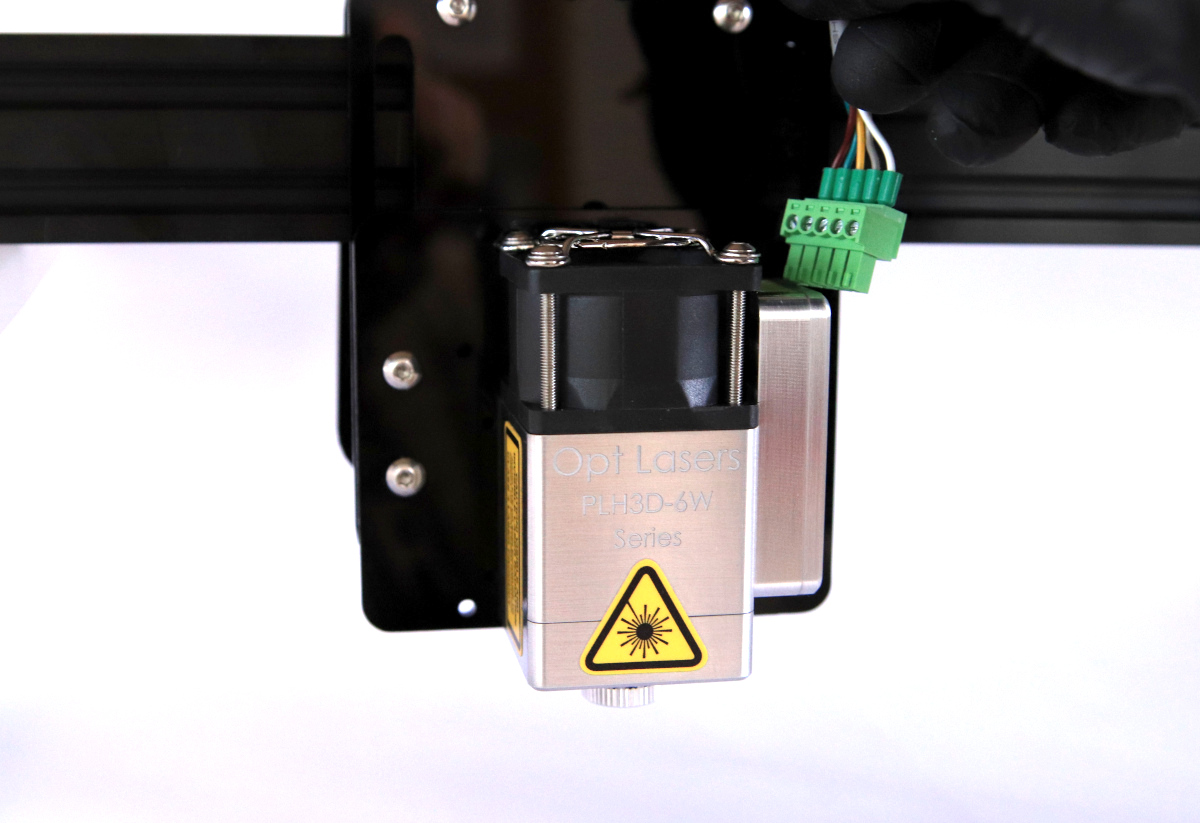
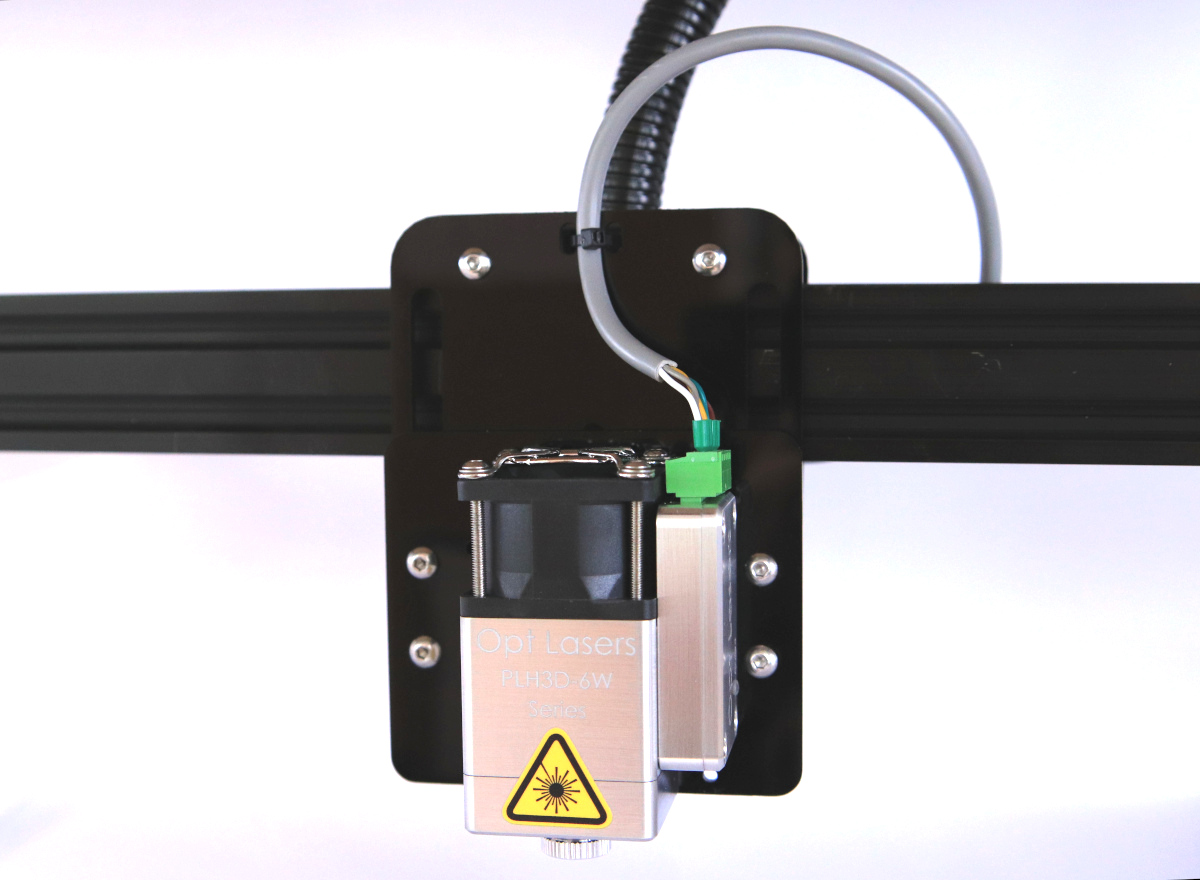
5.3 Mounting the PLH3D-6W Laser Head.
5.3.1 The PLH3D-6W Laser Head is to be fastened to the front plate with four M3x8 screws. Then, similarly as in the case of the PLH3D-2W Laser Head, spacers need to be added between the front plate and the slotted holes on the x-axis carriage.
5.3.2. The secured laser head ought to be connected to a formerly prepared cable and a connector that is included in the PLH3D-6W set.