Acro System Laser Upgrade - Wiring Setup
3. Wiring setup.
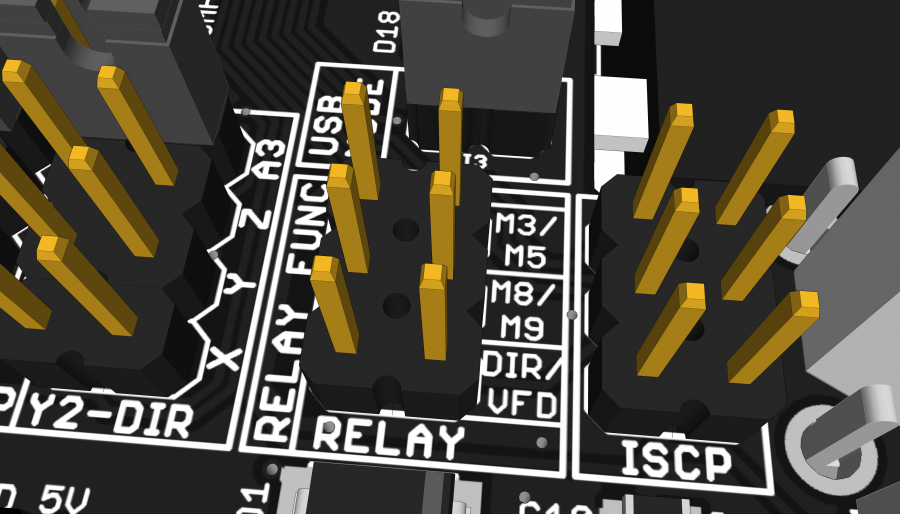
3.1. Caution: Please begin by removing the jumper, found in the “Relay Func” section of the BlackBox, before connecting it to the ACRO machine and the laser head. It will prevent the excessive wear of the relay. A detailed description of the BlackBox Controller configuration can be found on the manufacturer’s website. OpenBuilds -> BlackBox.
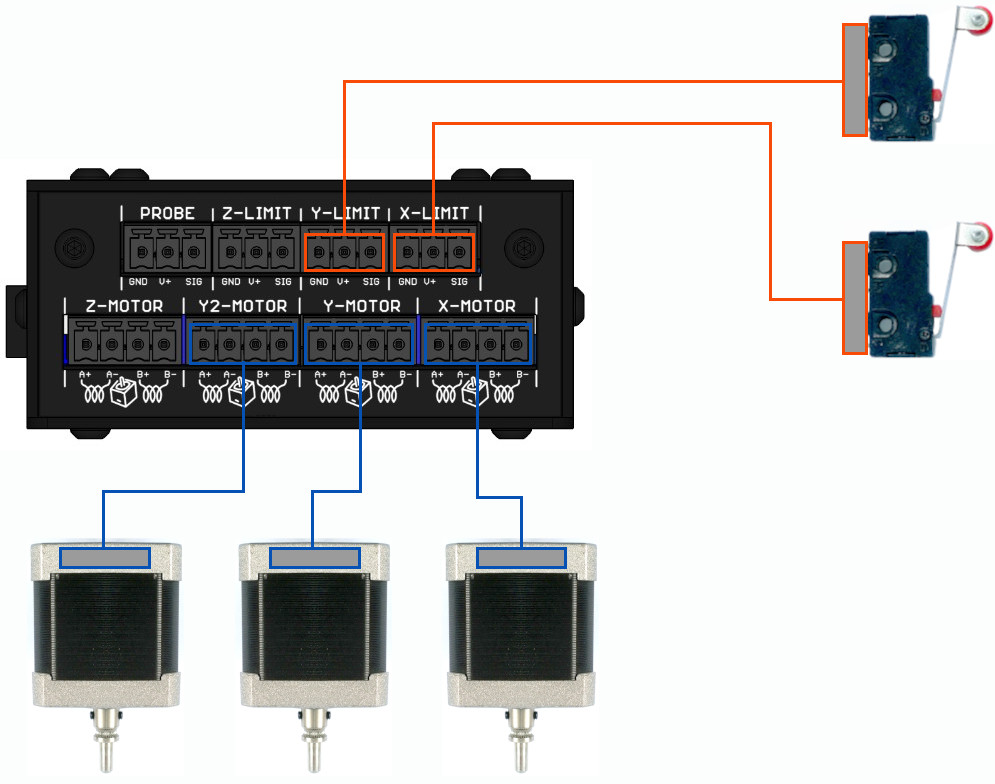
3.2. For the next step, please run the cables from the Acro machine’s peripherals (motors & limit switches). These cables need to be plugged into the BlackBox as shown on the diagram below:
3.3. Depending on the ACRO System’s size and the laser head employed, a suitable cable should be made ready.
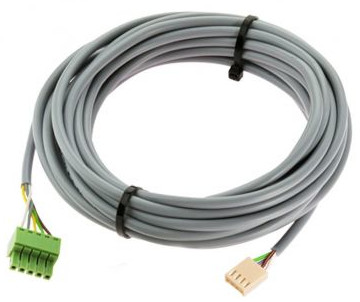
3.3.1. In case of PLH3D-2W laser head, the 5m PLH3D-2W Laser Head Cable is required.
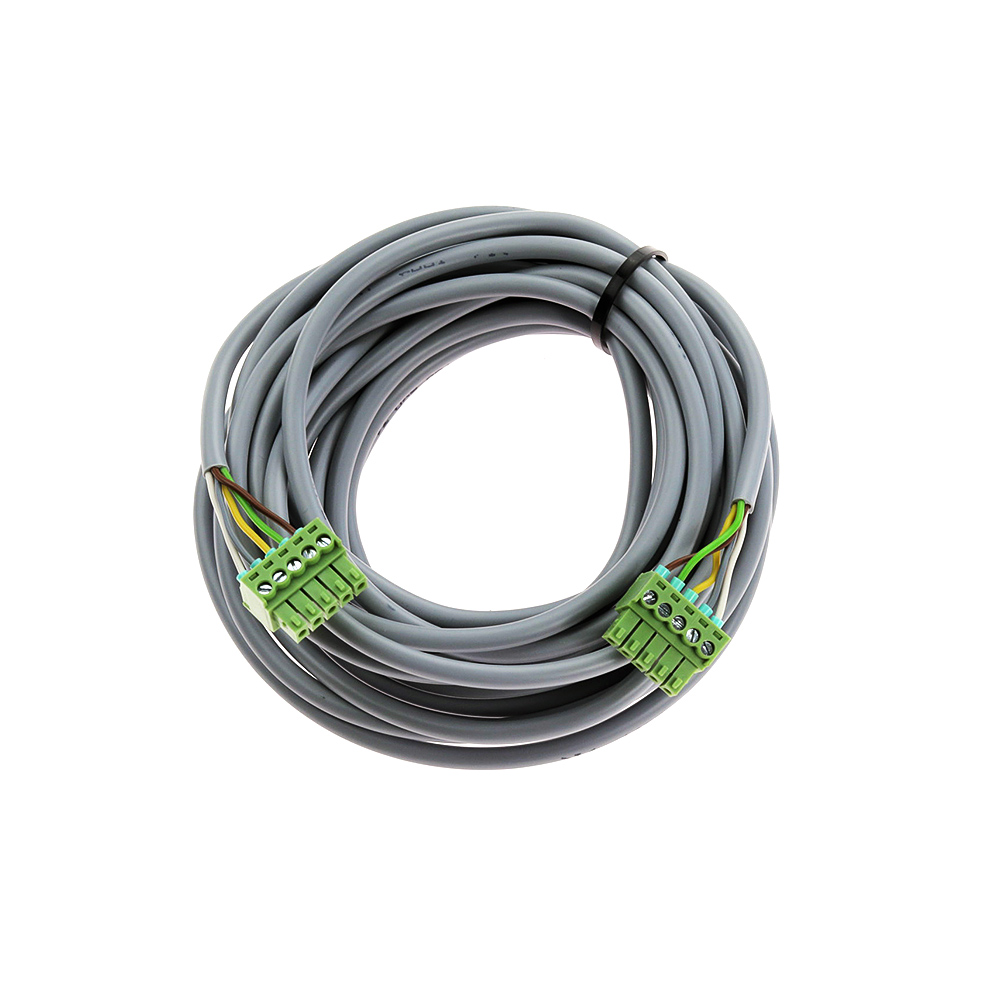
3.3.2. In case of PLH3D-6W laser head, the 5m PLH3D-CNC Adapter to Laser Head Cable is required.
3.3.2.1. The cable for connecting the laser head can be placed inside a corrugated conduit leading to the laser head mount.
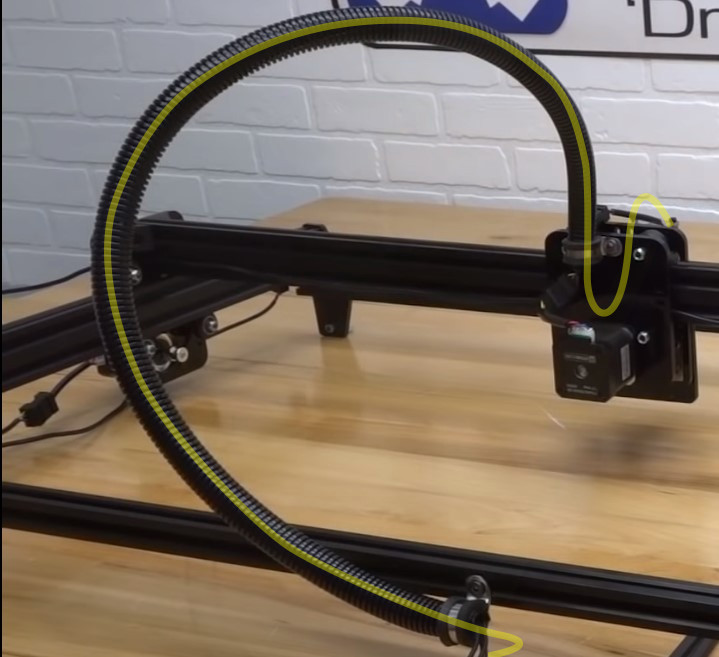
3.3.2.2. In order to run the cable through the conduit please unscrew the green terminal block. Once the cable reaches the other side, screw the green terminal block back on.
3.3.2.3. Please remember to screw the green terminal block back on in a correct fashion:
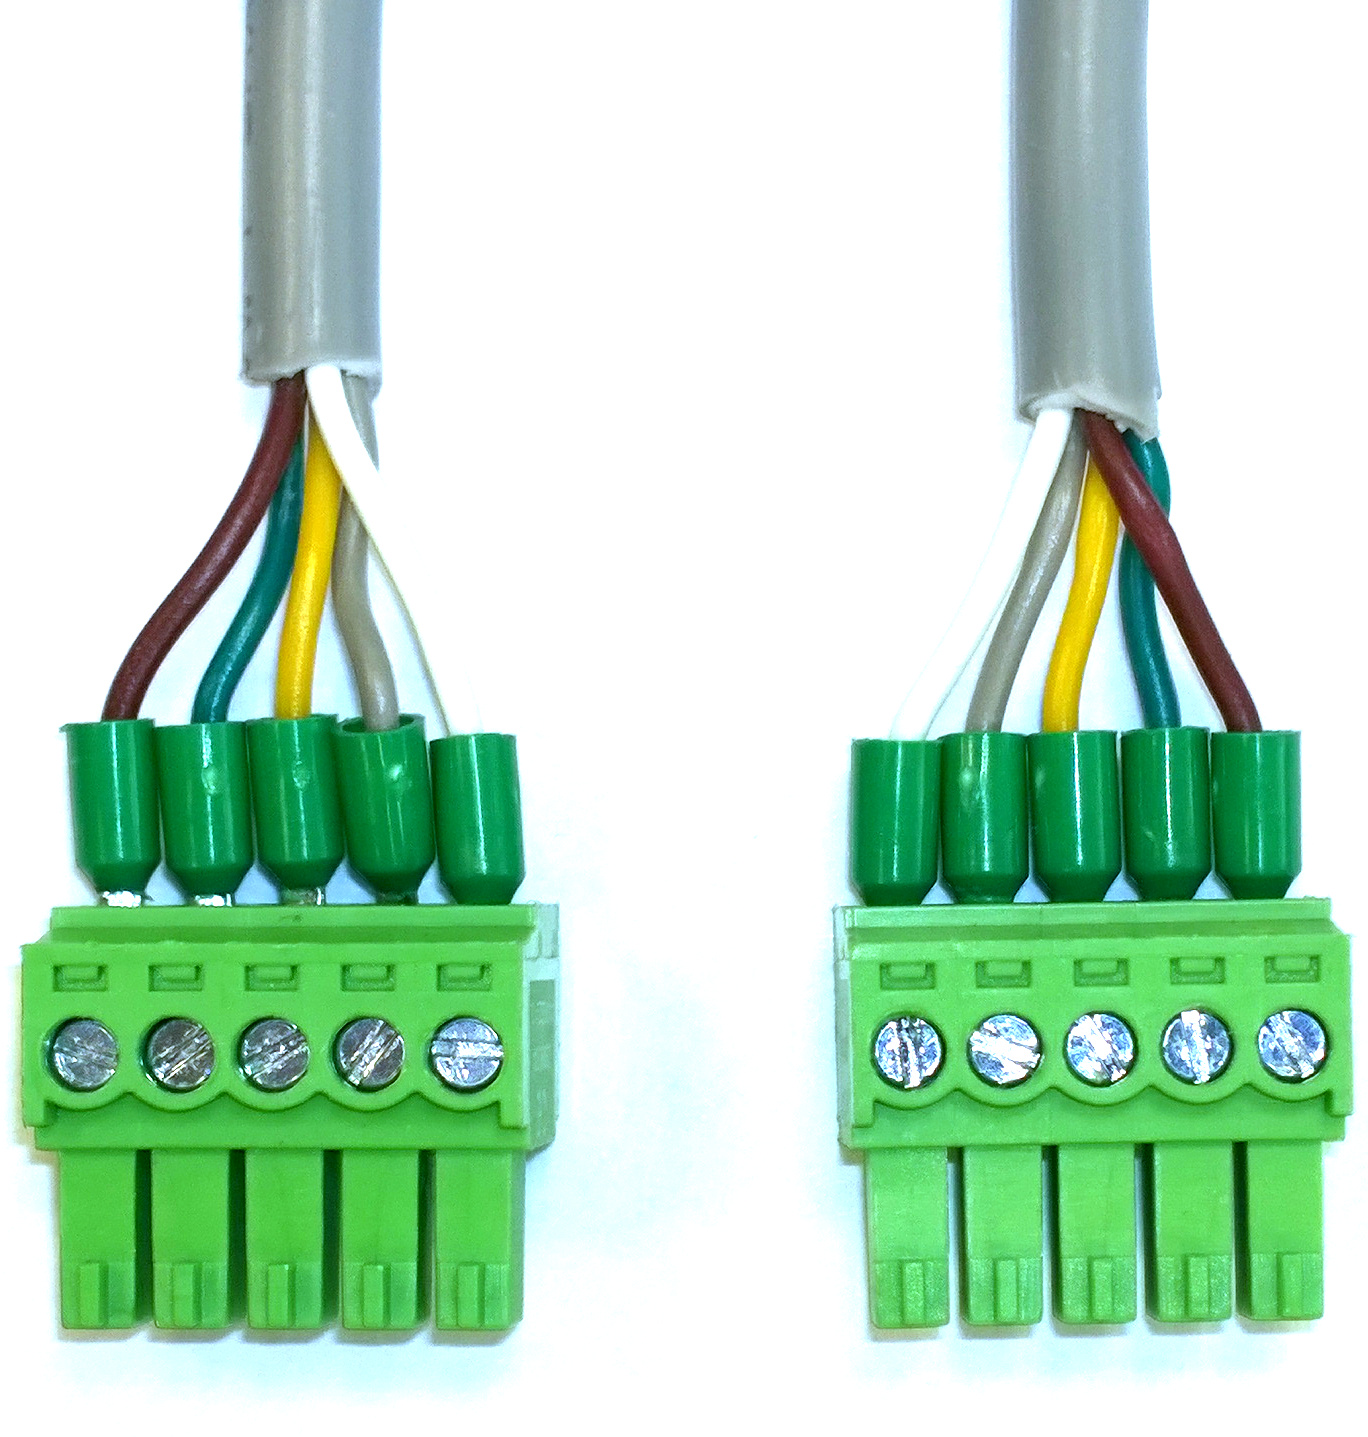
3.3.2.4. The picture above shows how the correct placement of the wires should look like.