Avid CNC Laser Upgrade with PLH3D-15W - Mounting Instructions
This manual is based on Avid PRO4848 4' x 4' Router. This model has a 12" Z-axis, which allows enough room to install the laser under the router so that the laser can use the full 48" x 48" of X and Y travel. If your stage is a standard 8" one, you may need to mount the Laser Head to the side of the Router (in which case a different bracket design is needed) so that it can be mounted higher.
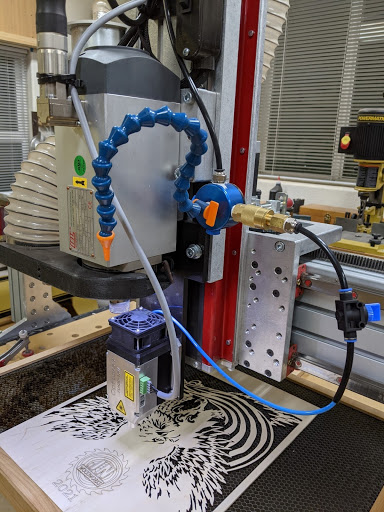
An example set-up is shown below.
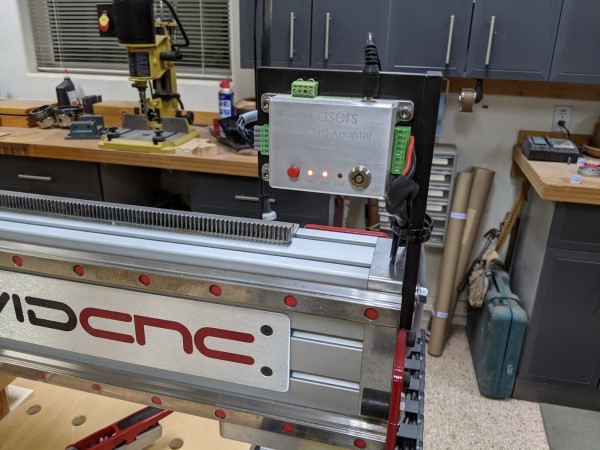
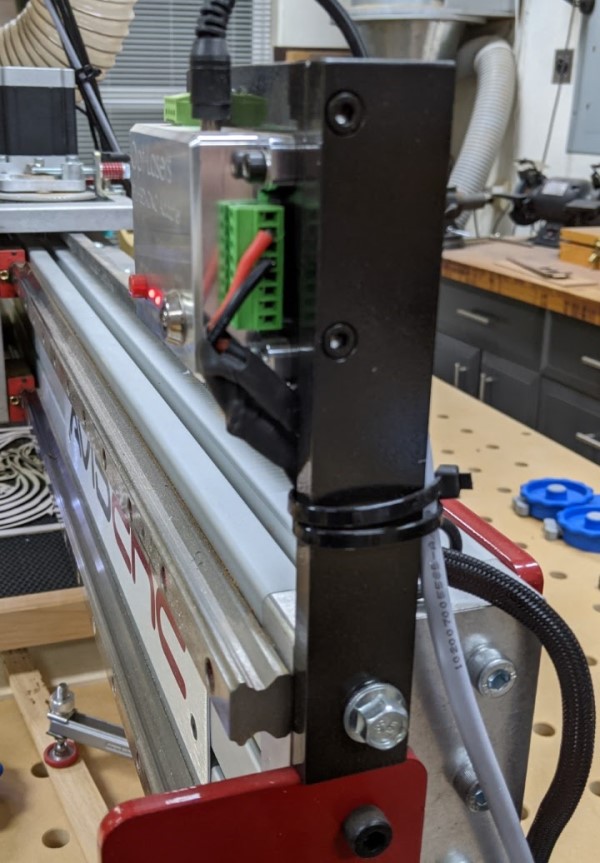
1. The CNC Adapter box will need mounting brackets. The PLH3D-CNC Adapter should be mounted in a convenient spot since you will be turning the laser head power on and off, as well as locking it out for safety.
2. The PLH3D-CNC Adapter can be mounted to the end of the gantry with a few pieces of 3/8" aluminium plate. Please make sure it is mounted in such a way that the Y-axis travel is not restricted. The drawing for the PLH3D-CNC Adapter's bolt pattern can be found on the Opt Lasers Grav website.
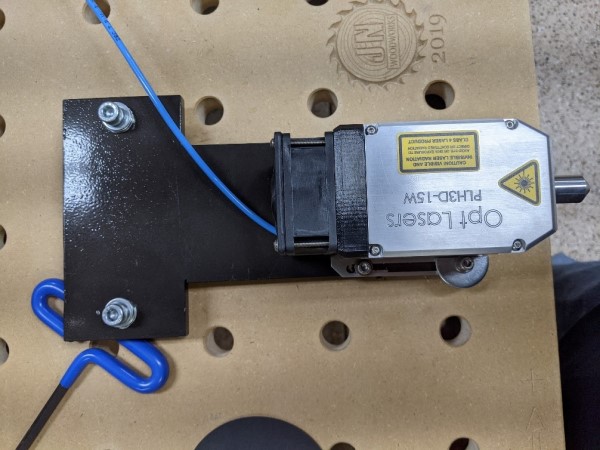
2. The Laser Head needs to be mounted to the Z stage. It can be mounted underneath or beside the router.
Important: Make sure you have enough Z travel to clear clamps, etc. when making rapid movements across the table, but still get close enough to the workpiece surface for cutting.
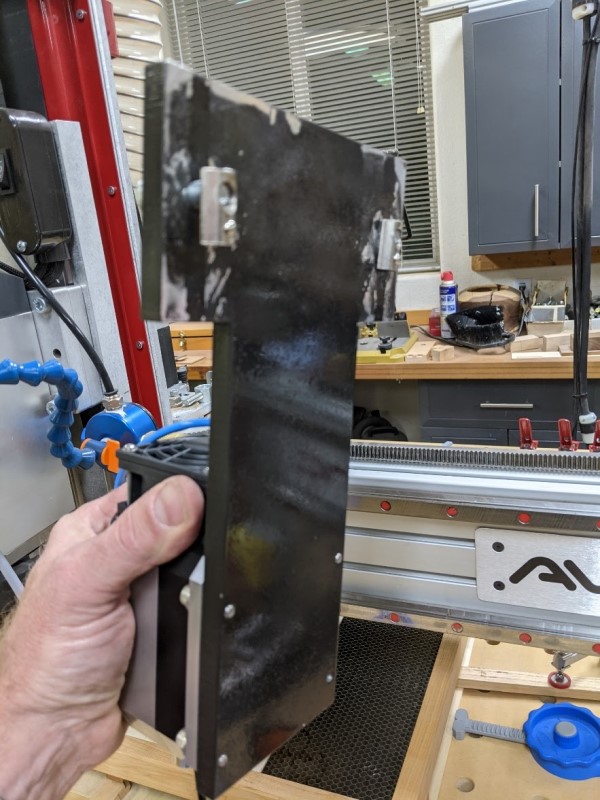
3. The picture below shows the use of a 3/8" aluminium plate, but ¼” would be adequate as well. The mounting bracket uses two 4040 series drop-in T nuts with M8 bolts. The T nuts slide into the Z stage slots easily from the bottom. You can use a long 6mm Hex driver to tighten the bolts.
NB: Faztek 15 series T nuts will also fit. The 5/16" bolt size should be used if you decide to use Faztek 15 series T nuts. Please refer to the plate drawing in point 4 and the Dimensions and Pinout section of the PLH3D-15W Engraving Laser Head Manual for the required bolt pattern.
Suggested Laser Head Mounting Bracket Drawing
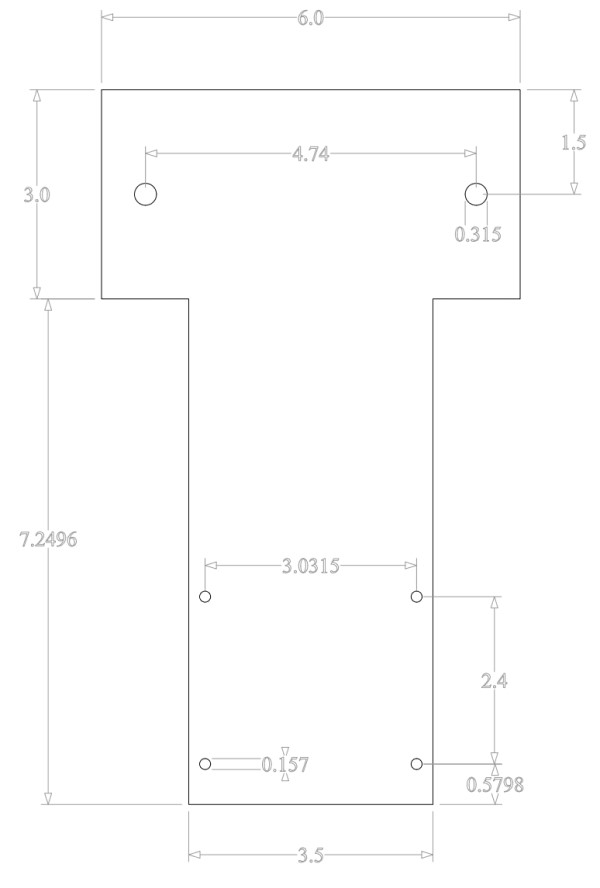
- The only critical dimensions are the horizontal drill spacings
- Small and large hole diameters can be changed to match your desired bolt sizes
- All dimensions shown are in inches
NB: The relevant step file for the mounting bracket can be found in the downloads section of our website (please go to the CNC Laser Mounting Plates 3D Files subsection) https://optlasersgrav.com/files-download
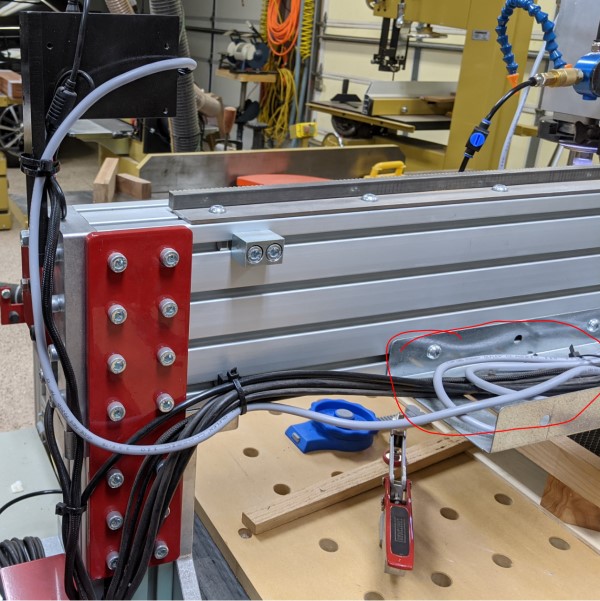
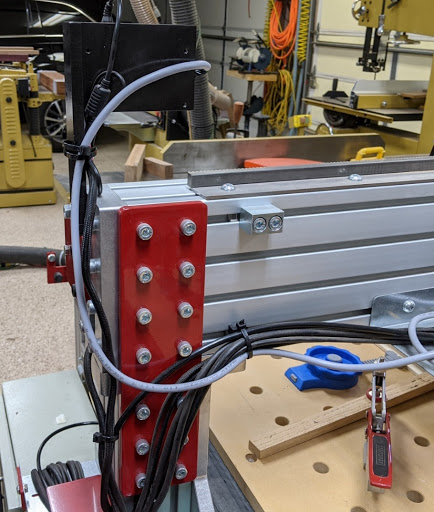
4. The supplied PLH3D-CNC Adapter to Laser Head Cable can be routed from your PLH3D-CNC Adapter location through the E-chain chase to your laser head location. Please roll up extra cable in chase.