CNC Shield & Arduino Laser Upgrade - Wiring Setup
- Connection of the CNC Shield
- Connection of the Arduino UNO with CNC Shield and wire to stepper motors
After making sure that the Arduino is disconnected from the USB socket and power supply, we plug the CNC Shield into the Arduino using header connectors, in the overlay they will be male connectors, in the Arduino female connectors, connect them in the same way as they are described with symbols, orientation RX to RX.

- Then connect CNS Shield board onto the Arduino UNO, pay attention to the alignment of the headers as you mate the boards.
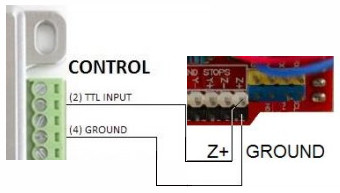
- Connecting motors, limit switches and engraving head attaches the machine as is shown in Scheme connections.
We attach to the CNC Shield controller, motors, limit switches, 12-30V power supply, PLH3D-6W laser engraving head, additionally PLH3D-CNC Adapter was used.
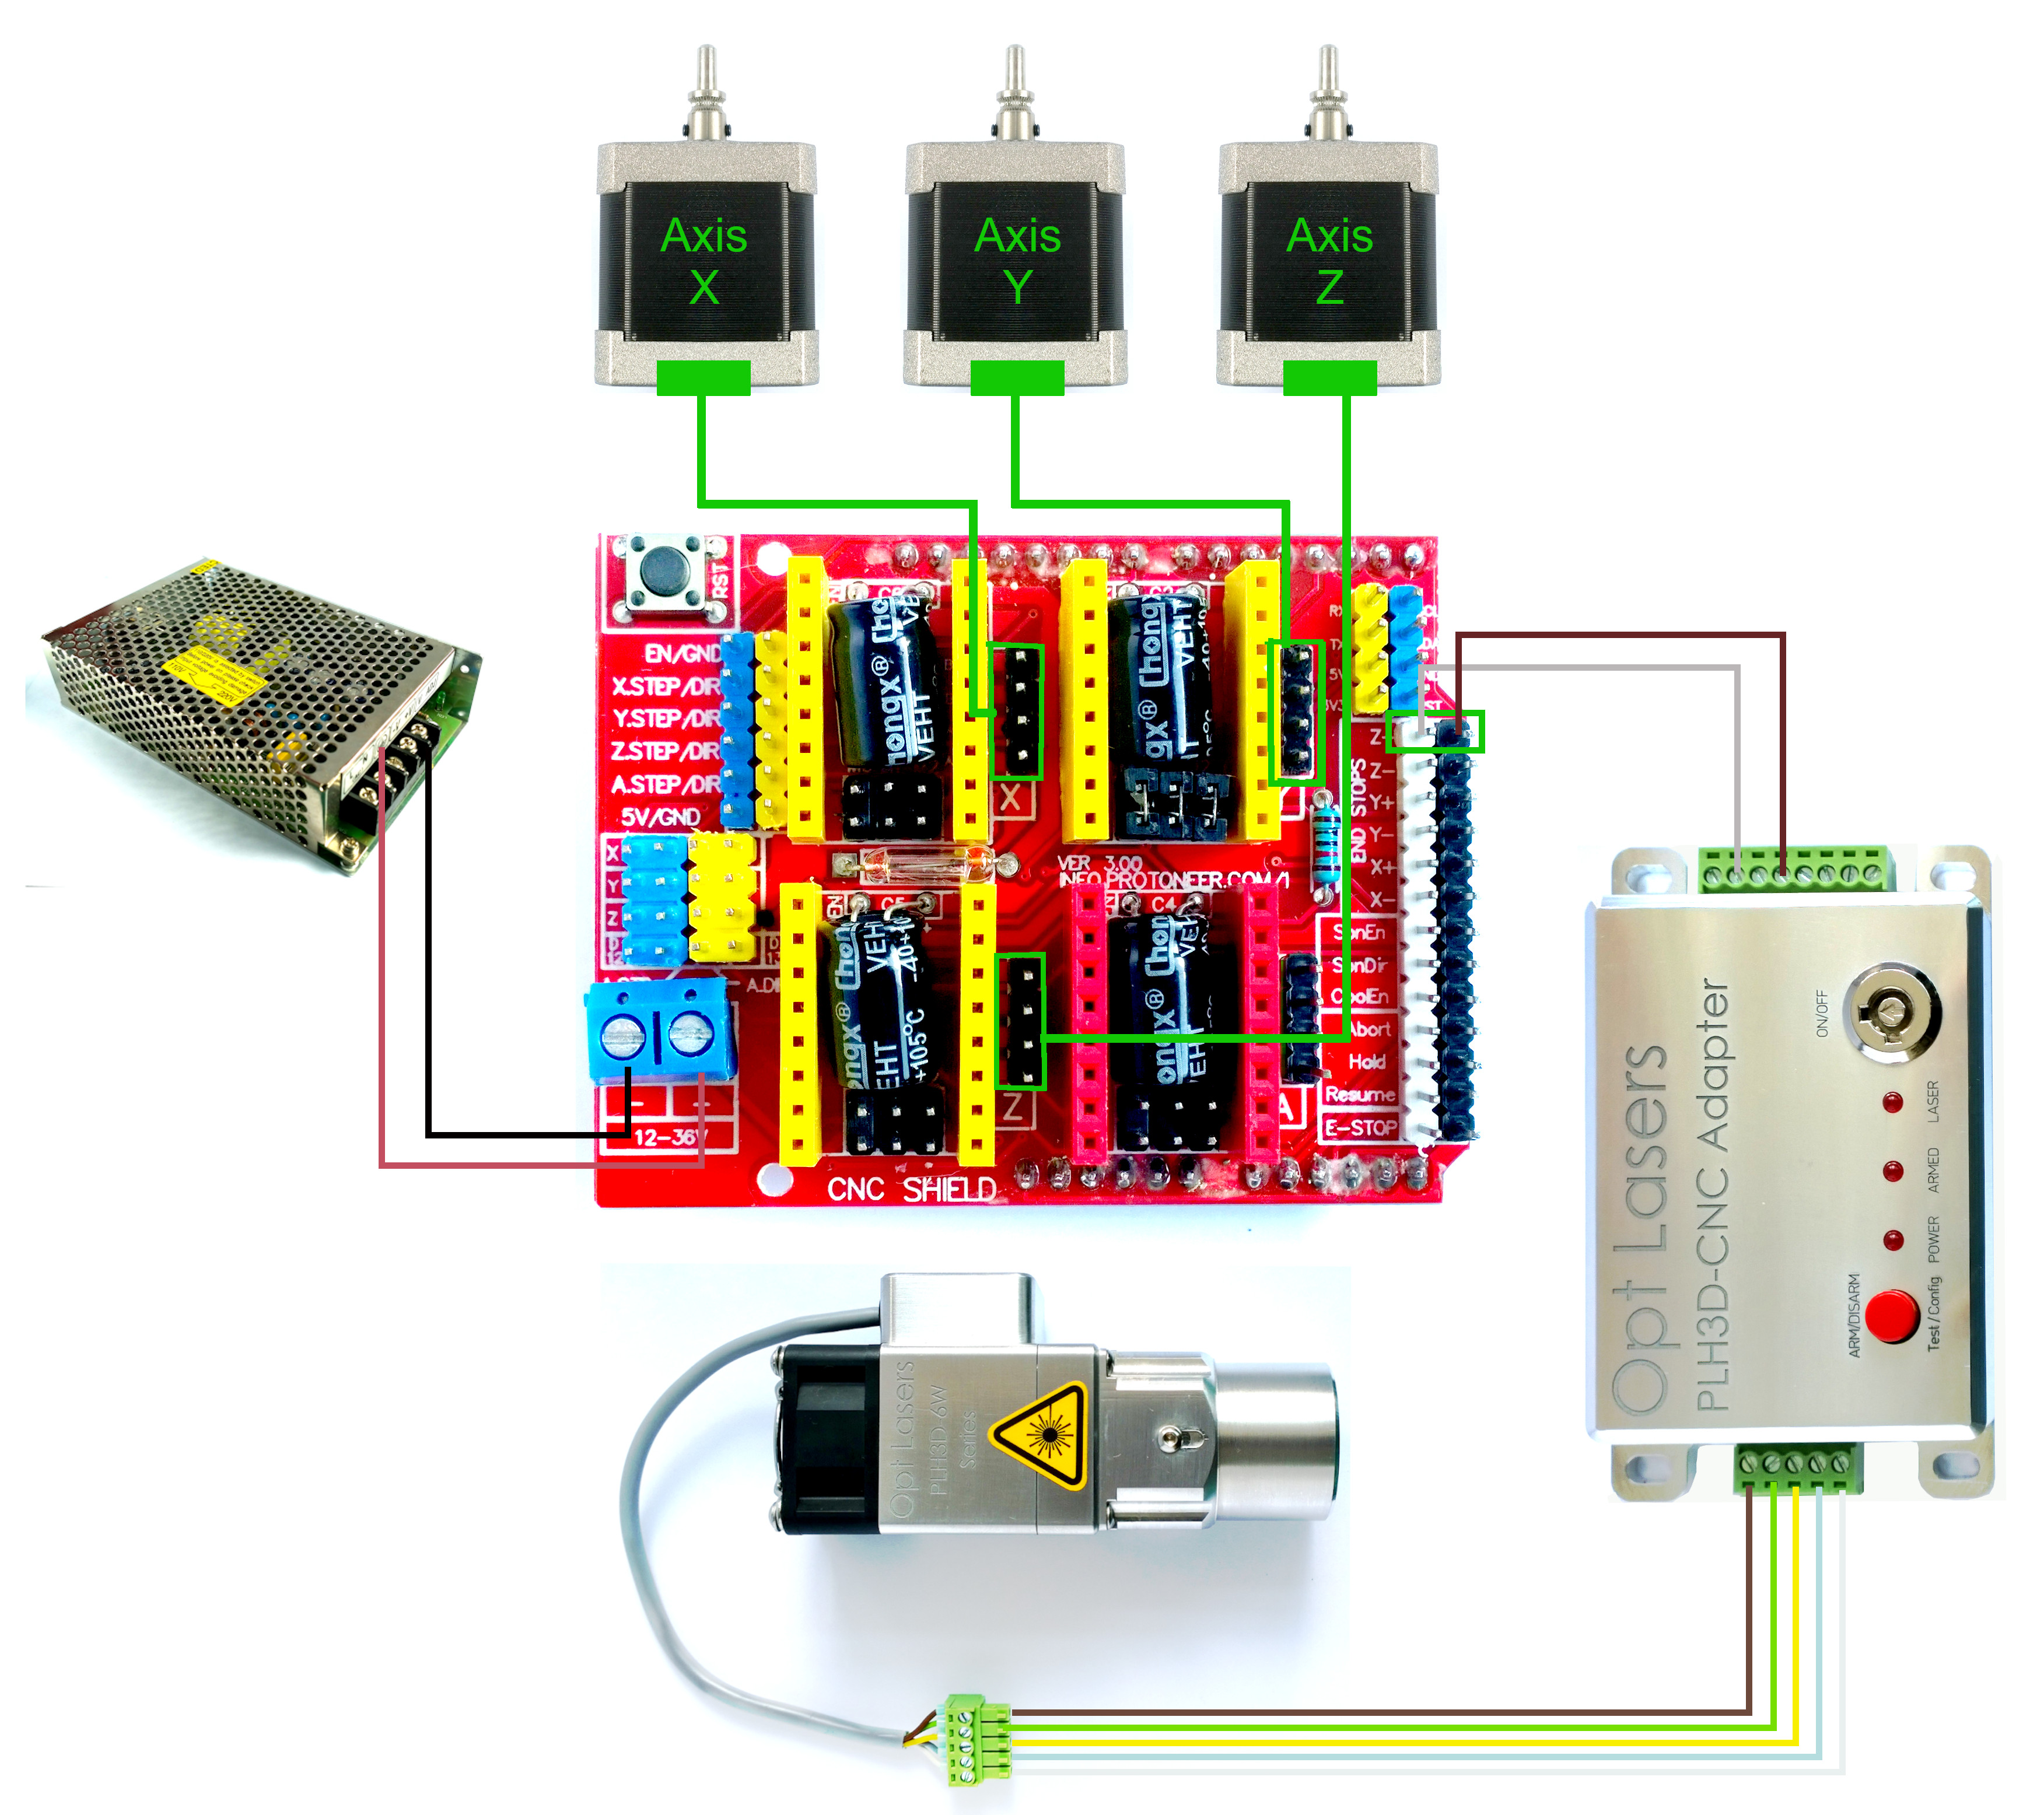

- The best and safest solution is connecting the CNC Shield controller with the PLH3D laser engraving head through the Universal CNC Adapter (PLH3D-CNC-Adapter).
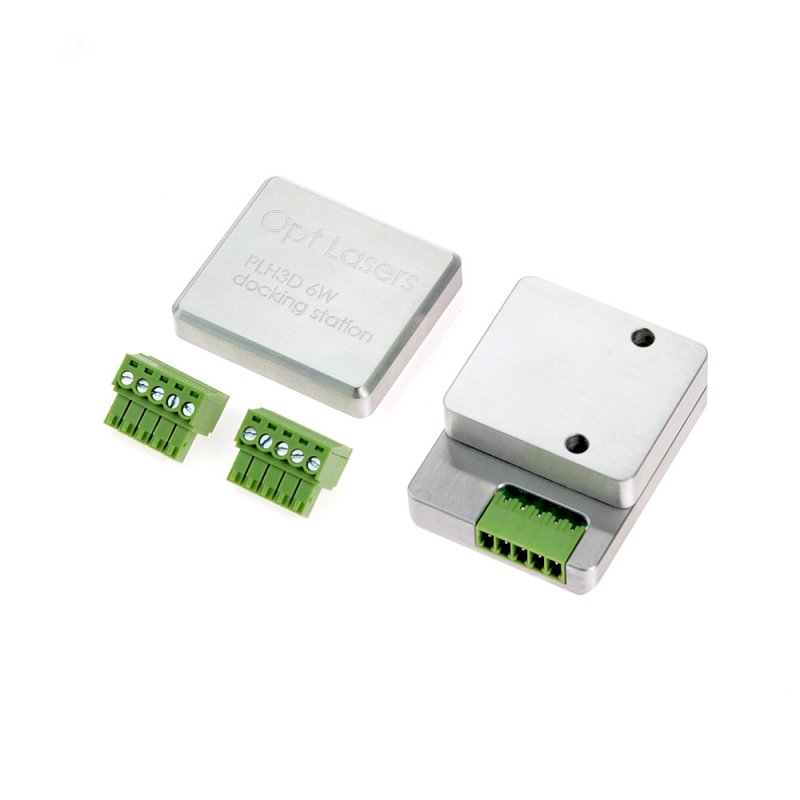
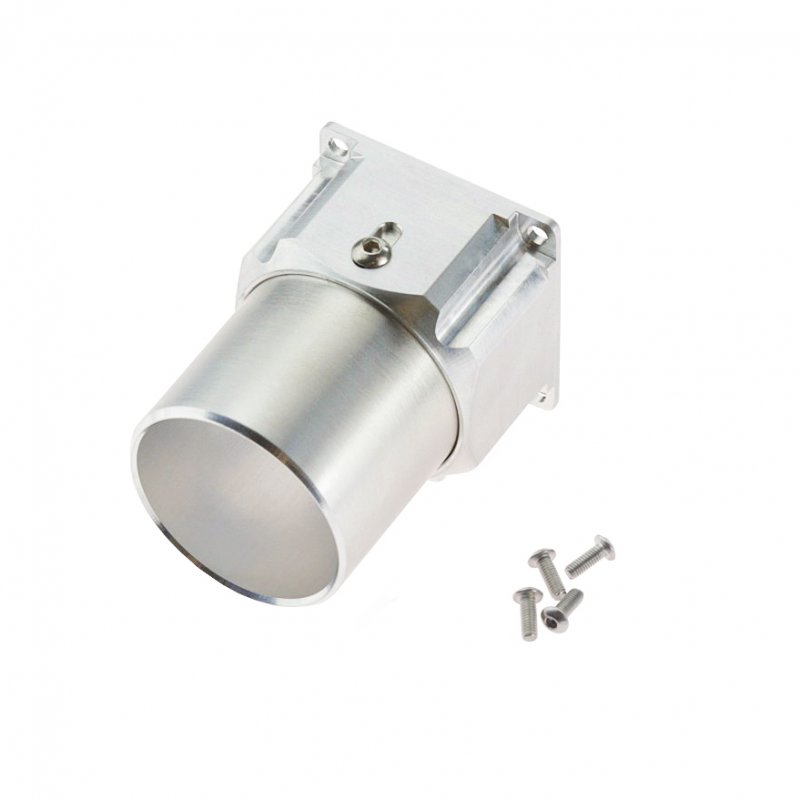
- For more security, you can use the magnetic LaserDock station and Magnetic Nozzle
https://optlasersgrav.com/accessories/plh3d-6w-nozzle-43mm-spindle-adapter
https://optlasersgrav.com/accessories/plh3d-6w-docking-station
- Once the machine with the controller and the laser engraving head is connected, a 12-30V power supply can be connected to the CNC Shield controller, the power supply attached to the PLH3D-CNC Adapter can be used to power the laser engraving head.
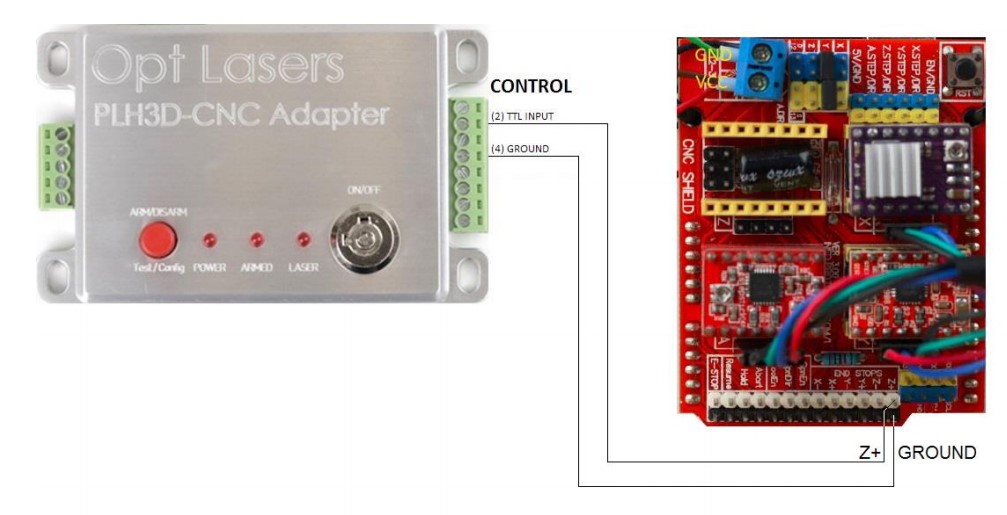
- PLH3D-CNC Adapter set to program 0
![]()
- More information in the Manual at
https://optlasersgrav.com/accessories/plh3d-cnc-adapter