LEAD and WorkBee Laser Upgrade - First Job
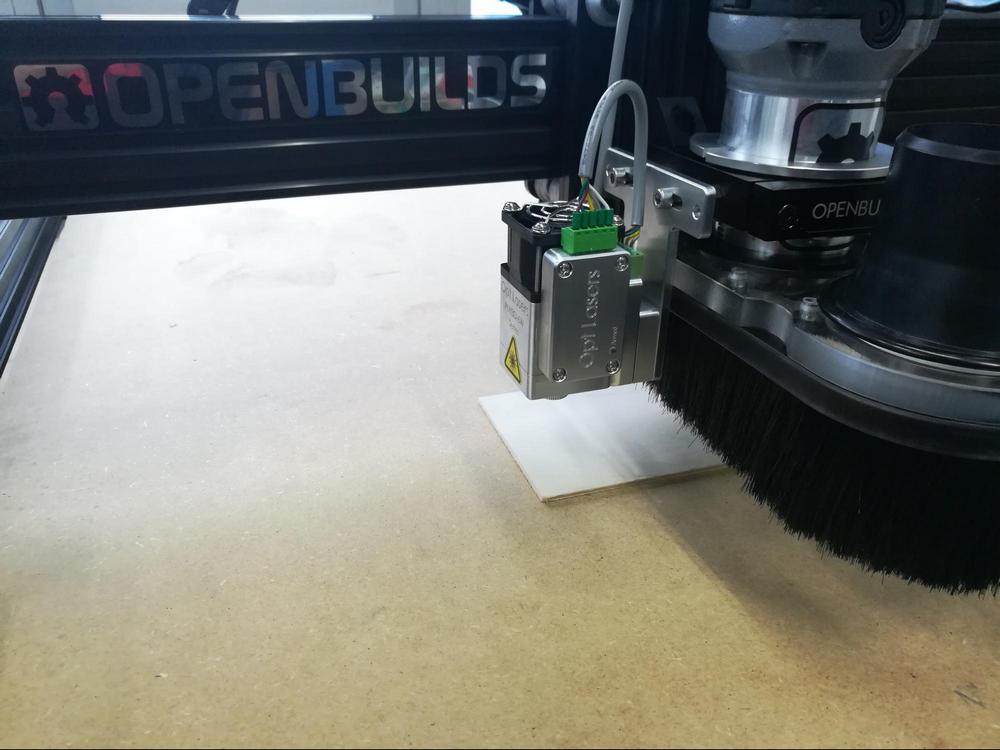
1. Once the PLH3D laser head has been properly connected, place a piece of plywood on the table within the working range of your LEAD CNC machine. Move the laser head in the X- and Y-axis to have the laser module stationed just above the bottom left corner of the plywood fragment.
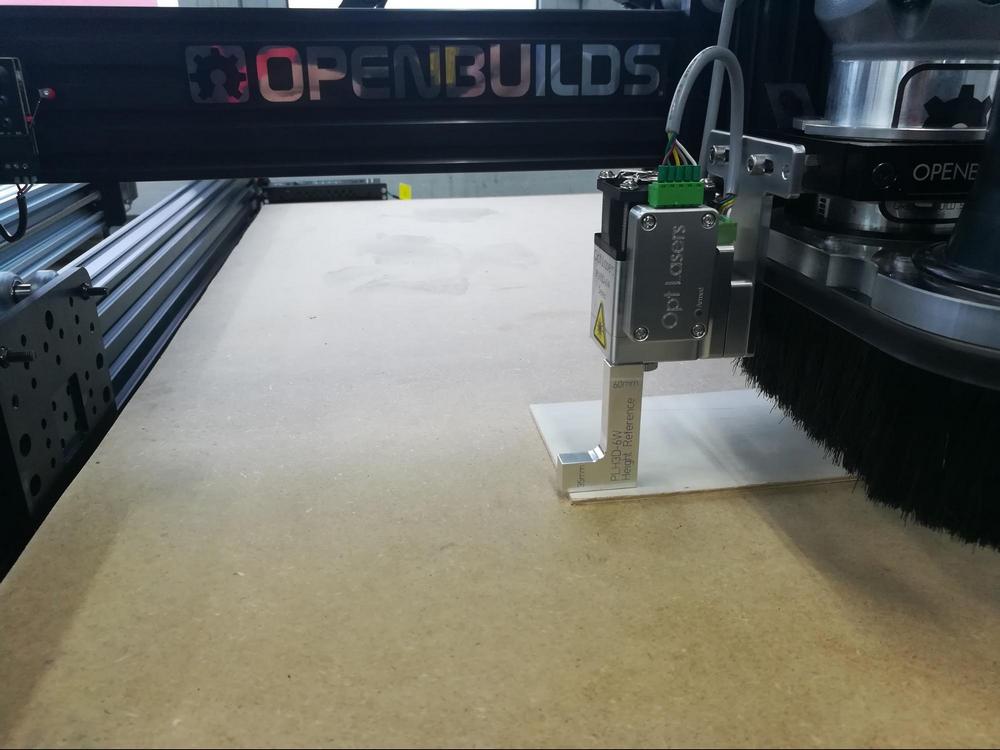
2. Using the PLH3D-6W Height Reference Tool, position the laser head 60 mm above the plywood specimen’s surface.
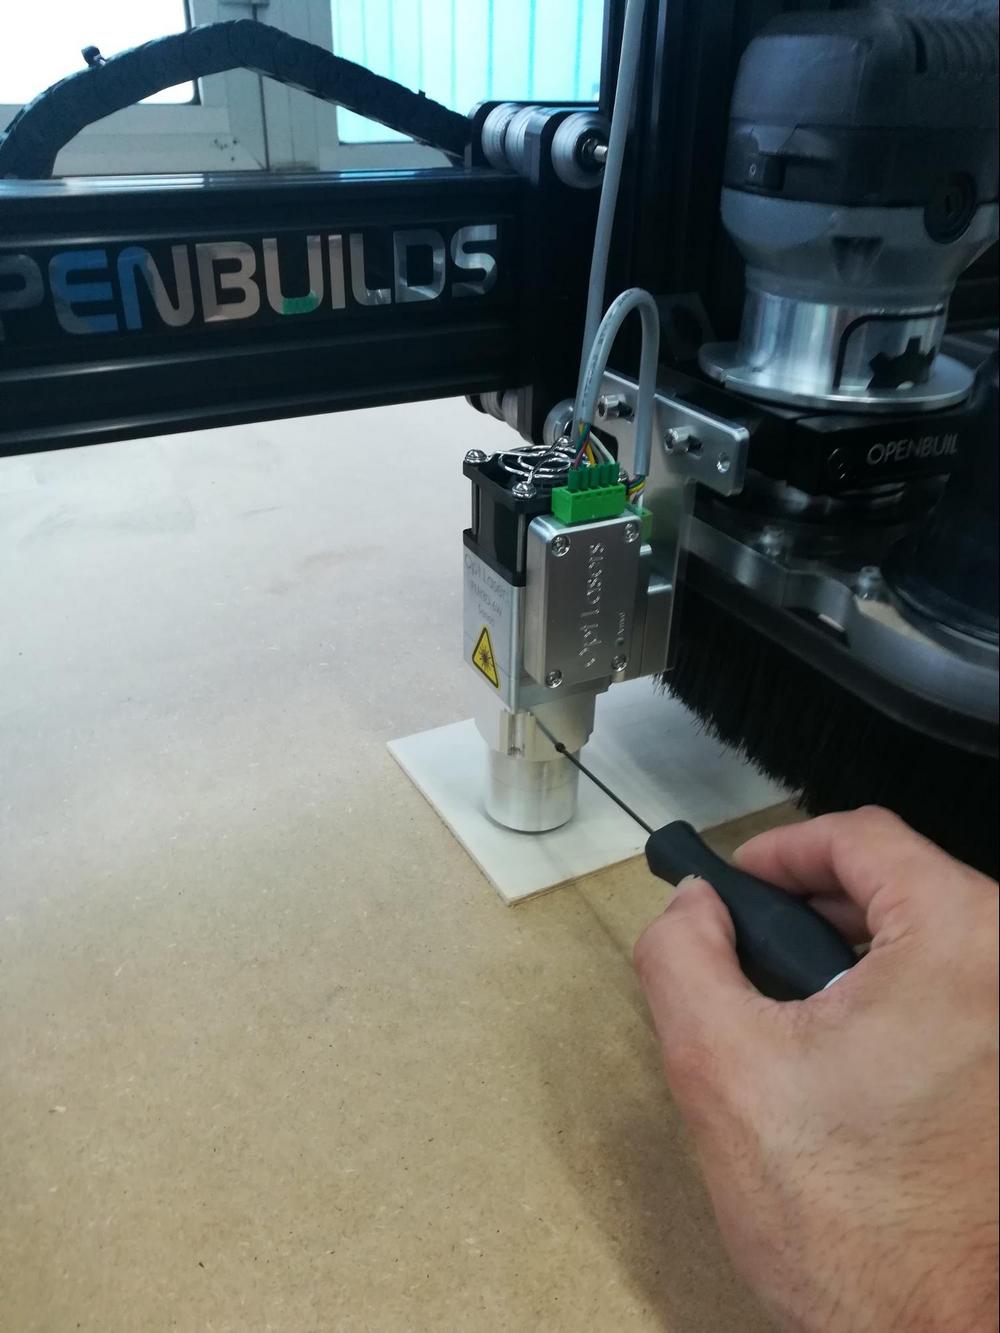
3. Attach the nozzle to the laser head using their natural magnetic attraction. Adjust the length of the nozzle by loosening the screw as shown in the picture below. The distance between the nozzle and the surface of the material being engraved should be around 5-8 mm.
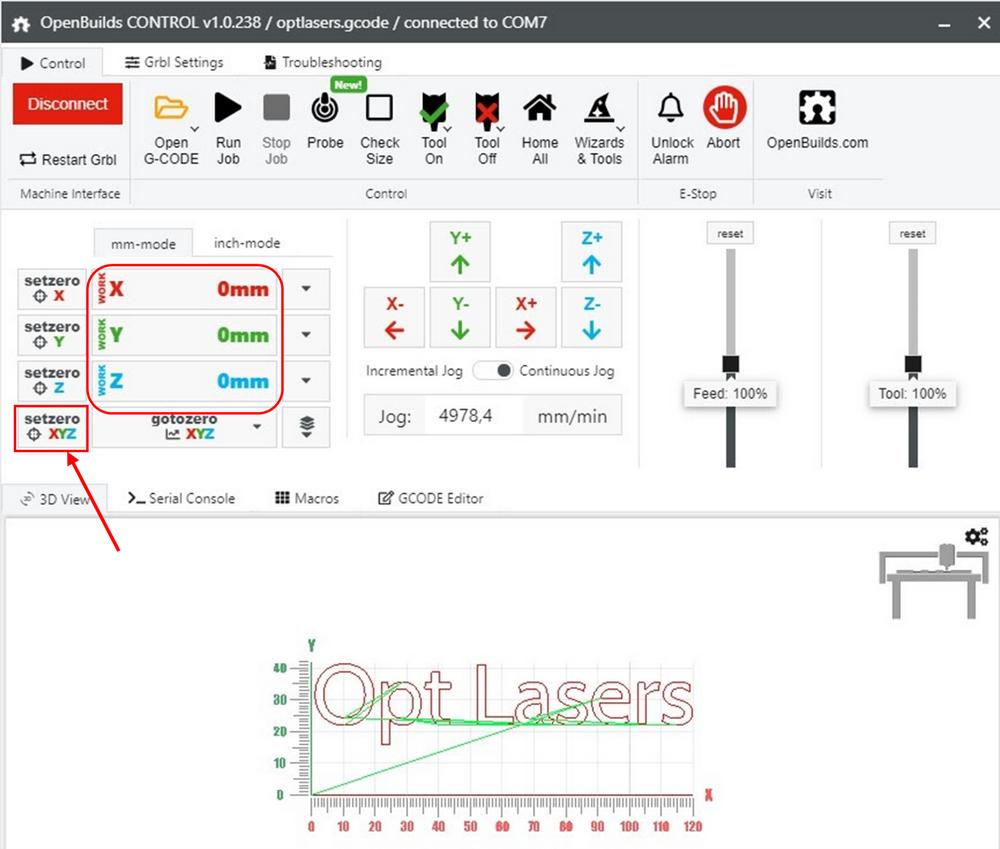
4. Click the “setzero XYZ” button. Doing so will set the XYZ coordinates to zero at this chosen position.
5. Open the OpenBuilds G-CODE generator.

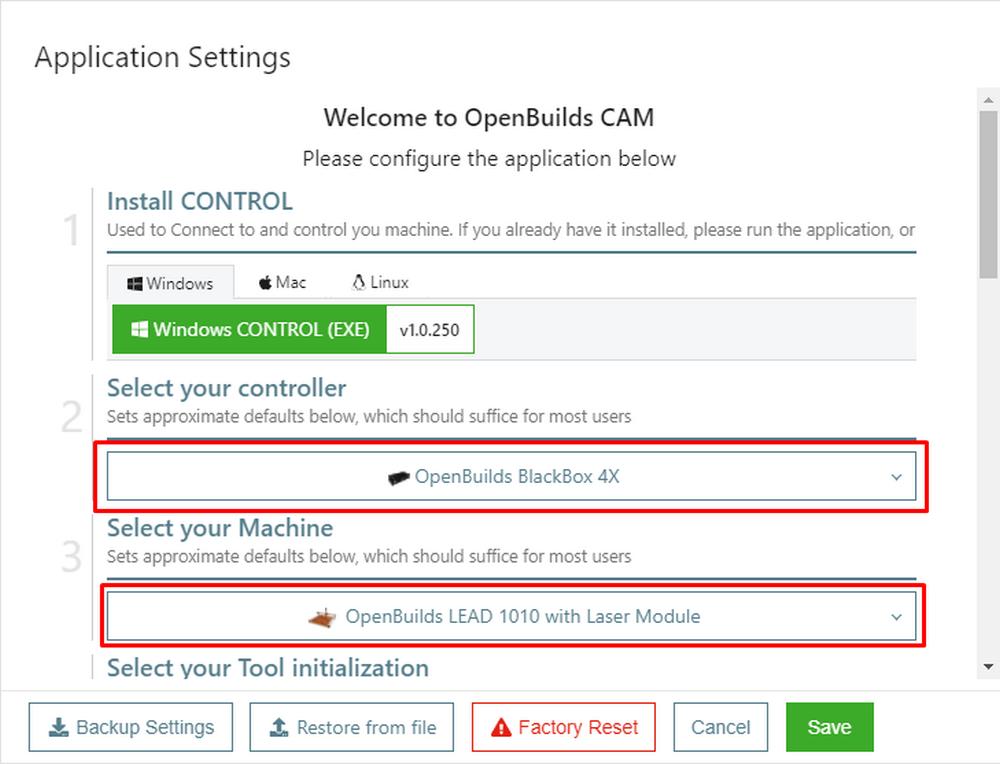
6. A window will pop up, prompting for a machine configuration. Please select the correct controller and the appropriate machine model as shown in the picture below:
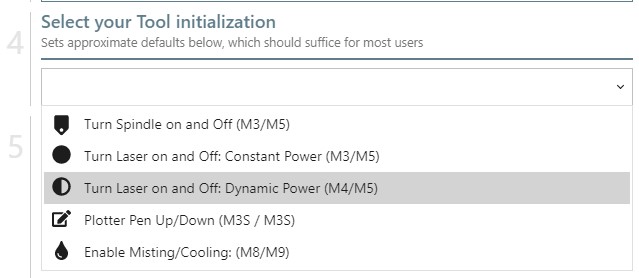
7. In the fourth section of the machine configuration, namely “Tool initialization”, select "Turn Laser on and Off: Dynamic Power (M4 / M5)".
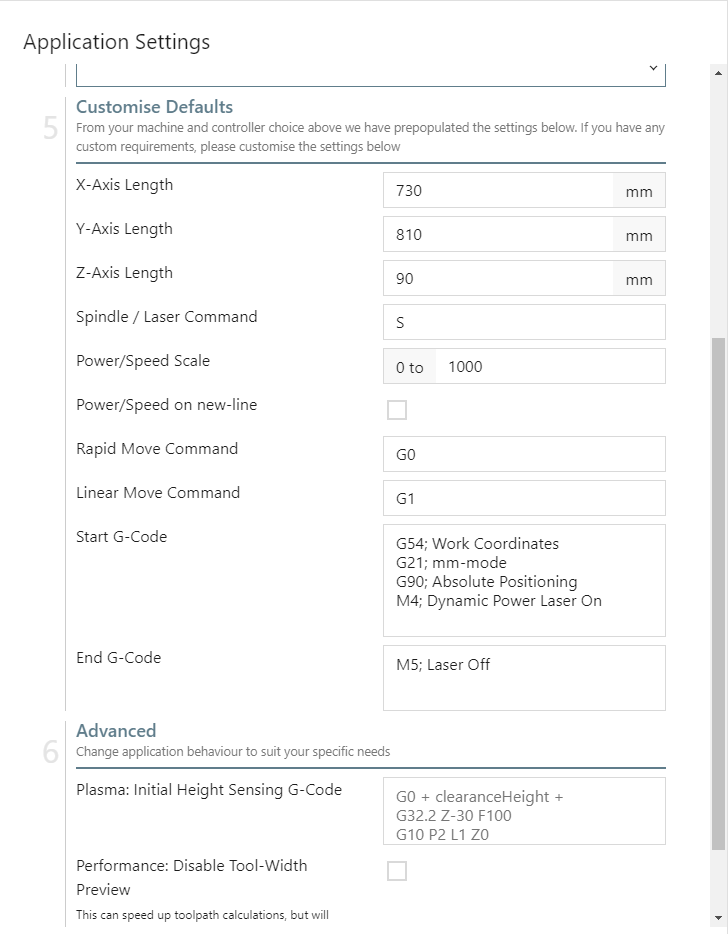
8. In the subsequent section of the machine configuration, you can set customized parameters for the machine working area and laser power. Furthermore, it also shows the G-code commands and settings.
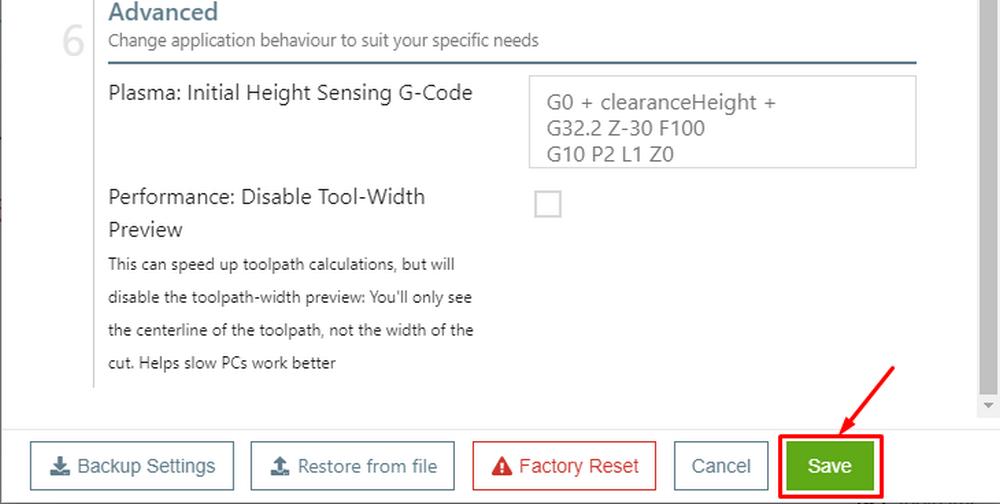
9. Once all desired settings for the machine configuration have been set, click on the “Save“ button.
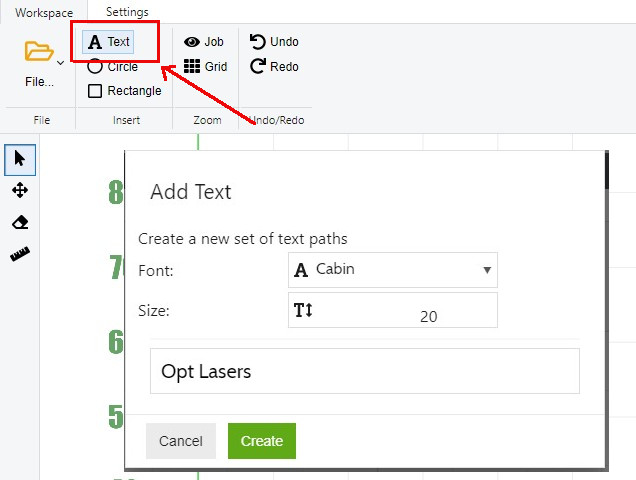
10. You can create a text or an image or a DXF file.
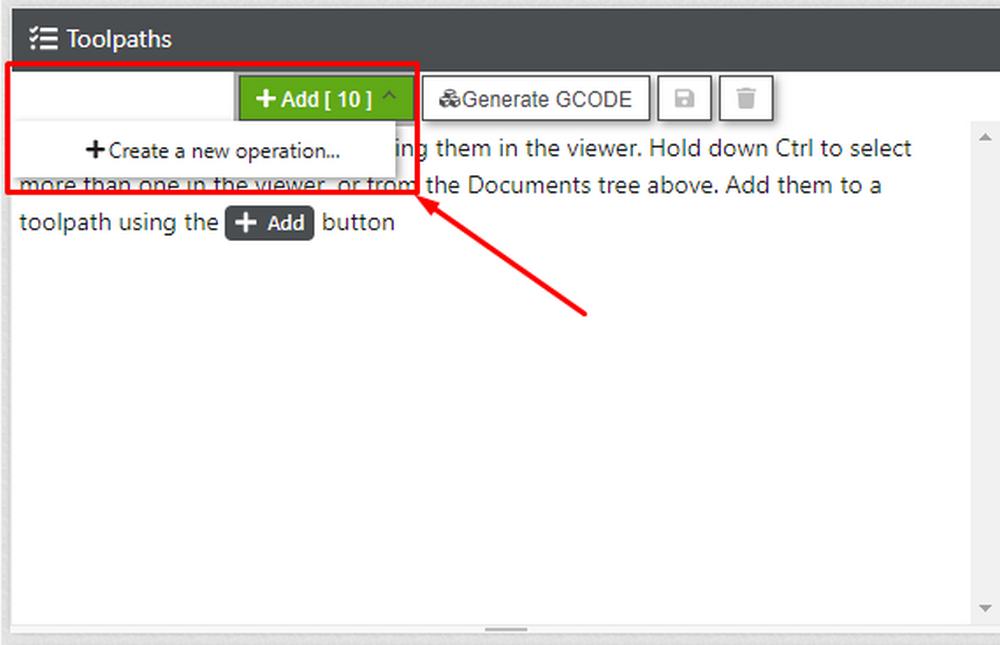
11. Select the text and then click on the "+ Add" button in the Toolpaths section. Next, click on the "Create a new operation" button.
12. Select the “Type of cut”, the cutting speed and the desired laser power. Once that’s been done, you can save the settings by clicking on the “Apply and Preview Toolpath”.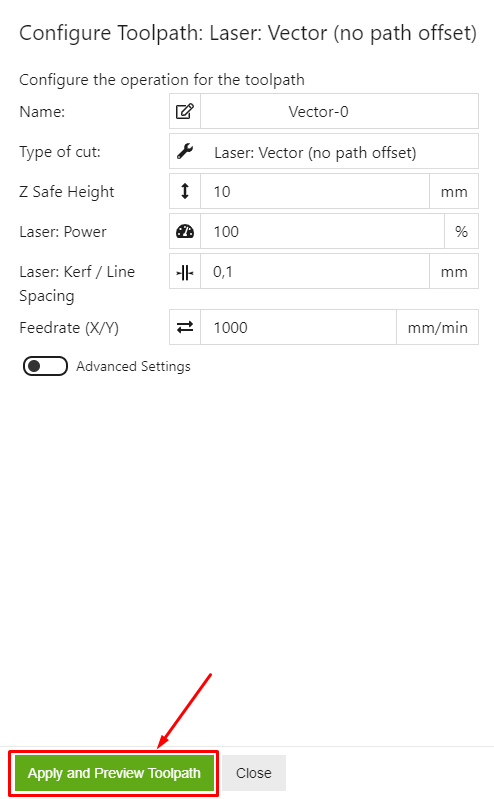
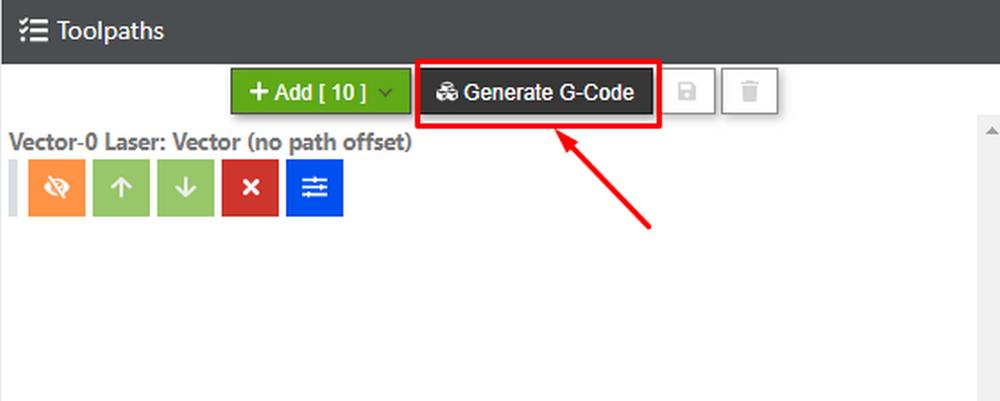
13. After saving the settings generate the relevant G-Code by clicking on the “Generate G-Code” button and save it.
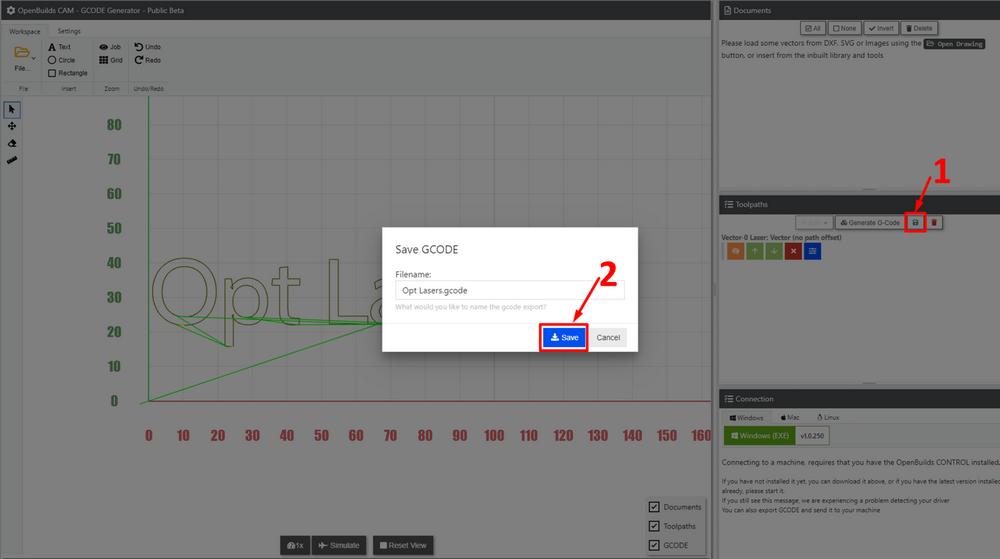
14. Save the generated G-Code by clicking on the save button, labeled with “1”. Having written the file name of choice, click on the save button, labeled with “2”, as depicted in the picture below.
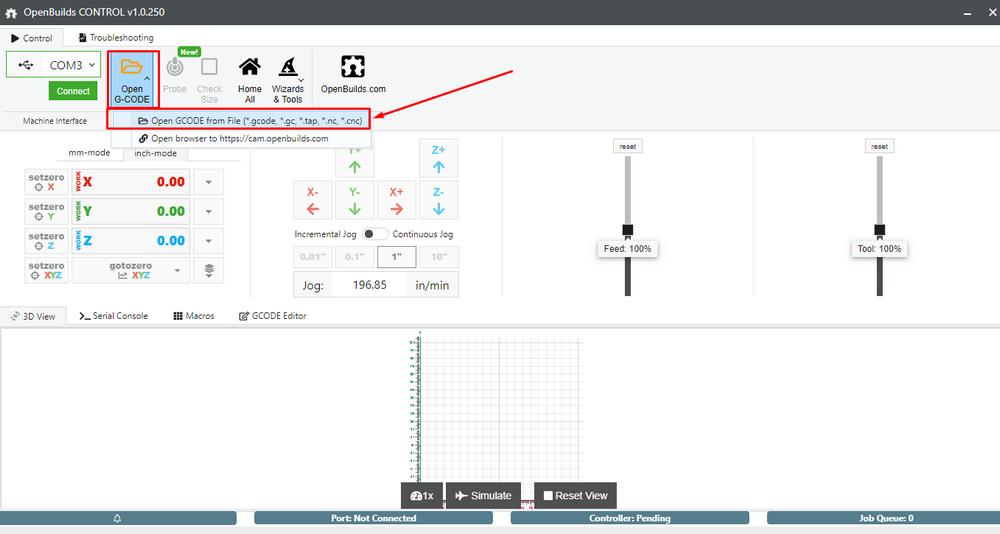
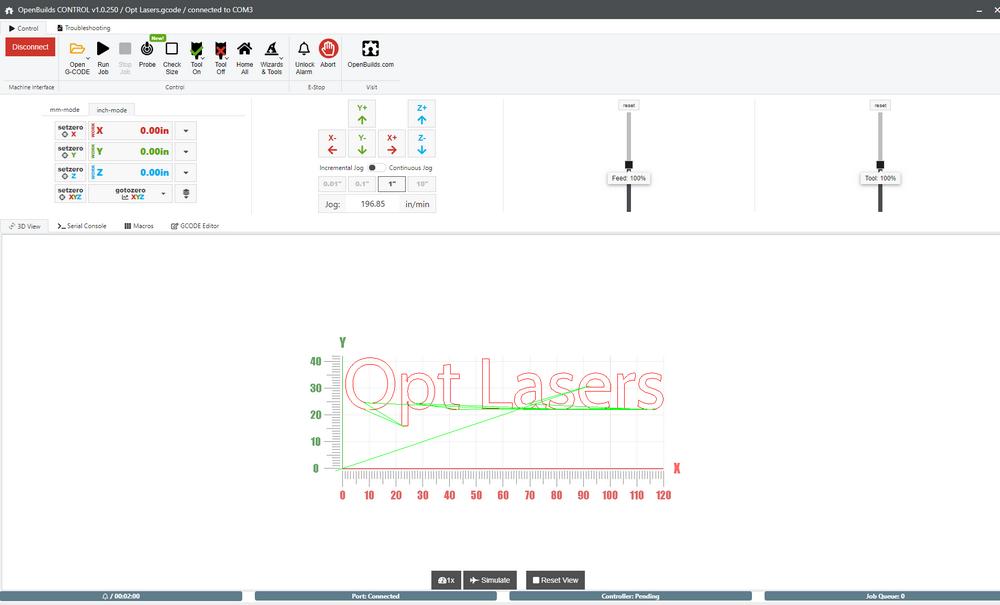
15. Open the “OpenBuild Control”. Then, upload the generated G-Code.
16. Put the Laser Safety Glasses on!

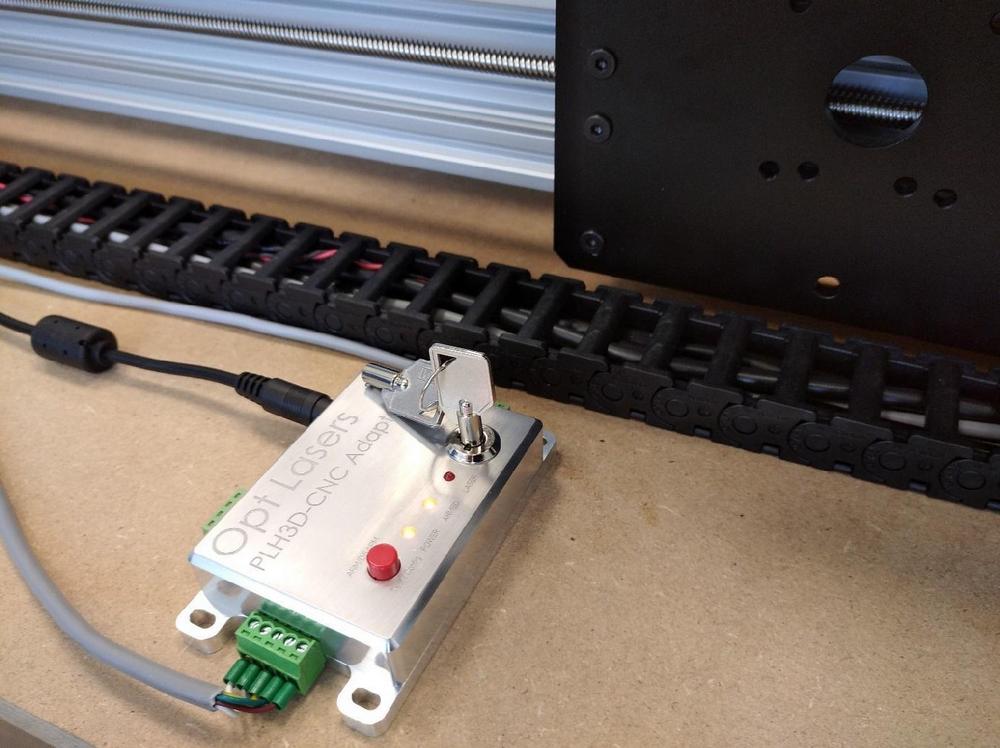
17. Use the key and the ARM/DISARM button to turn on the PLH3D-CNC Adapter and to arm the laser head. POWER and ARMED LEDs should light up.
18. Finally, click on the “Run Job” button and enjoy the results of your hard work.
