Ortur Laser Master 2 Upgrade - First Job
First Job
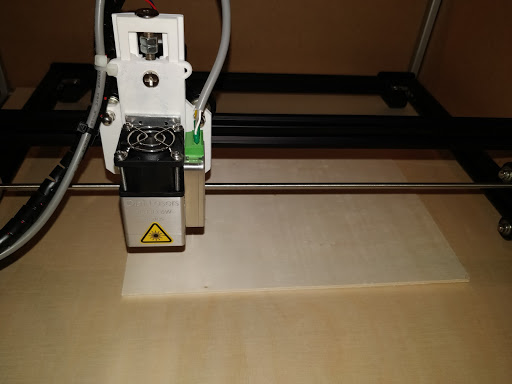
- Connect the PLH3D laser head. Put a piece of plywood on the table of your Ortur Laser Master 2. Move the X- and Y-axis to have the laser head above the bottom left corner of the plywood.
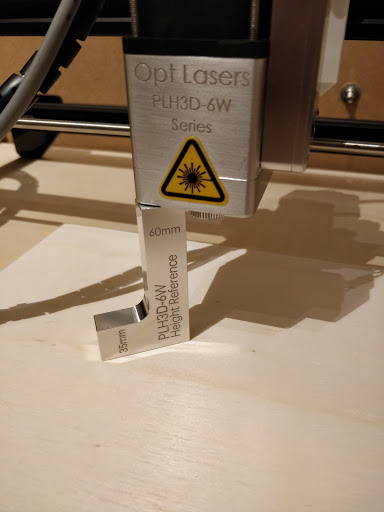
- Using the PLH3D-6W-Series Height Reference Tool, position the laser head 60 mm above the surface of your plywood workpiece.
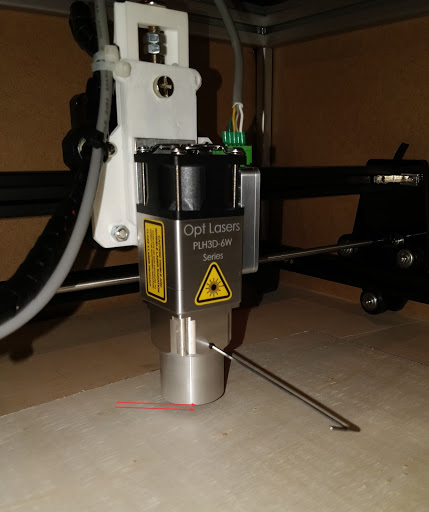
- Attach the Magnetic Nozzle to the laser head.

- Distance between the nozzle and the surface of the workpiece should be 5-8 mm. Use an allen wrench to adjust it in a gentle manner. Do not overtighten the screw.
- Open the G-Code Generator, which can be downloaded for free from https://optlasersgrav.com/cnc-software/g-code-generator
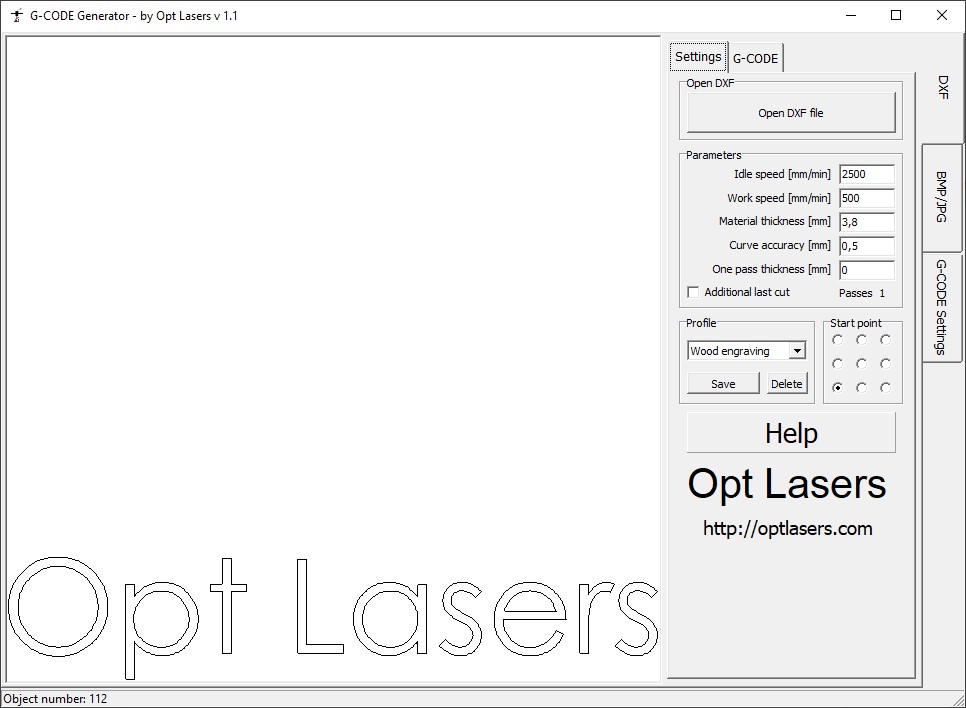
- In the DXF/Settings tab, set the same values for the parameters as in the window below:
- In the G-code Settings tab, choose the ORTUR LM2 profile.

- In the DXF/G-CODE tab, click the Generate G-Code button.
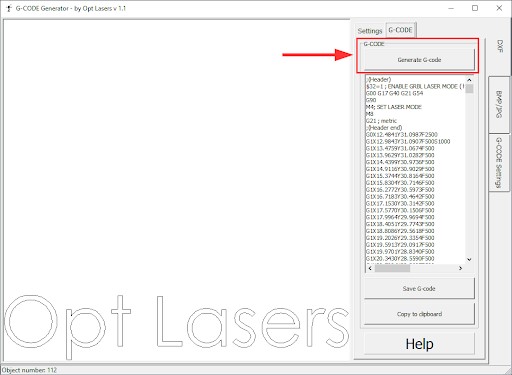
- Click the Save G-code button. Give it an appropriate name and save it in a convenient location.

- Next, open LaserGRBL - this software comes with the Ortur Laser Master 2. You can alternatively use any kind of your preferred laser cutter software, which is able to handle G-Code data. Please ensure that you import the profile file "CustomButtons.gz" into the LaserGRBL (please refer to the Ortur Laser Master 2 instructions). You can then use LaserGRBL to control this laser cutter and engraver directly.

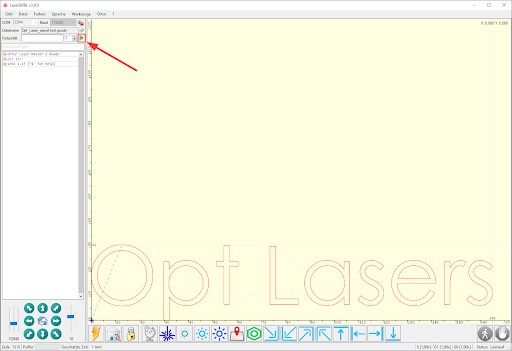
- Load the previously saved G-Code file into the LaserGRBL software. Press "File", then "Open File". After that, check your COM port and press the connect button.
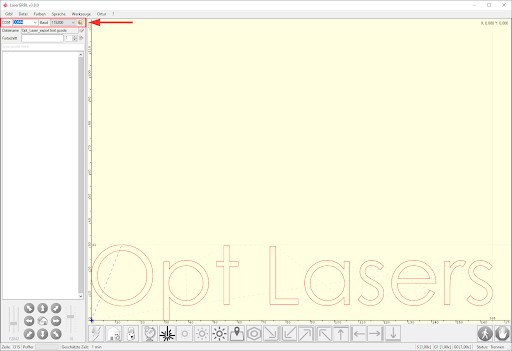
Once it is connected, you can see the machine status:

- Put the Laser Safety Glasses on!
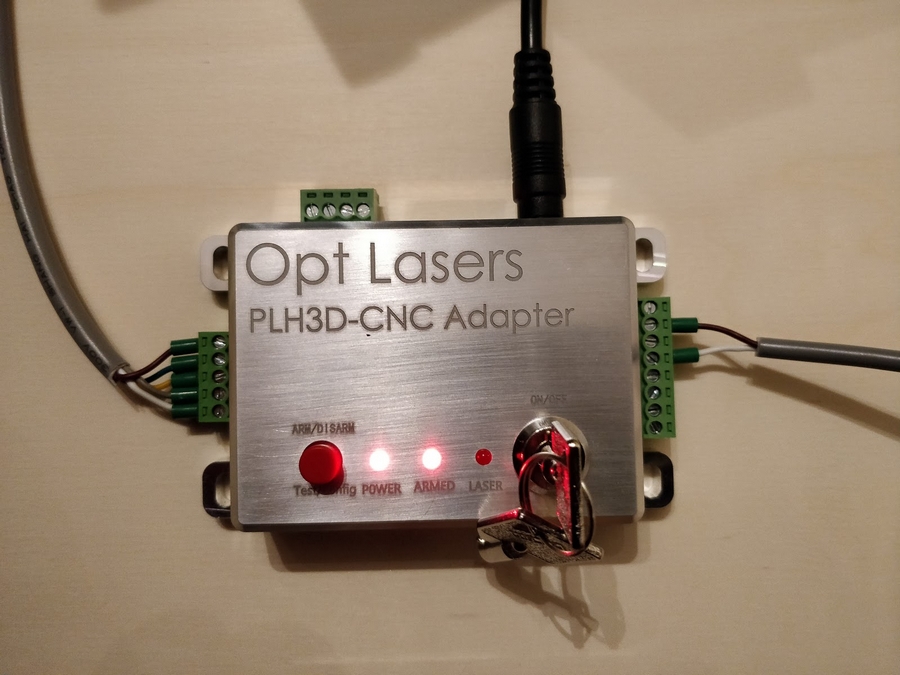
- Use the key and the ARM/DISARM button to turn on the PLH3D-CNC Adapter and arm the laser head. POWER and ARMED LEDs should light up.
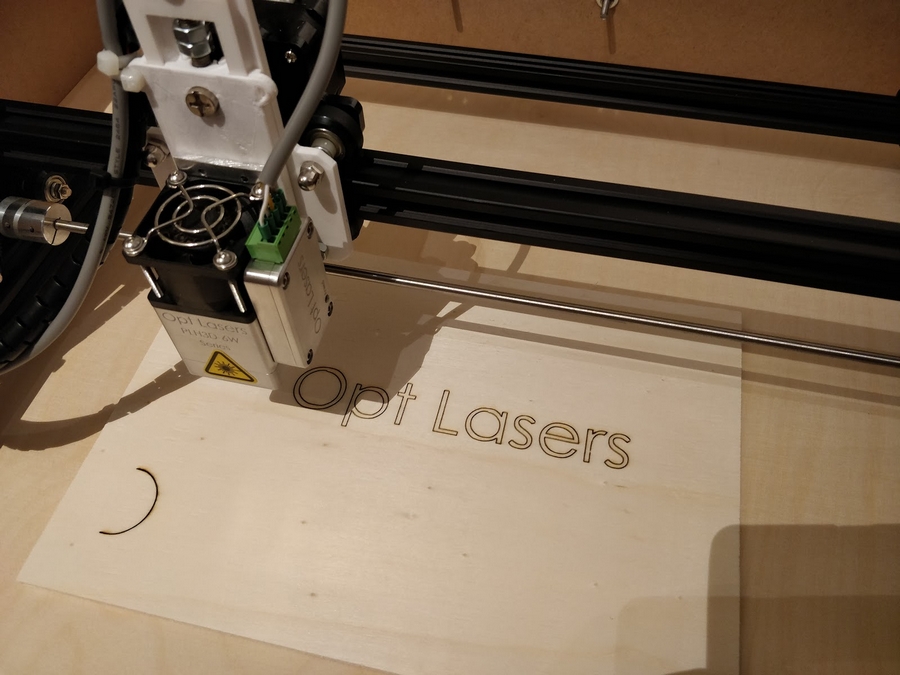
- Once you set the correct coordinates, press Play button and start lasering. Laser will start engraving immediately.
- Your first job with the PLH3D laser head is done!