Shapeoko Laser Upgrade - Wiring Setup
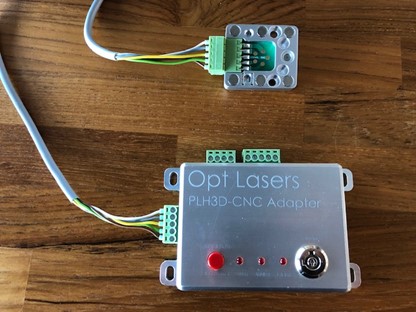
1. Unpack the Opt Lasers PLH3D-CNC Adapter.
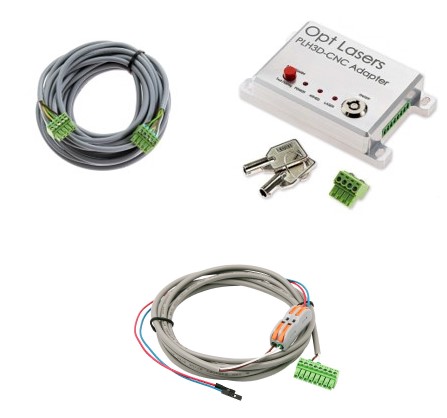
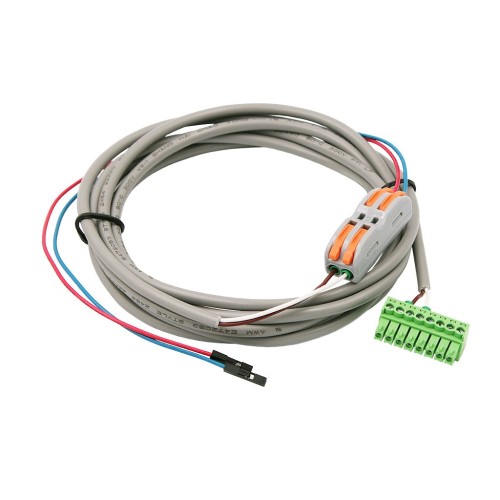
2. Plug one end of the 5 M Adapter to Laser Head Cable to the female part of the LaserDock.
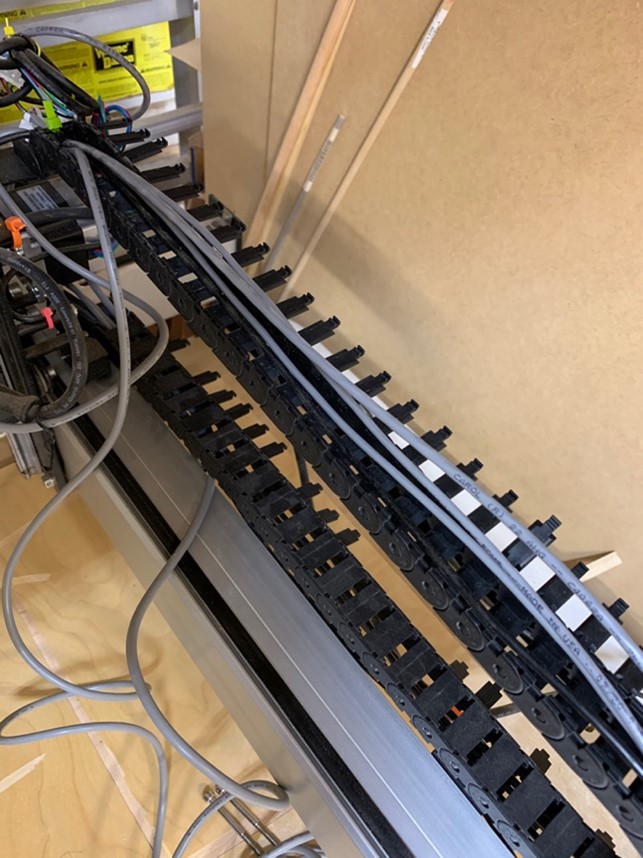
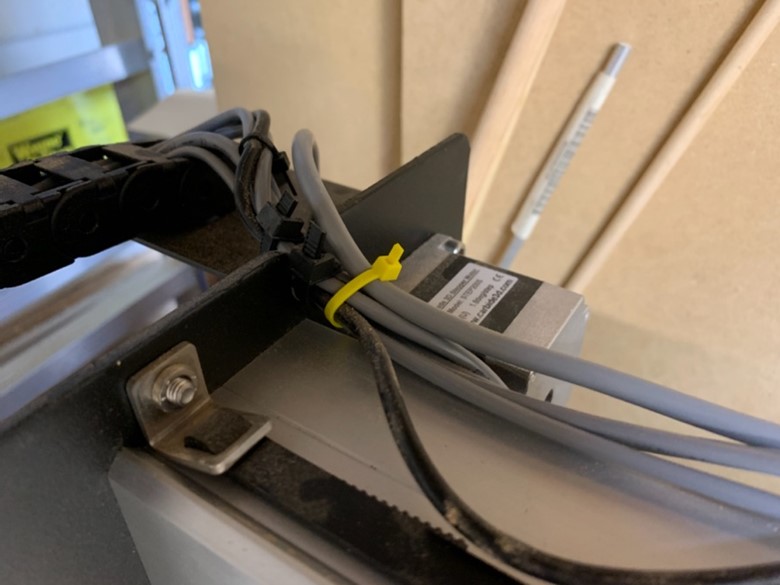
3. Run the cable behind the spindle and attach it to the spindle cable with cable ties. You can then either secure it along the x-axis drag chain with zip ties or route the cable into the x-axis drag chain. Routing the cable into the x-axis drag chain can be achieved with a flat-bladed screwdriver. Feed the other end of the 5 M Cable through the end of the drag chain and out the left side of the machine. At this point you can attach it to the bundle of cables with a cable tie.

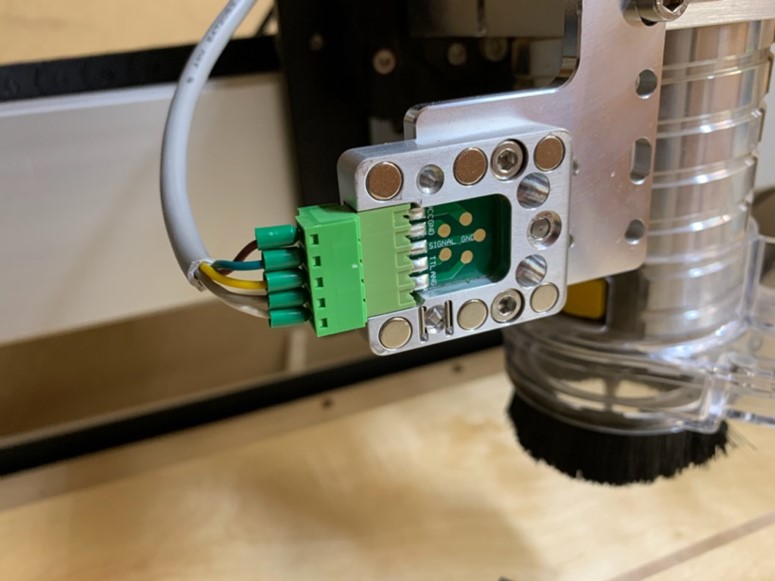
4. When connecting the 5 M Cable to the LaserDock, be sure to double check the colored wires are properly aligned. They should mirror one another once plugged in.

5. Find a suitable place to mount the PLH3D-CNC Adapter and connect the other end of the 5 M Laser Head Cable to the left side of the PLH3D-CNC Adapter.
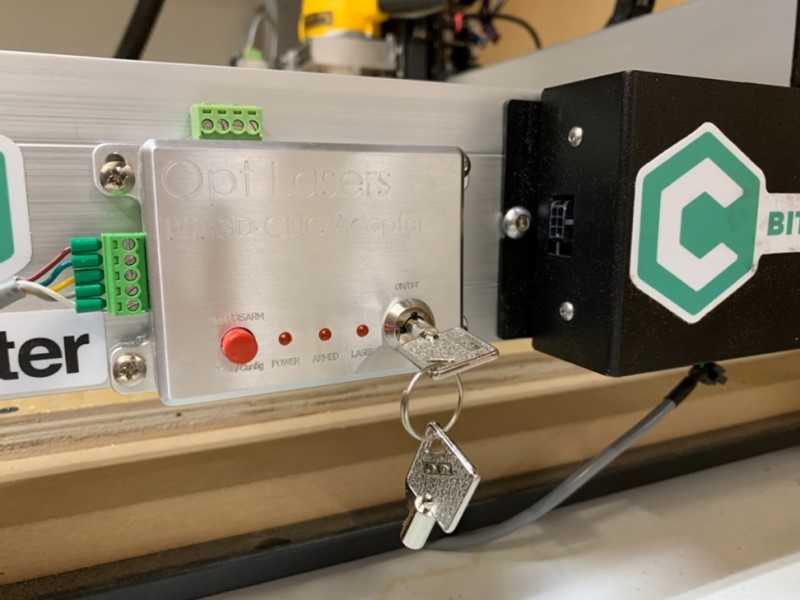
6. Attach the green connector to the right side of the PLH3D-CNC Adapter.
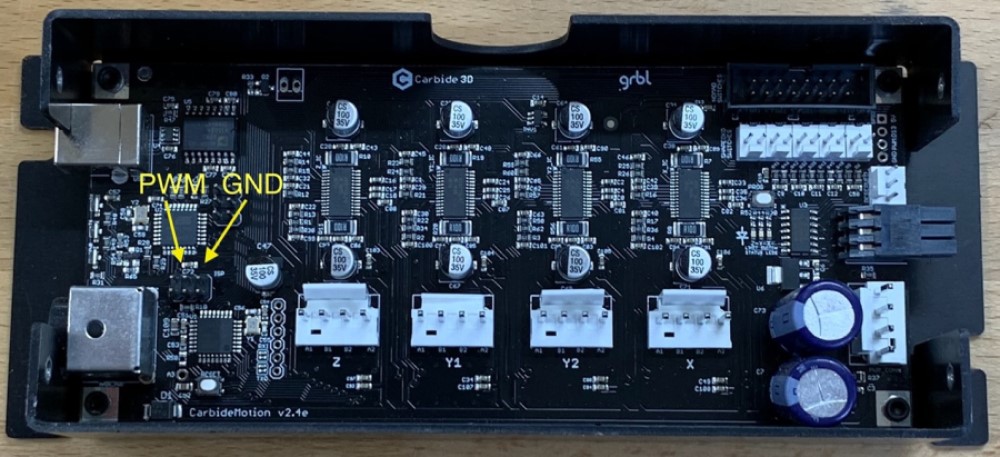
7. Connect the 2 core wire Adapter inputs to the spindle outputs on your Carbide3D printed circuit board. The Brown wire should go into the top center pin indicated below (PWM). The White wire needs to be connected to top right pin depicted below (GND).
8. Put on your Laser Safety Glasses. Ensure nothing unintended is left in the path of your laser. Ensure that the Adapter is off.
9. Insert the power cord into the PLH3D-CNC Adapter and plug the opposite end into your outlet.