Stepcraft Laser Upgrade with PLH3D-Series - PLH3D-CNC Adapter Settings
For Stepcraft Machine the program should be set to 11.
Specific CNC machines issue special “disable/enable” signals for turning the cutting laser beam off and on. The PLH3D-CNC Adapter can be set in such a way that the engraving and cutting laser beam is enabled only for certain states on two Enable inputs and disabled in other cases. A total of 12 distinct combinations of states (called “Enable Options”) may be selected. This allows the PLH3D-CNC Adapter to connect with virtually any machine. Disabling affects the controlling signal only and does not cause disarming of the cutting laser head.
The table below shows the appropriate settings of the “Enable Options” for a choice of widely used machines.
The PLH3D-CNC Adapter is shipped with the Enable Options already matching the user’s machine.
In any case, it is worth double-checking to confirm that the befitting software is loaded before operating the cutting laser head.
|
Machine |
Enable options |
||
|
X-Carve |
0 |
○ ○ ● POWER ARMED LASER |
ENABLE1=any ENABLE2=any |
|
Stepcraft (with UC100 Ethernet Controller and UCCNC) |
11 |
⦿ ○ ⦿ POWER ARMED LASER |
ENABLE1=TOGGLING ENABLE2=HIGH |
|
Shapeoko |
0 |
○ ○ ● POWER ARMED LASER |
ENABLE1=any ENABLE2=any |
|
Z-Morph |
7 |
○ ○ ⦿ POWER ARMED LASER |
ENABLE1=LOW ENABLE2=HIGH |
|
WorkBee/i2R CNC (and other CNC Machines) with Duet Controller |
2 |
○ ● ● POWER ARMED LASER |
ENABLE1=HIGH ENABLE2=any |
|
WorkBee (and other CNC machines) with CNC xPro Controller |
0 |
○ ○ ● POWER ARMED LASER |
ENABLE1=any ENABLE2=any |
|
Avid CNC (and other CNC machines) with SmoothStepper Controller |
0 |
○ ○ ● POWER ARMED LASER |
ENABLE1=any ENABLE2=any |
|
LEAD, WorkBee, Acro System (and other CNC machines) with BlackBox Motion Control System |
0 |
○ ○ ● POWER ARMED LASER |
ENABLE1=any ENABLE2=any |
|
Most cases not covered above |
0 |
○ ○ ● POWER ARMED LASER |
ENABLE1=any ENABLE2=any |
NOTES:
1. LED SYMBOLS:
○ LED is off
● LED is lit
⦿ LED is flashing
2. ANY means:
- lack of connection or any voltage in the 0 - 24 V range.
3. LOW means:
- either a DC voltage from 0 to +0.8 V,
- or a connection to GROUND through a 0 ... 1 kΩ resistance.
4. HIGH means:
- a connection to a DC voltage from +3 V to +24 V directly or through a 0 ... 1 kΩ resistance.
5. TOGGLING means:
- LOW-to-HIGH or HIGH-to-LOW transitions, 200 ms or less apart.
How to Check Enable Option in PLH3D-CNC Adapter
Note: After turning the key switch On, the current Enable Option setting will be displayed with indication LEDs for a second. Applicable for PLH3D-CNC adapter sold after 20-July-2020. For older version of PLH3D-CNC Adapter please follow the instruction below.
A. Turn the key switch OFF.
B. Press and hold the mode button.

C. Turn the key switch ON while holding the aforementioned button.
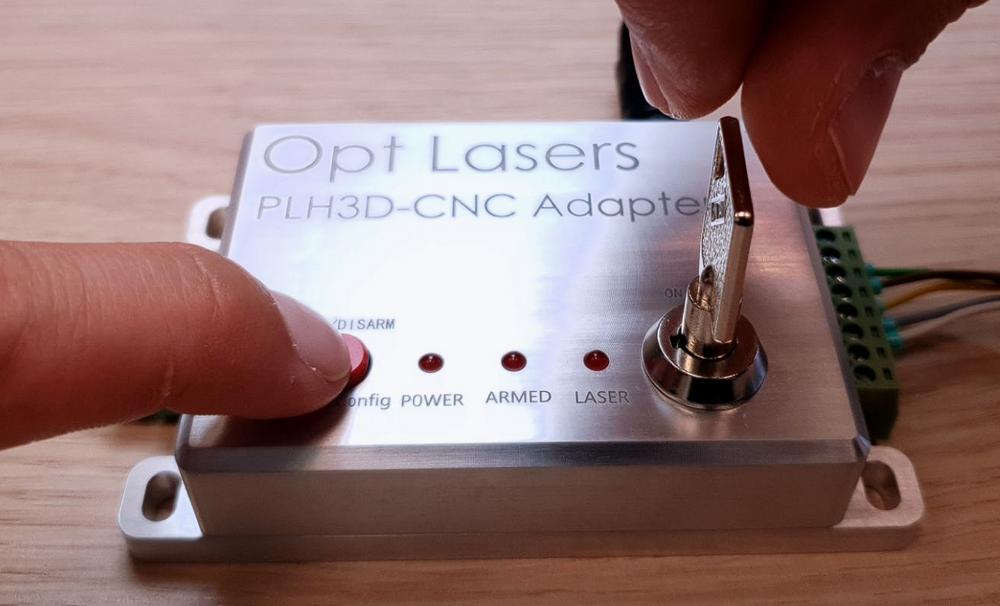
D. Wait approximately one second until any LED is lit and release the button.

E. LEDs will show a combination corresponding to the current setting. Do not press Mode button again.
F. To quit without saving, wait for five seconds until Power LED is lit or turn the switch key off.
How to Set Enable Option in PLH3D-CNC Adapter
I. Turn the key switch OFF.
II. Press and hold the mode button.
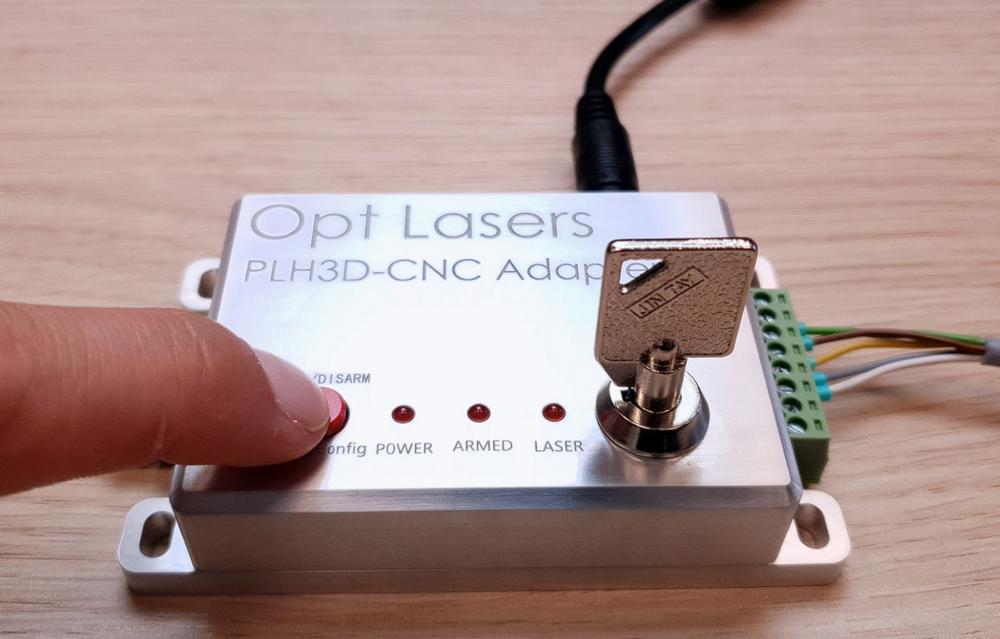
III. Turn the key switch ON while holding the aforementioned button.

IV. Wait approximately one second until any LED is lit and release the button.
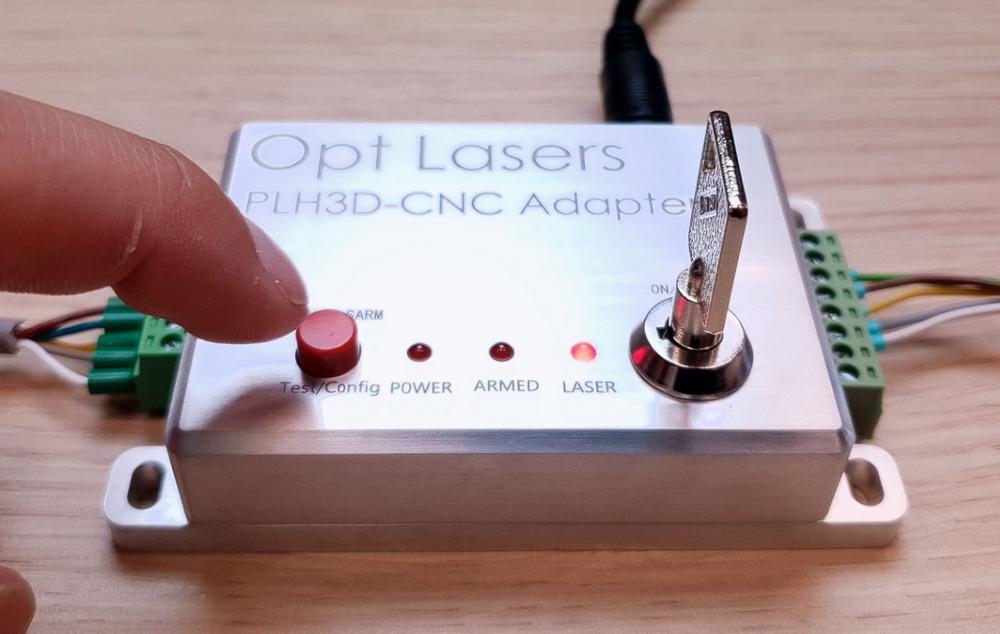
V. LEDs will show a combination corresponding to the current setting.
VI. To step to the next setting, press the mode button once. Keep pressing the mode button till you find the settings that you wish to be set.

VII. To save the current setting, wait five seconds with the button released. To quit without saving, turn the key switch off before five seconds elapse.
The chosen setting is kept in non-volatile memory and remains unchanged during power-off.