CNCjs is a full-featured web-based interface for CNC controllers running Grbl, Marlin, Smoothieware, or TinyG. For a more complete introduction, see the introduction section of the CNCjs wiki page.

Software Setup
- Download the latest CNCjs release for your operating system.
- Win x64: cncjs-app-1.9.15-win-x64.exe
- macOS: cncjs-app-1.9.15-mac-x64.dmg
- … and many more.
- Install CNCjs by double clicking on the downloaded installer.
Software Usage
- Launch CNCjs from your Start Menu / Application Dock
- In the "Connection" widget.
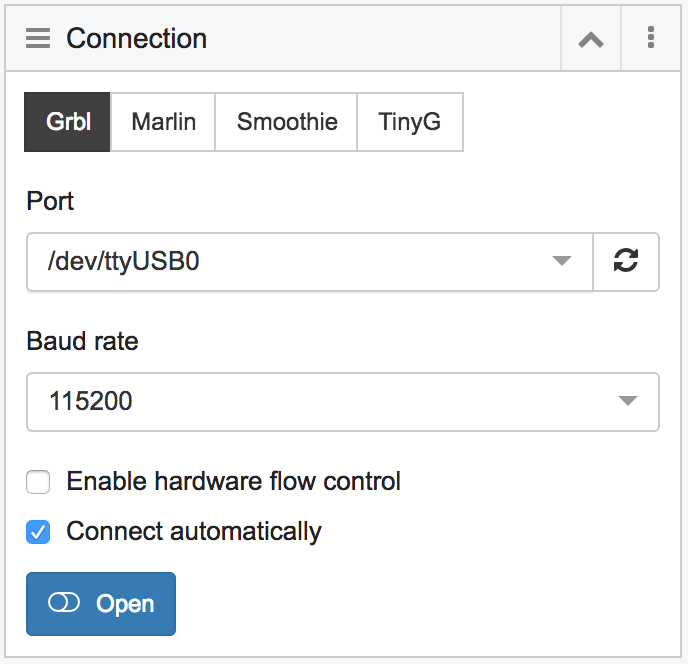
- Select the "Port" that is your X-Controller, or similar.
- Set the "Baud rate" to 115200.
- Click "Open"
- The Console widget should output the current settings when you connect. If not send the command "$$".
- Make sure the GRBL Spindle RPM / Laser Output Range set correctly.
$30=1000 Max spindle speed, RPM
$31=0 Min spindle speed, RPM - Enable GRBL Laser Mode (Optional)
- If you have the GRBL v1.1f installed on your motion controller, then you can optionally enable Laser Mode.
- $32=1 Laser Mode ENABLED.
- $32=0 Laser Mode DISABLED.
- Remember to disable Laser Mode when you decide to use router to cut.
- NOTE: If any of the setting are not correct, you can update them by sending the command as you would want it to appear.
- Example: $##=VALUE
- ## is the setting number you want to change.
- VALUE is the value it is / you want to update it to.
- Run Homing Cycle.
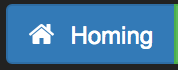
- Click the "Homing" button in the upper right,
and allow the machine to home.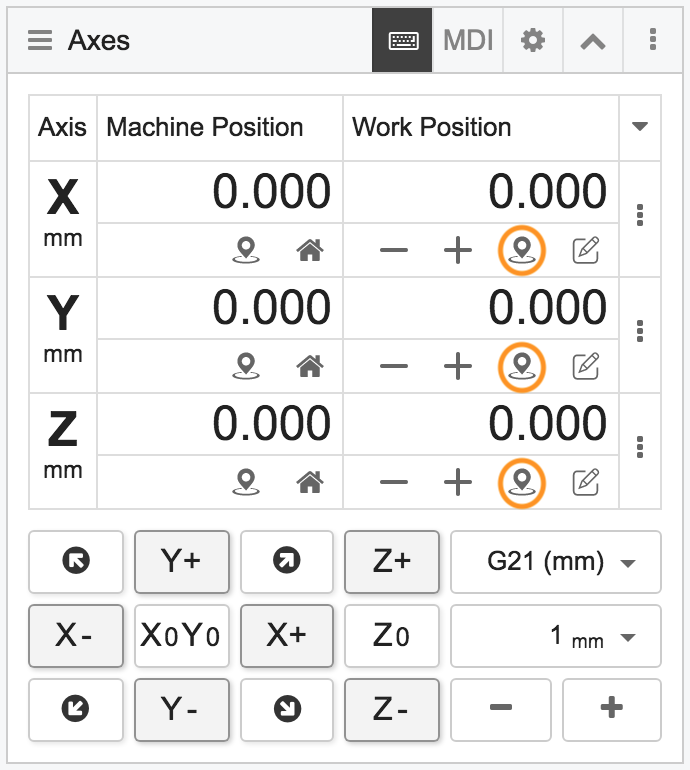
- Jog your laser into position using the "Axes" widget.
- Keyboard input can be enabled by clicking the keyboard icon at the top of the widget.
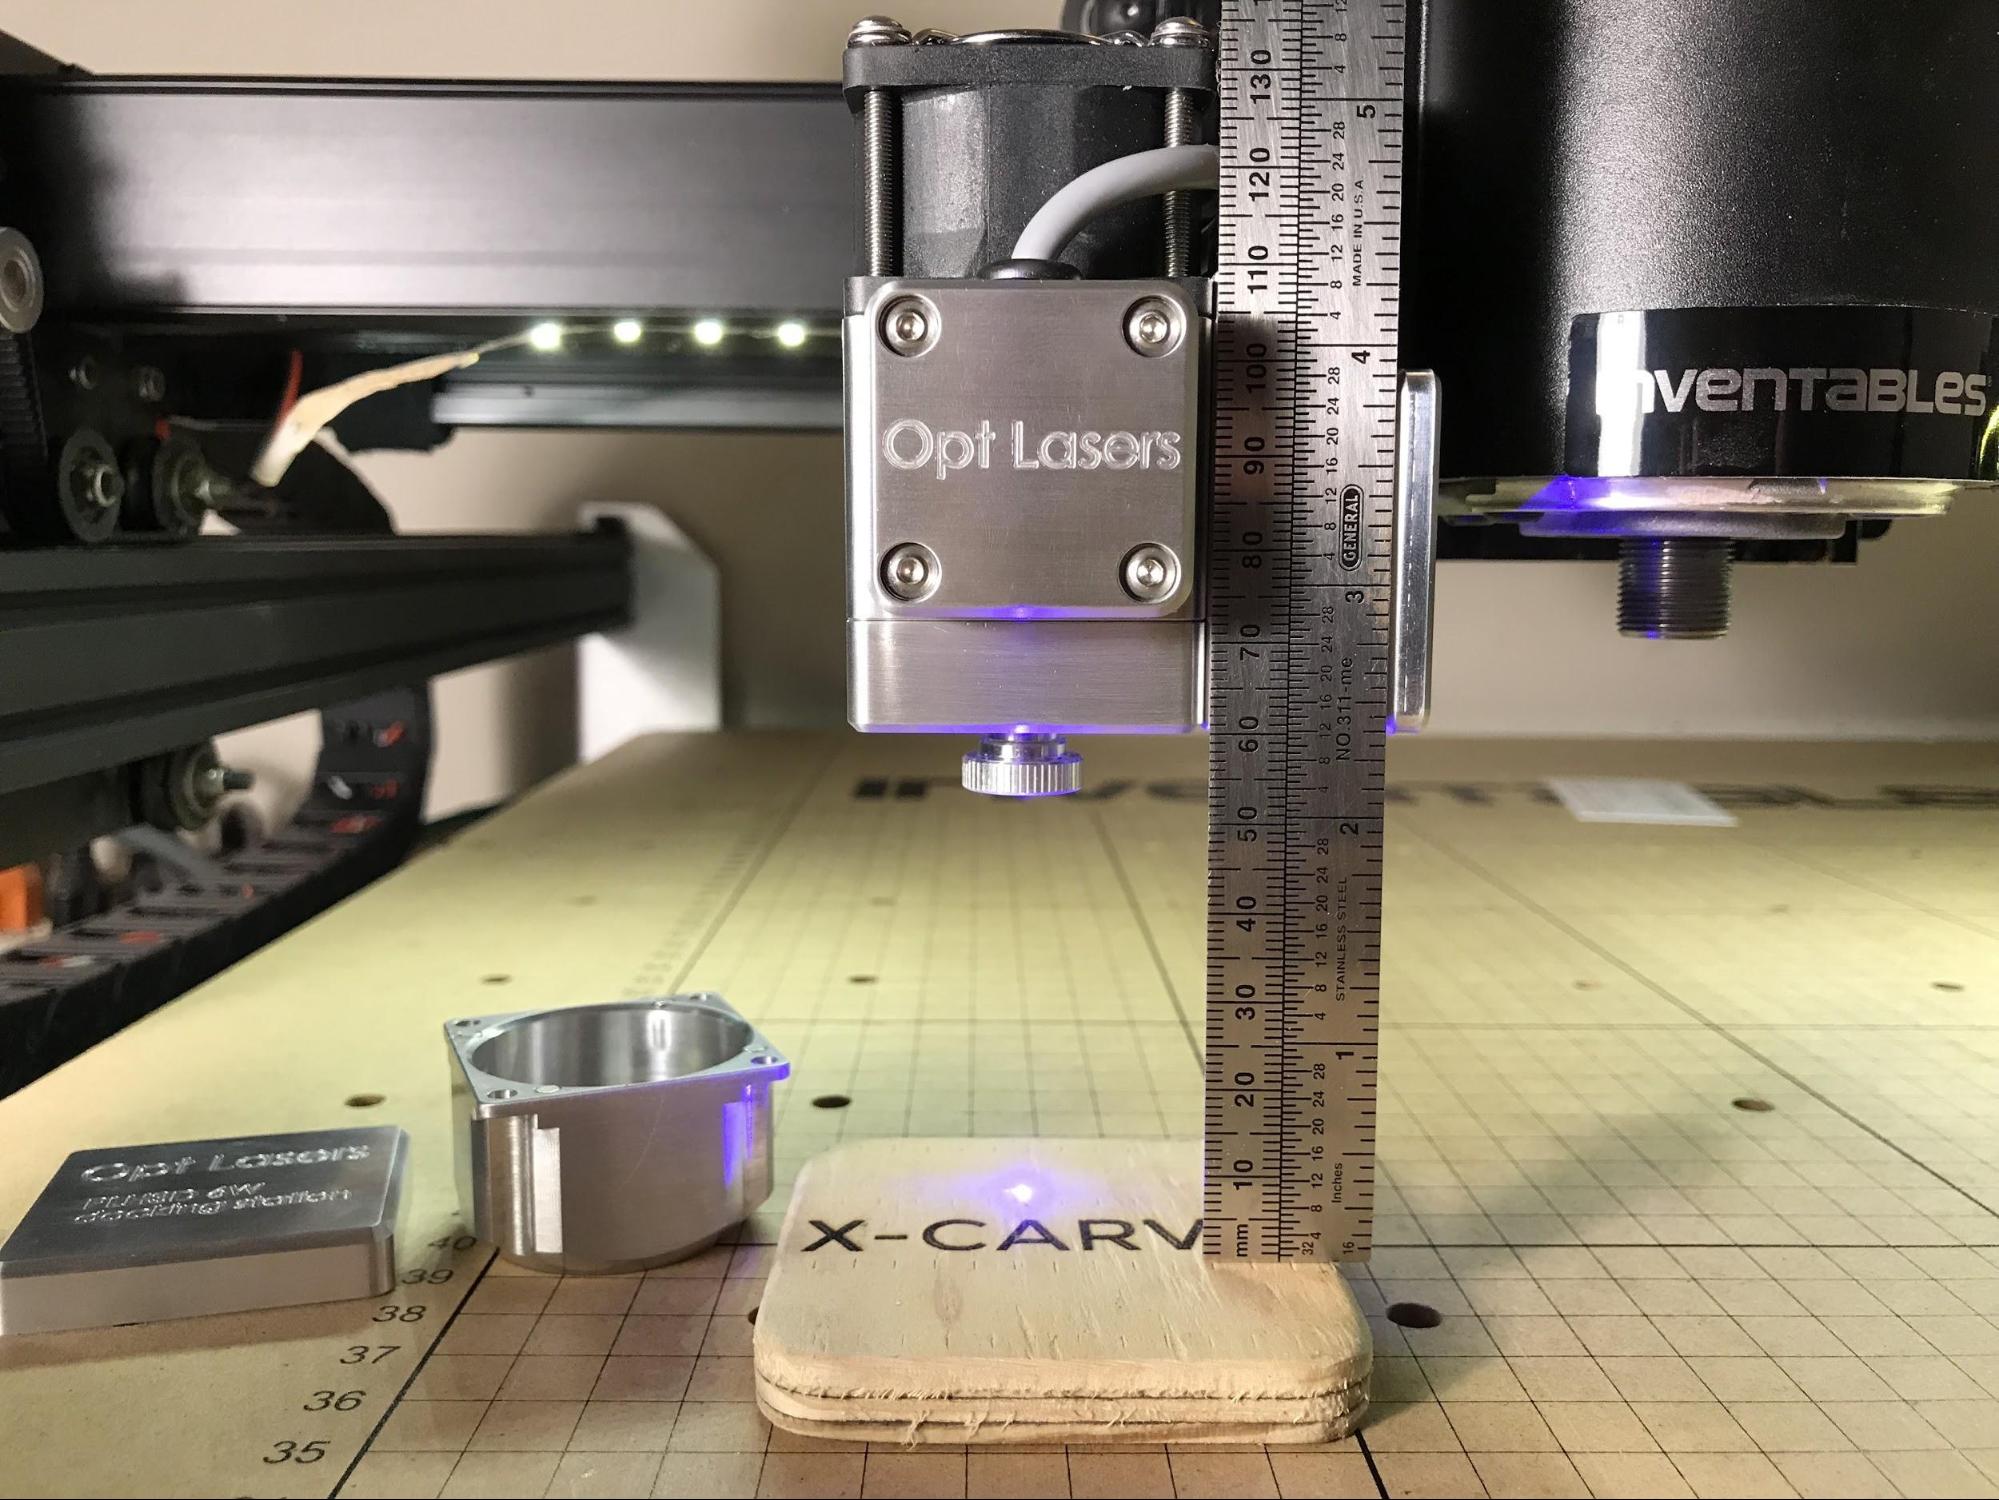
- Set Laser Height to 60mm above work area.
- Use a ruler and measure 60mm above from just below the head of the laser module to the work area. If you have adjusted you focus, move to your preferred focus depth.
- Zero each axis by clicking the
 icon for each work position axis.
- This will set this position as the place where G-Code will be started from.
- Note that you can set multiple work positions.
- Insure that all persons viewing have the proper eye protection / safety goggles.
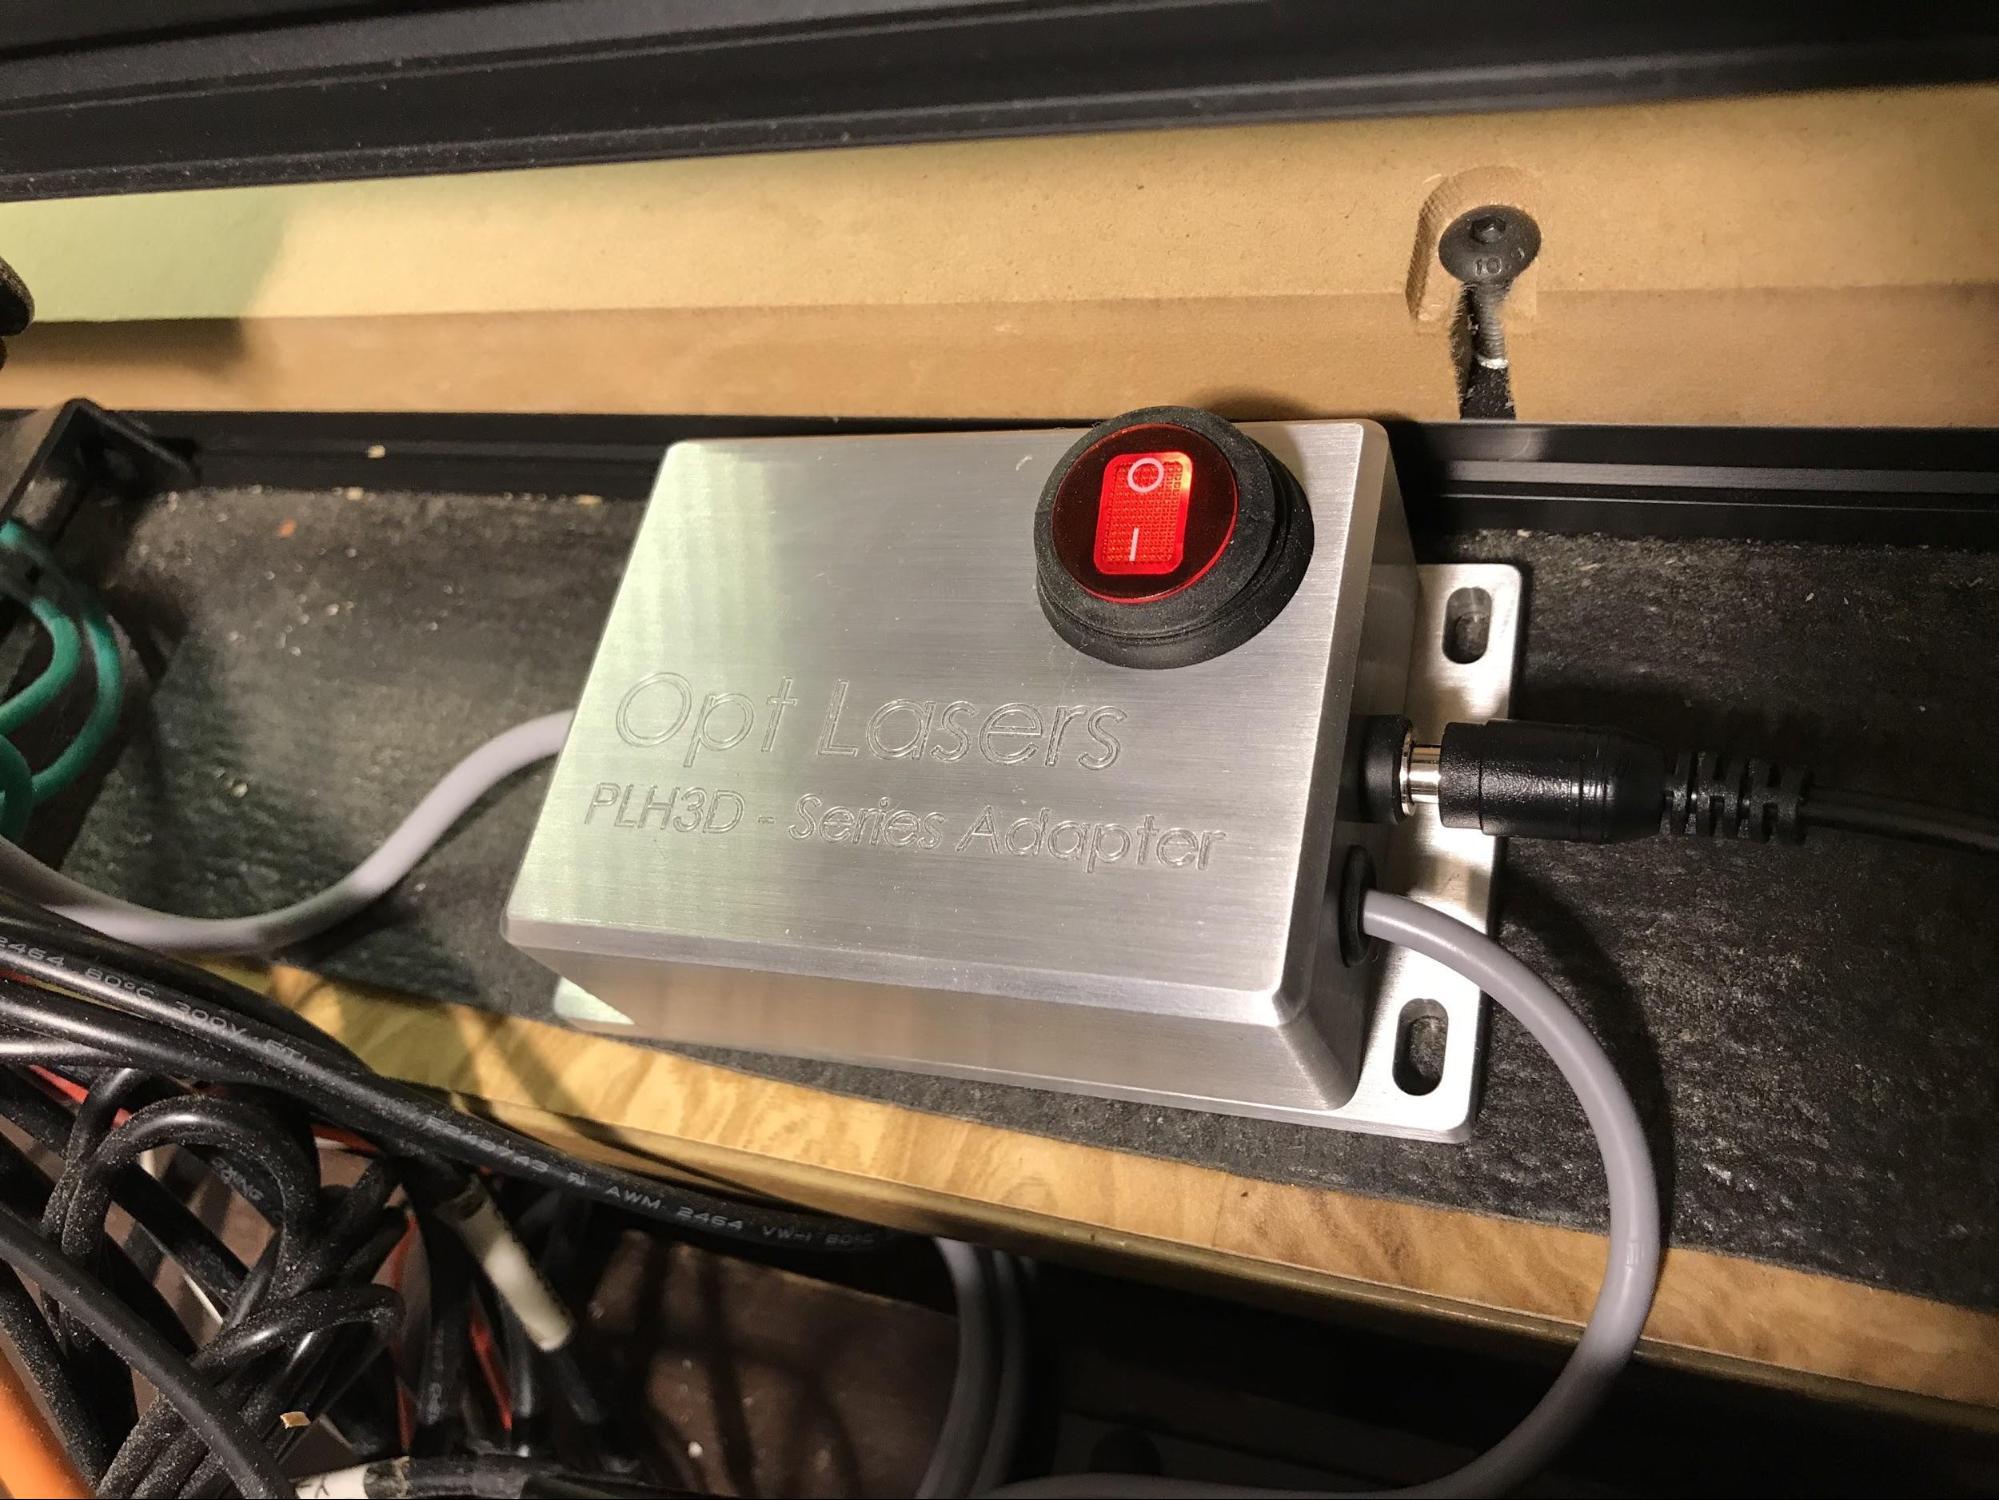
- Power the laser module.
- Turn on your Adapter, the switch should glow red, and the fans on the laser module should spin-up.
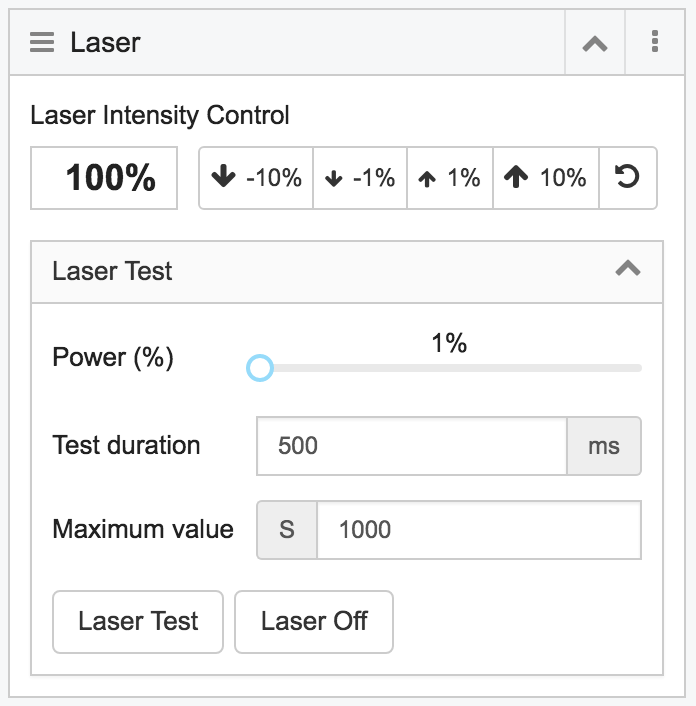
- Test that the laser is working by using the "Laser" widget.
- In the "Laser Test" section of the widget.
- Set power to ~1%
- Set the test duration to ~500 ms.
- Click "Laser Test" at the bottom.
- The laser should fire for a brief moment. Hooray!
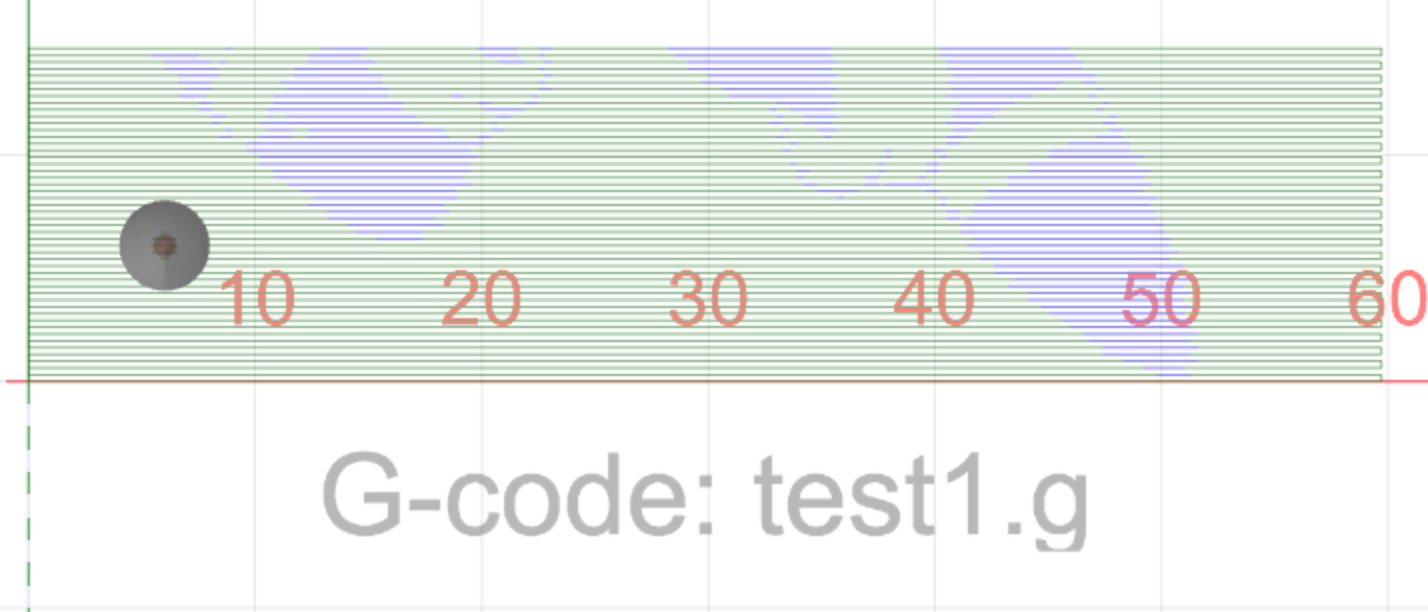
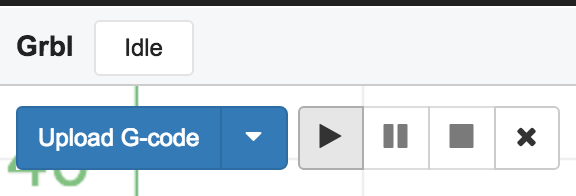
- Load G-Code
- You can drag and drop G-Code into the CNCjs window to load it.
- A preview of the g code should appear.
- Run G-Code
- Click the play button at the top to run the G - Code.
- NOTE: You can pause the job by pressing "Feedhold" at any time. Press "Cycle Start" to resume.
![]()