To perform laser engraving and laser cutting you will need to generate the G-Code that your machine will use to perform its operations. In this guide the G-Code will be generated with the Opt Lasers G-Code Generator, then sent to the X-Carve with CNCjs. Before we dive to deep we need to cover some basics.
Basic Safety Guidelines
- Always wear eye protection when laser is powered.
- Fumes can also be harmful. Wear an activated carbon face mask &/or have proper ventilation.
Basic Operation Guidelines
- The less light-absorbent a material is, the more power or time it will take to laser cut and laser engrave.
- This means increasing the power output of the laser or decreasing the feed rate.
- Putting too much power and heat into a material will lead to warping.
- If material starts to burn, warp, or melt, try increasing the feed rate and perform multiple passes.
- Some materials just can't be cut with light in a straightforward manner. Try coating that material in, or adding something light absorbent to make it easier to cut and engrave.
Common Cutting Parameters
Use the following settings to help determine the settings to use for laser cutting and laser engraving.
Note that these parameters can differ between materials, cooling temperature of laser module, focus distance, and other variables. It's a good practice to test and document your own settings on your materials.
There are a lot of factors that can impact cutting and engraving settings. Use these setting as a general starting point and work to fine tune a choice of settings that best fit your material. Always be aware that the more light-absorbent your material can be, the easier it is to engrave, and vice versa.
|
Material |
Thickness |
Focus |
Feed Rate |
Passes |
Z-Axis Steps |
Power |
|
Balsa Wood |
5mm |
60mm/s |
1800mm/min |
5 |
Zero |
6W |
|
Fiber-reinforced foil (green) |
0.1mm |
60mm/s |
3000mm/min |
1 |
Zero |
6W |
|
Rubber |
0.5mm |
60mm/s |
900mm/min |
3 |
0.25mm |
6W |
|
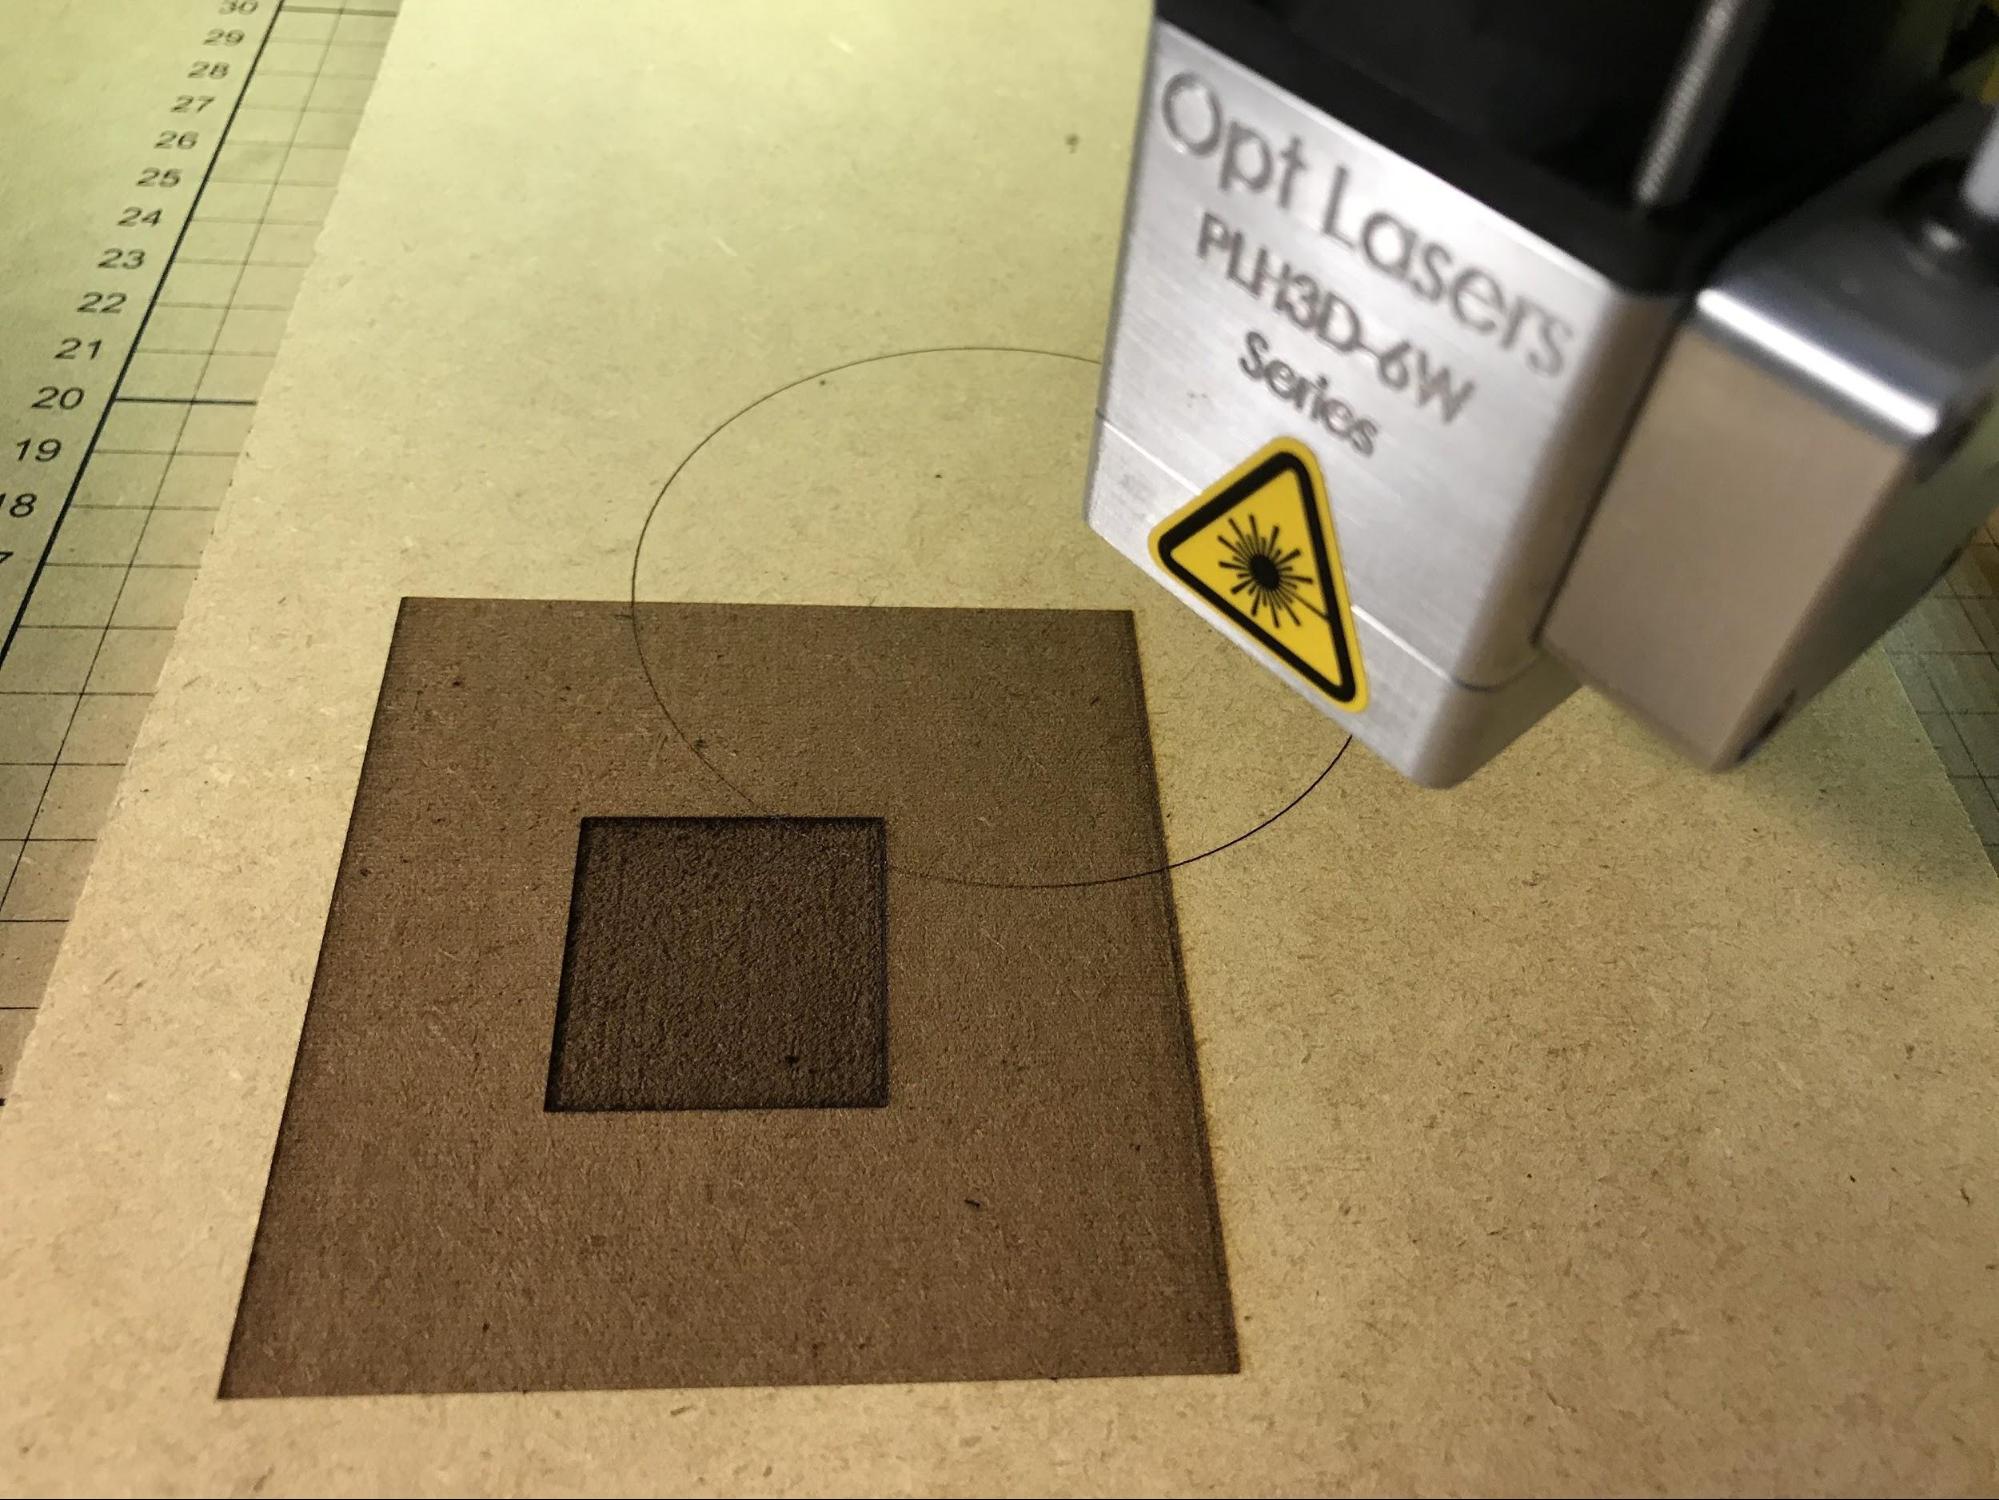
Cardboard |
0.5mm |
60mm/s |
480mm/min |
1 |
Zero |
6W |
|
3-layer cardboard |
1.4mm |
60mm/s |
1200mm/min |
3 |
0.5mm |
6W |
|
5-layer cardboard |
5mm |
60mm/s |
600mm/min |
4 |
1.25mm |
6W |
|
Polyfoam |
15mm |
60mm/s |
480mm/min |
2 |
10mm |
6W |
|
Polyfoam |
24mm |
60mm/s |
300mm/min |
2 |
10mm |
6W |
|
Leather |
1.7mm |
60mm/s |
300mm/min |
2 |
1mm |
6W |
|
Jeans |
0.5mm |
60mm/s |
480mm/min |
1 |
1mm |
6W |
|
Green Plexiglass |
3mm |
60mm/s |
120mm/min |
6 |
0.75mm |
2W |
|
Red Plexiglass |
3mm |
60mm/s |
120mm/min |
4 |
0.75mm |
6W |
Laser
- Connect it to your Motion Controller / X-Controller / GRBL Shield.
- Next to devices, you can select the appropriate port.
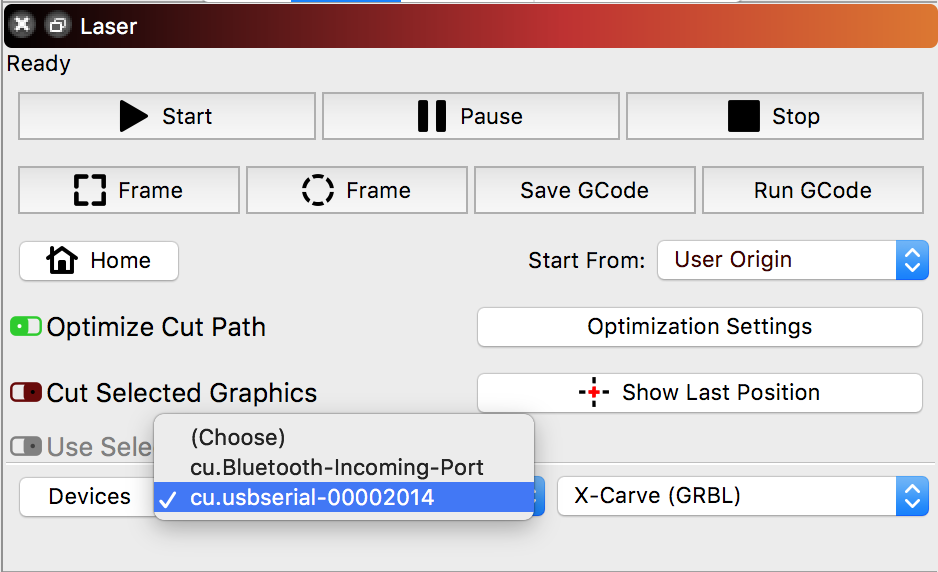
- Ensure that the correct device, shown here as "X-Carve (GRBL)", is selected.
- Home your machine by clicking the
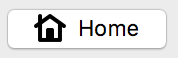 button. Tool-head / Laser will move to its home position.
 - Select the Move widget. (this button can usually be found at the bottom of the Cuts widget)
![]()
- Move your toolhead / laser to the desirable work position. It is a place where you would like to engrave.

- Jog machine into position with the arrow buttons, adjusting the distance and speed as needed.
- These buttons will allow you to jog the X-axis, Y-axis, Z-axis, and A-axis (if one is present).
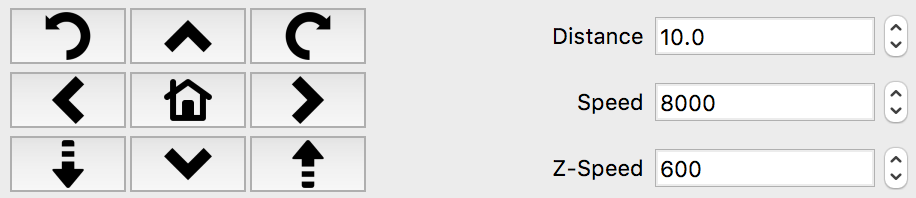
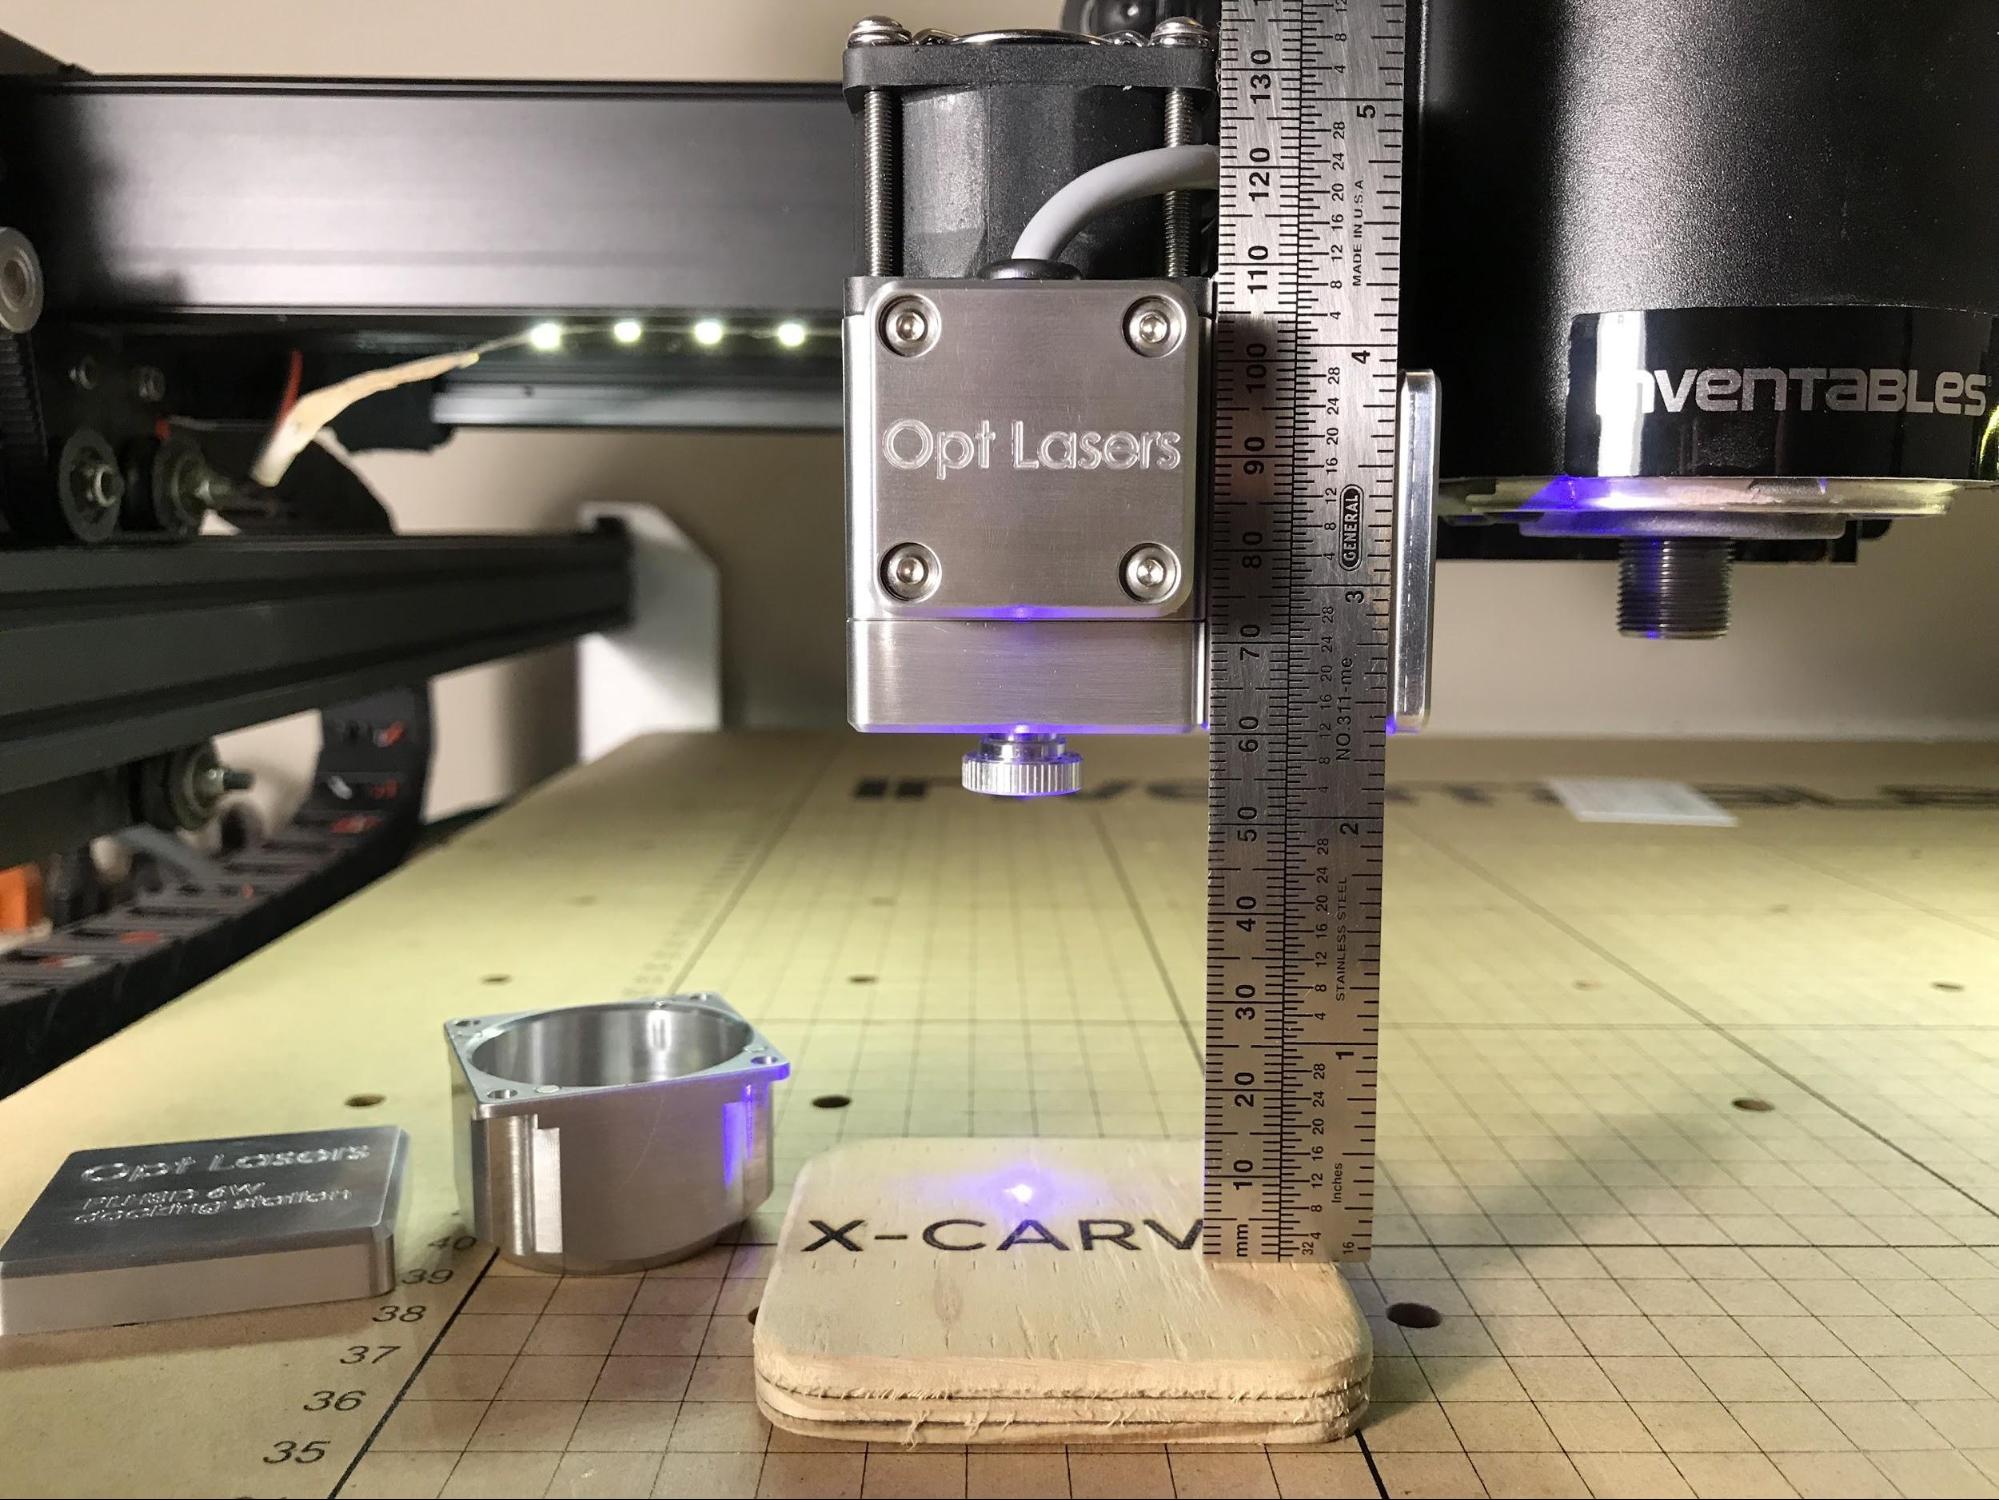
- Set Laser Height to 60 mm above work area.
- Create Custom Macros. (More details in LightBurn documentation)
How to Create Custom Macros
- Select the Console widget.
![]()
- Right-click / Two-finger-click on any of the Macro buttons to create a macro.
![]()
- Input the title of the macro, and the content of the macro

- Create a custom macro for each of the following:
- Zero Work Position:
G54
G10 L20 P1 X0 Y0 Z0
- Goto Work Position (X/Y):
G54
G0 X0 Y0
- Goto Work Position (Z):
G54
G0 Z0
- Enable Laser Mode:
$32=1
- Disable Laser Mode:
$32=0
- Press "Zero Work Position" macro you created to set the starting position.
- Your laser should now be in the right position.
- This will set the origin for where your laser will start engraving.
- You can press "Enable Laser Mode". This will enable laser mode, which might give you better cutting results.
ALWAYS remember to disable the laser mode before using the router to cut if your router speed is controlled by the motion controller.
Laser
- Power the laser module.
- Ensure that all the people present in the room, and people who might potentially see the laser have the proper eye protection / laser safety goggles on.
- Power the Adapter.
- Start Engraving.
- In the "Laser" widget, ensure that "Start From:" is set to "Absolute Coords".
- Trace / Frame the engraving on the work area before you engrave.
- Click
- This will move the tool head, outlining where it will be engraving.
- When ready, press
 to start engraving.

- Laser will begin engraving.