- Connect the Onefinity Signal Cable to the output (LASER) of the Onefinity controller.
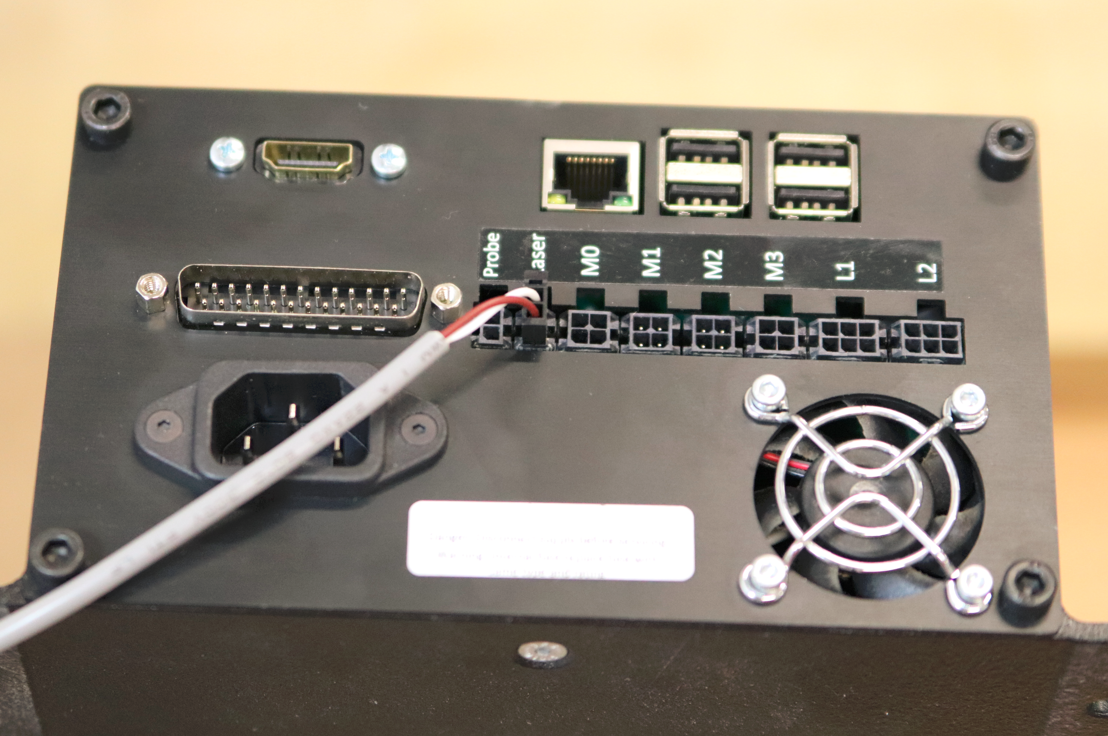
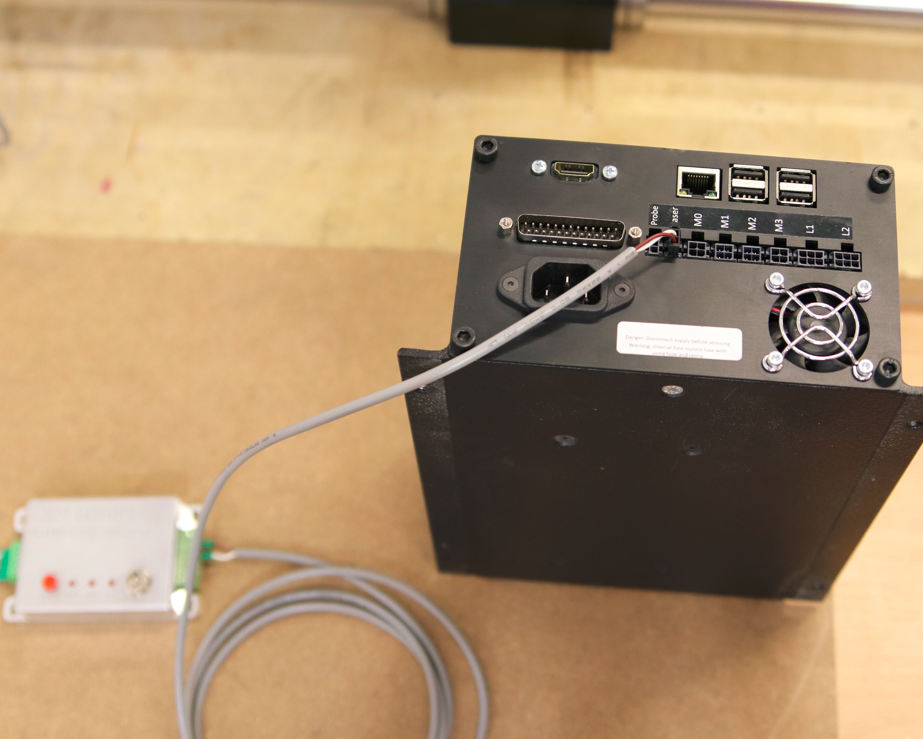
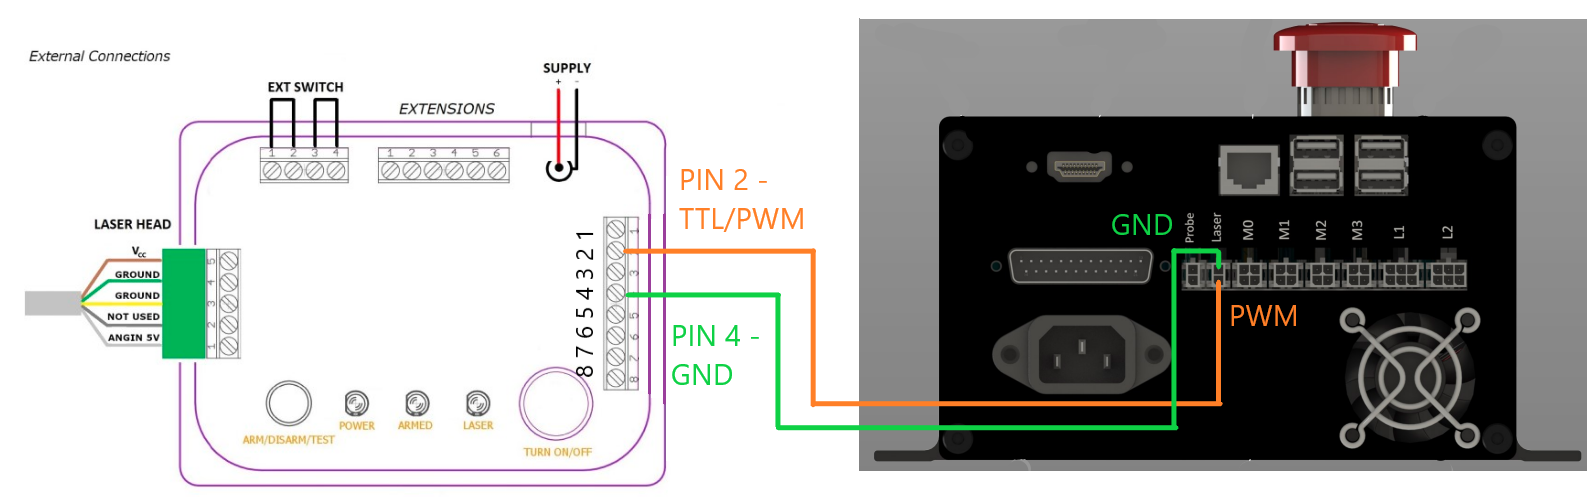
The appropriate connection diagram between the PLH3D-CNC Adapter and the Onefinity Controller is as follows:
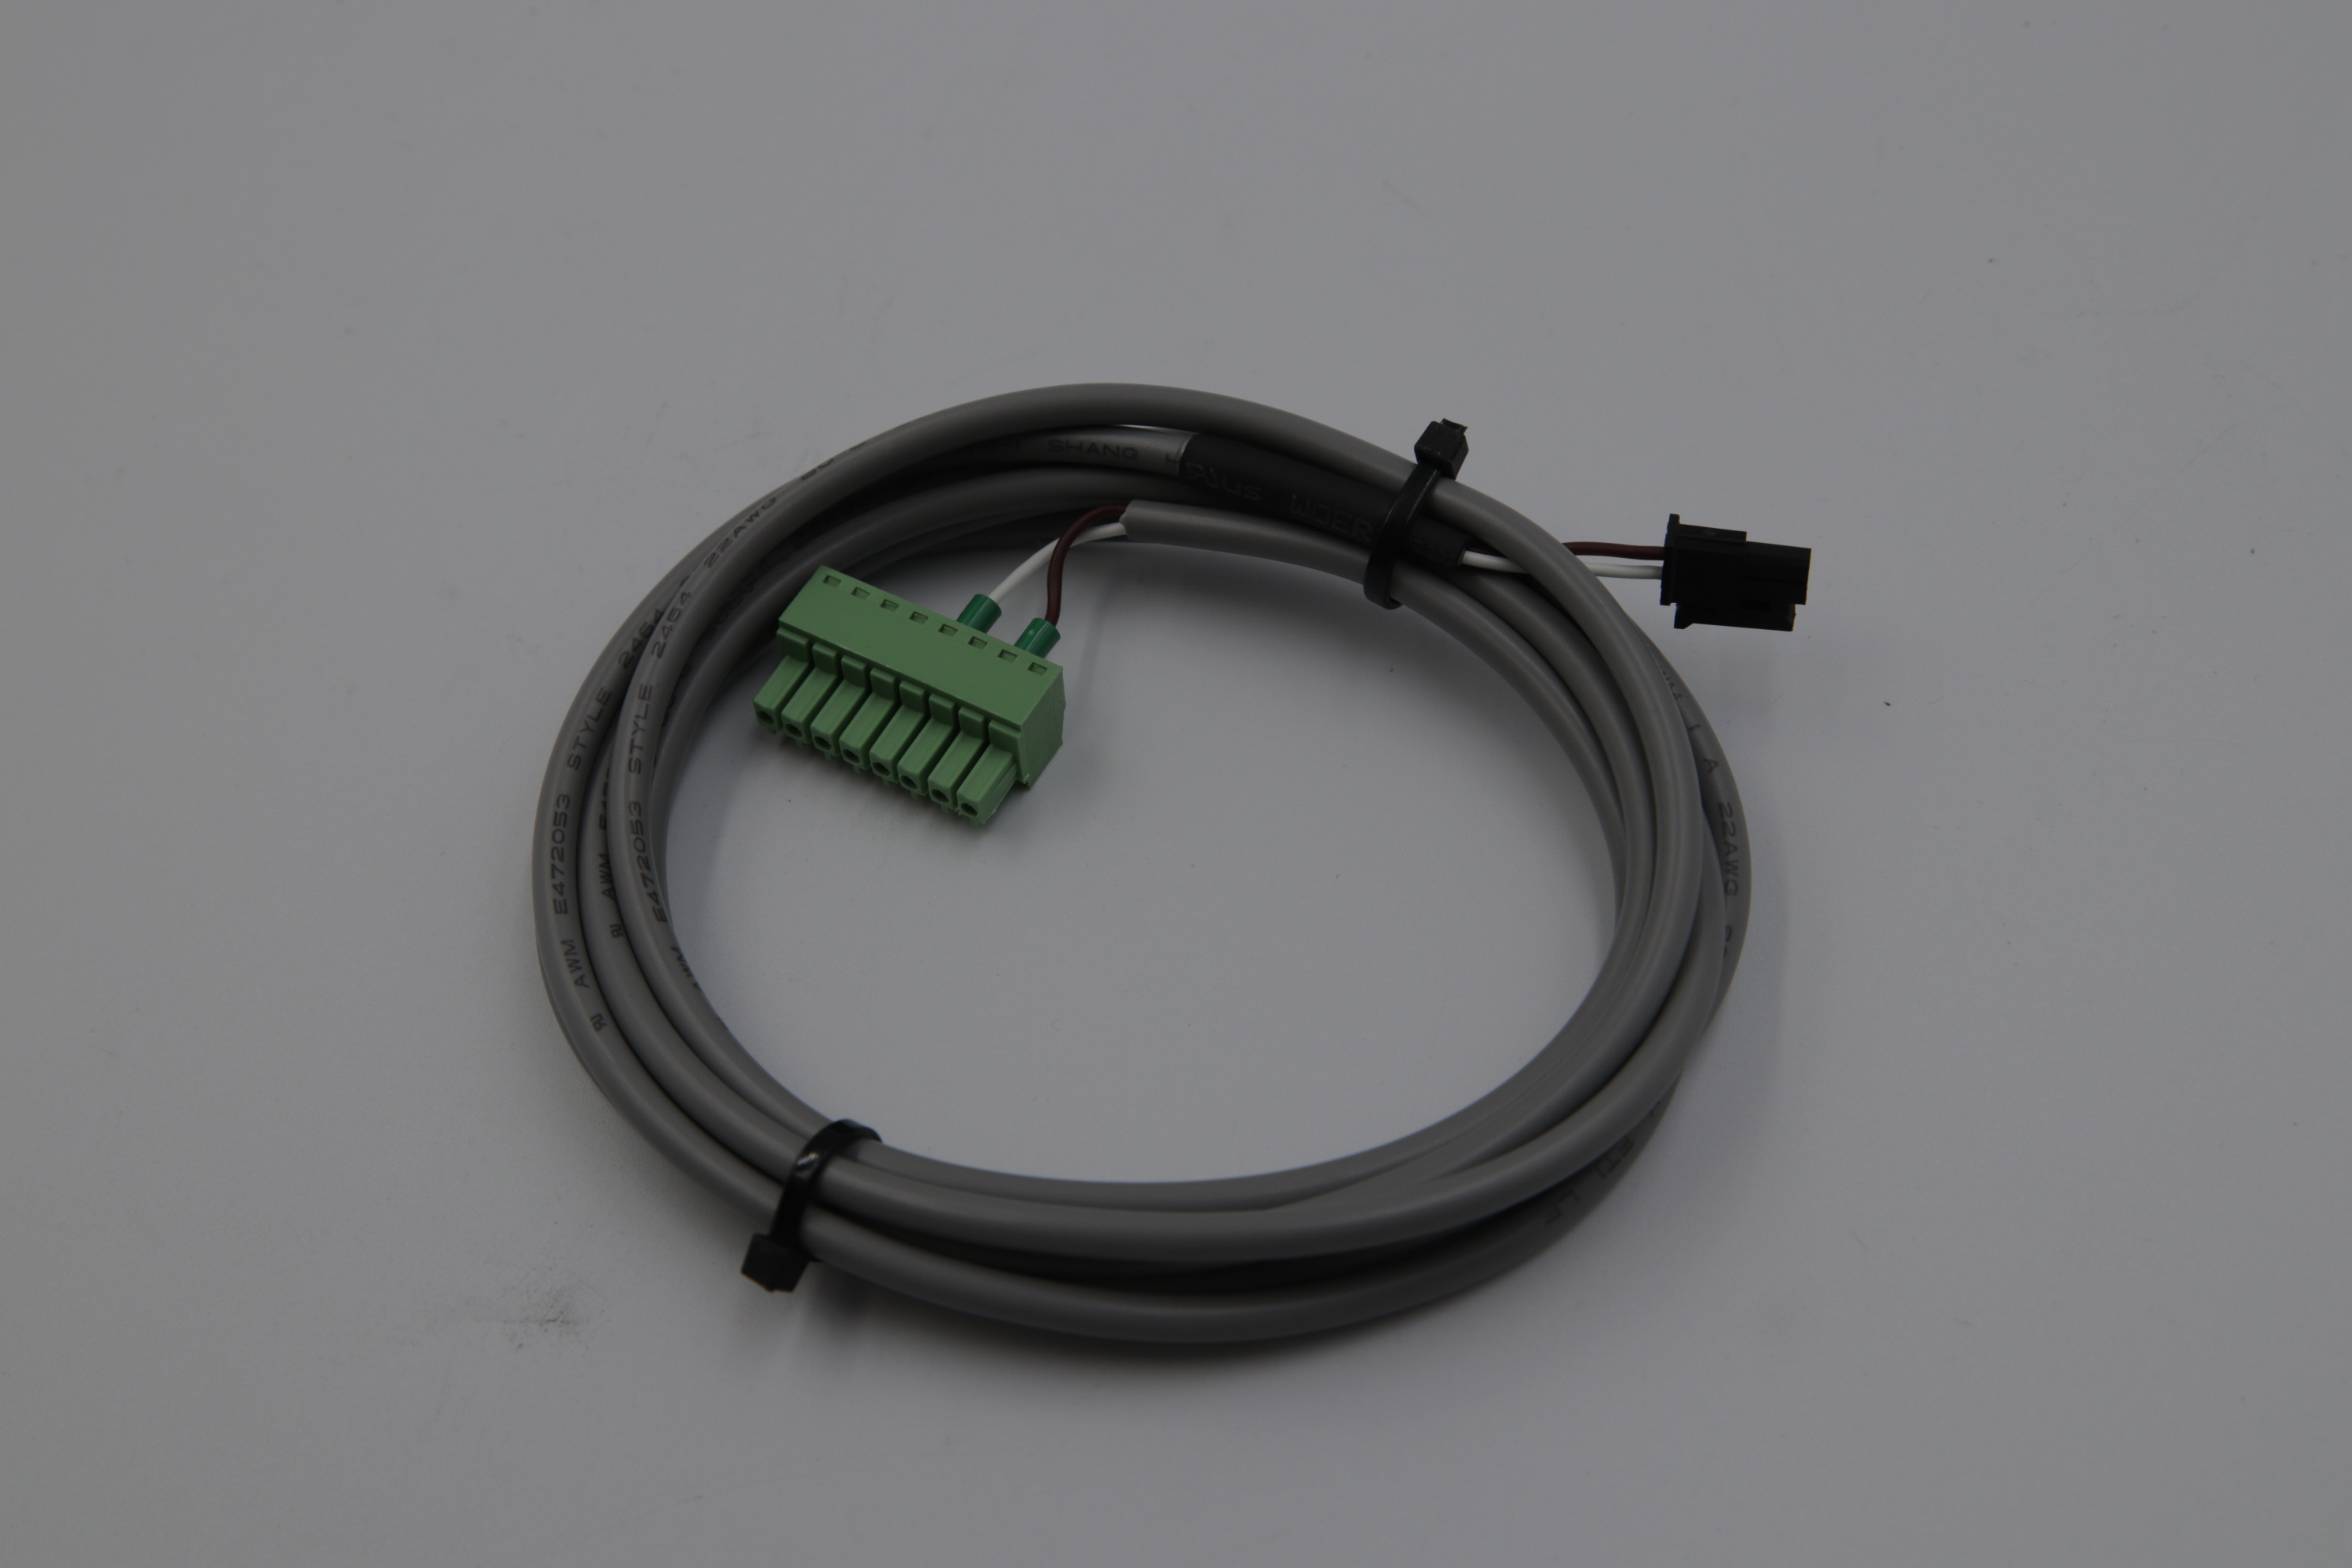
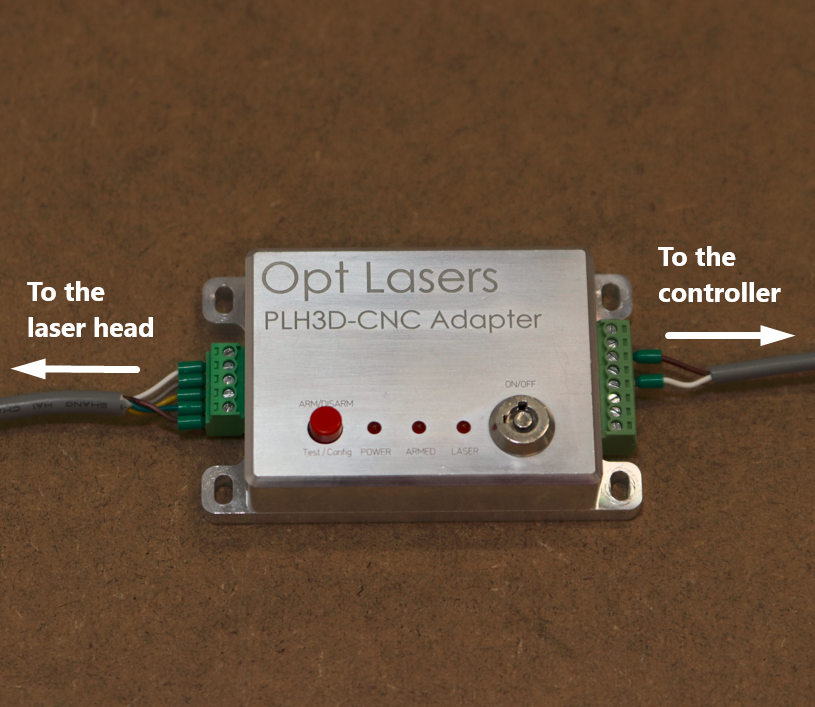
- Follow it by connecting the Onefinity signal cable to the input of the PLH3D-CNC Adapter and the PLH3D-CNC Adapter to Laser Head cable to the Adapter's output.
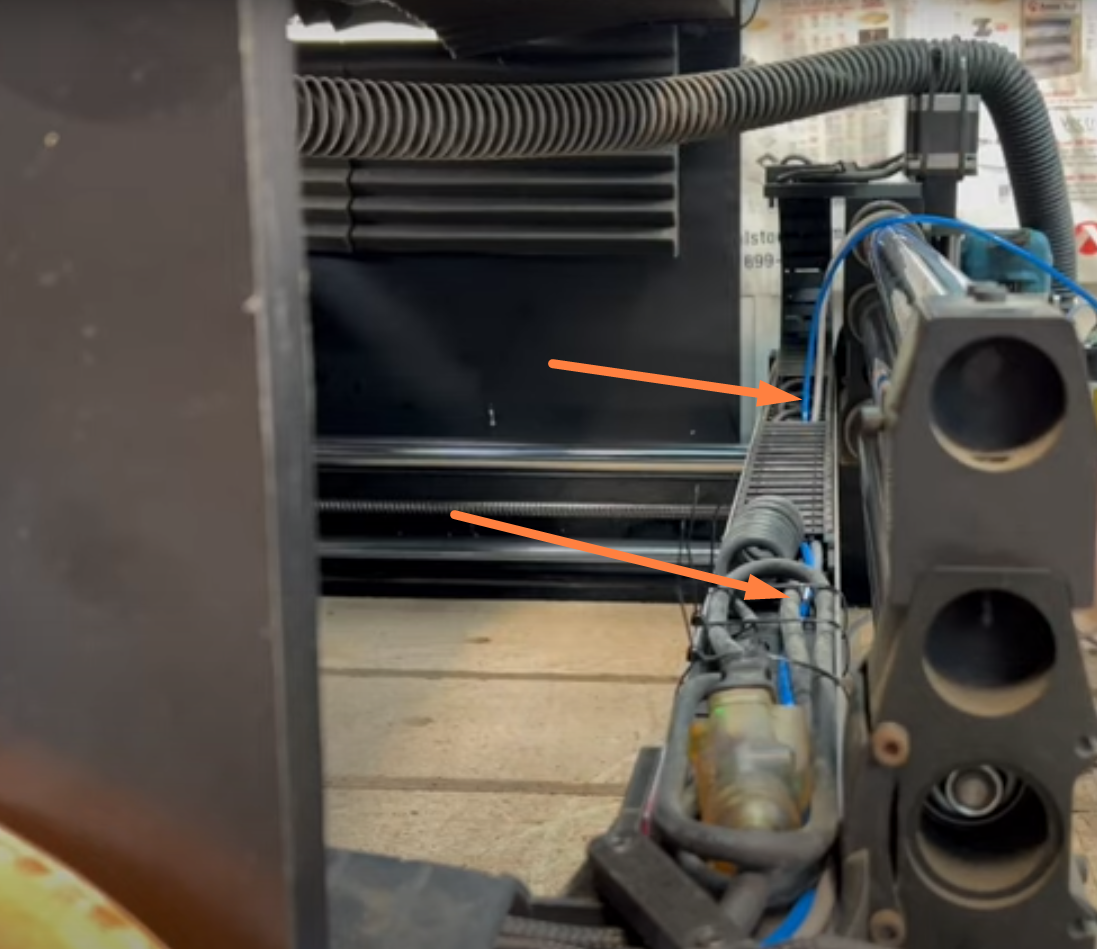
3. For the next step, pass and secure the Adapter-Laser Head along the Y-axis drag chain by putting it through it or using zip ties.
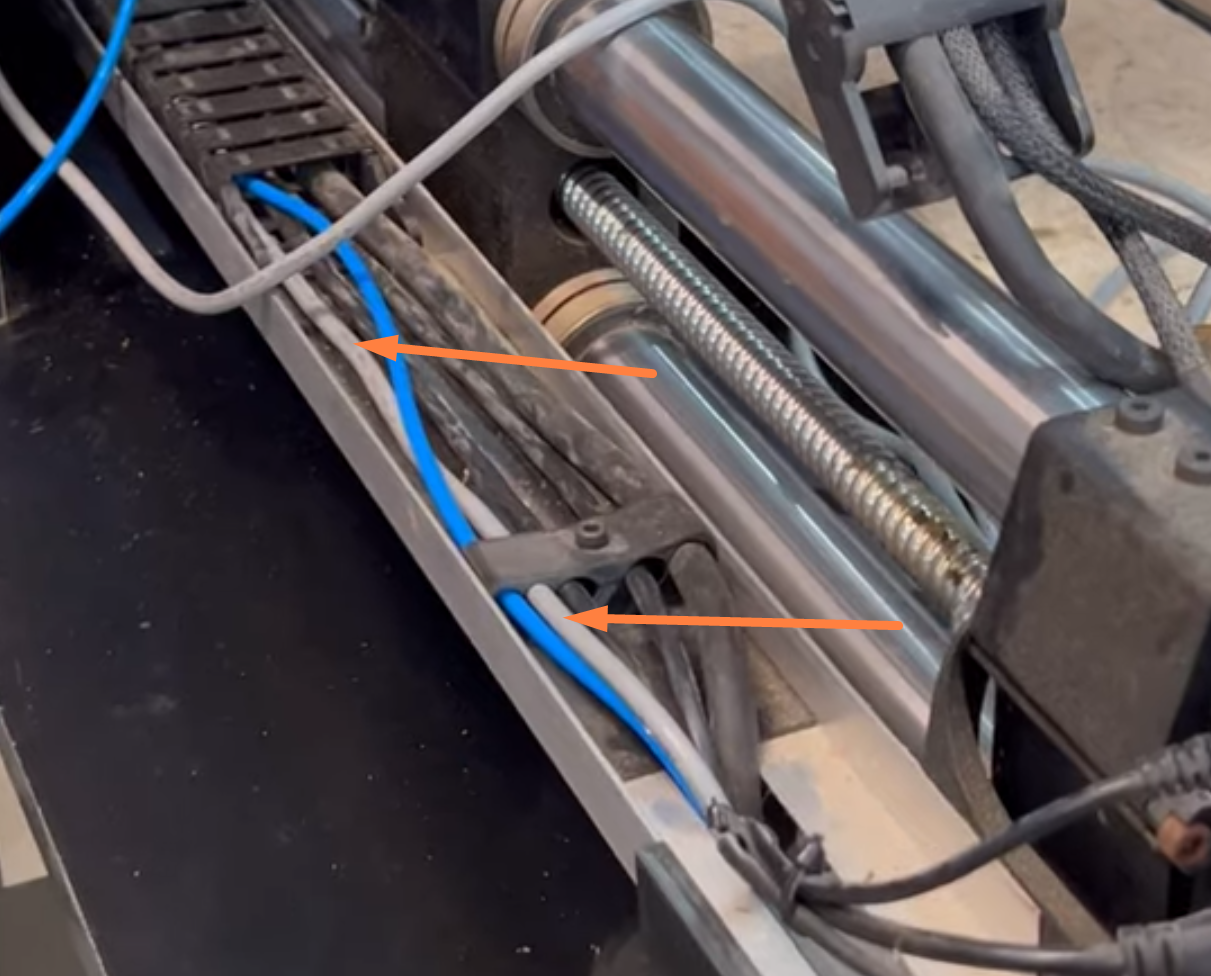
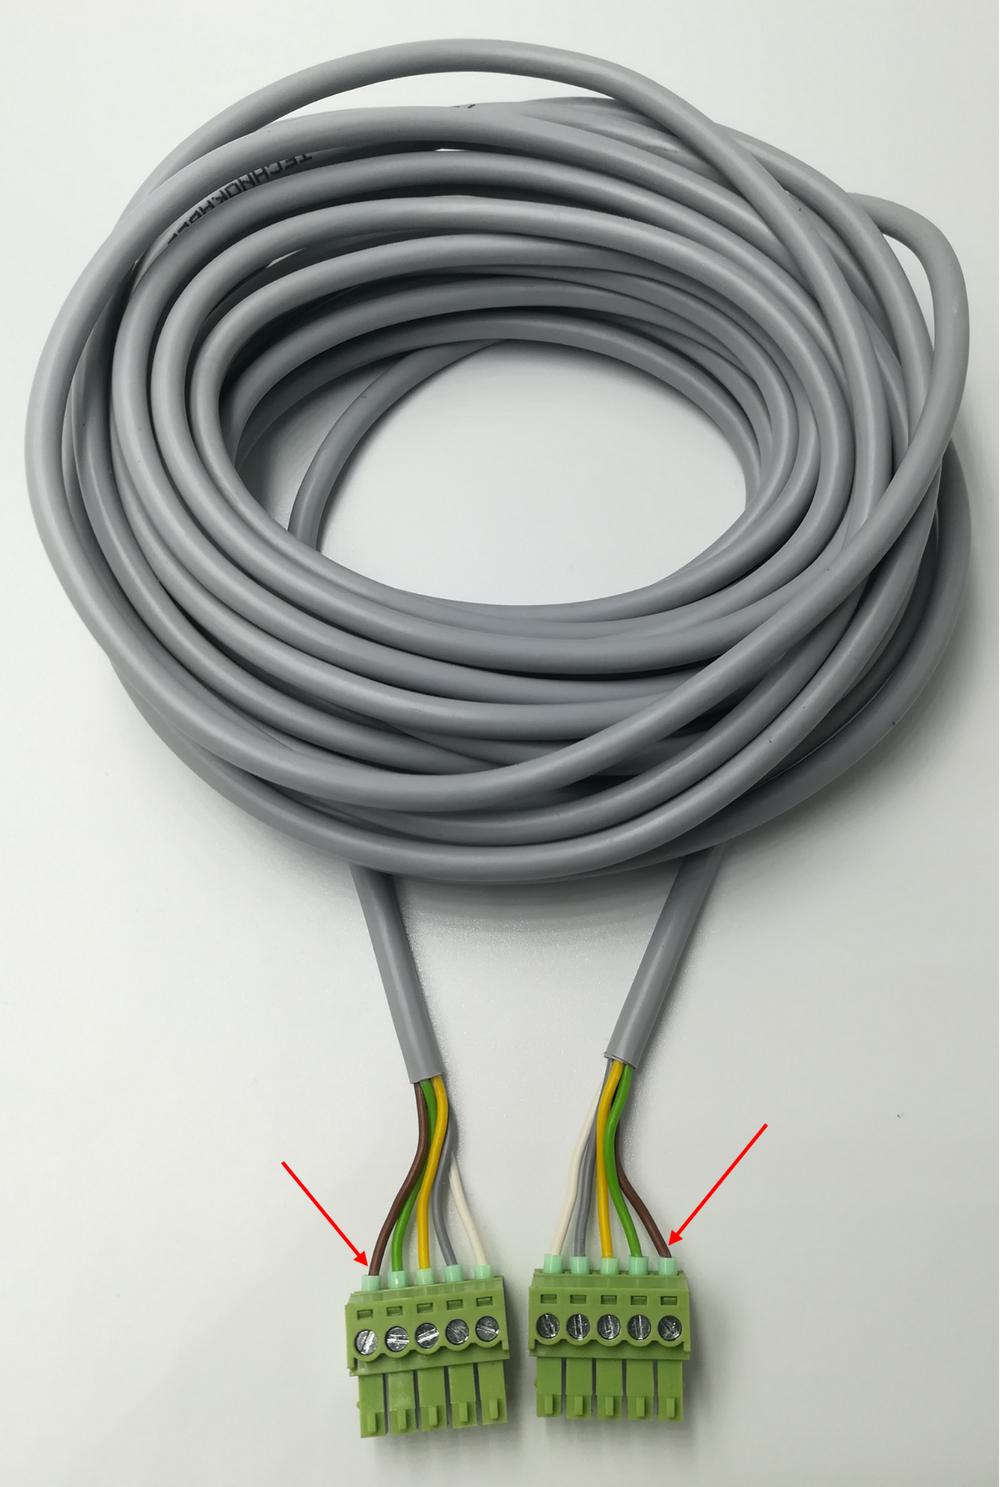
For the users who prefer to put the cable through the drag chain, bear in mind that you might have to remove one of the end connectors in the PLH3D-CNC Adapter to Laser Head Cable. Also, remember that the 5 wires’ connection is mirrored on the opposite side of the cable (and, thus, the order of the wires is flipped).
4. Next, secure the cable along the X-axis drag chain in a similar fashion as in the previous step, then pass and secure the cable around the X-axis motor.

5. Connect one end of the PLH3D-CNC Adapter-to-Laser-Head Cable to the docking station on the Onefinity PLH3D Mount (or to the laser head if not using the Laser Dock Station). Optionally, secure this cable to the mount with a zip tie.

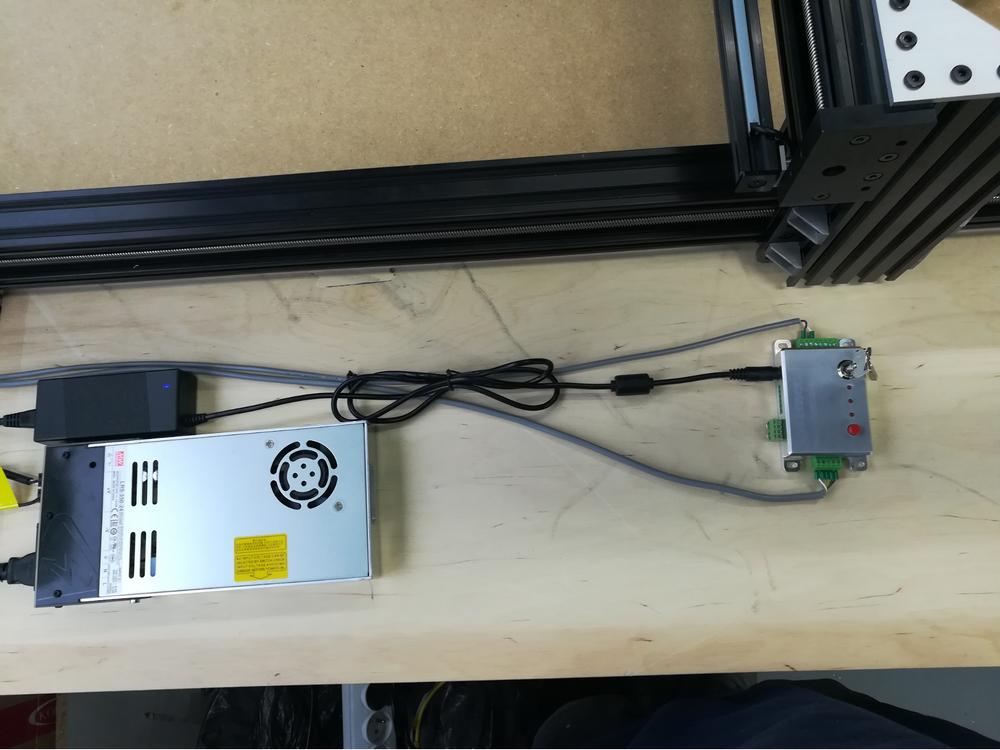
8. Finally, plug the 19 V, 2.5 A desktop power supply into the socket on the PLH3D-CNC Adapter.